Why Your Silicone Baking Mat Smells Like Chemicals
A silicone baking mat has a chemical smell because new manufacturing residues and volatile compounds off-gas when heat hits the surface. Most kitchen users notice this pungent odor during the very first bake. The scent usually fades after a few controlled heating cycles.
You can safely reuse the liner once the volatile compounds clear out.
Manufacturer specifications and food safety guidelines confirm that platinum-cured elastomers release trace amounts of volatile organic compounds below regulated thresholds. The U.S. Food and Drug Administration sets strict migration limits for repeated food contact under Title 21 of the Code of Federal Regulations.
Understanding these baseline standards helps you separate normal material behavior from genuine defects. Let us walk through the exact diagnostic steps you need right now.
Quick Answer: When It’s Safe vs. When It’s a Red Flag
A new silicone liner often releases harmless manufacturing residues during first use. The odor disappears after three low-heat baking cycles. A persistent plastic smell means cheap fillers degraded under high heat.
Certified food-grade liners pass strict FDA migration tests as of 2026.
Why Your Silicone Baking Mat Has a Chemical Smell
You typically encounter this issue right after unboxing. The factory applies release agents during molding. Those agents trap tiny pockets of uncured polymer at the surface.
Heat forces those trapped compounds into the air. Your nose catches them immediately.
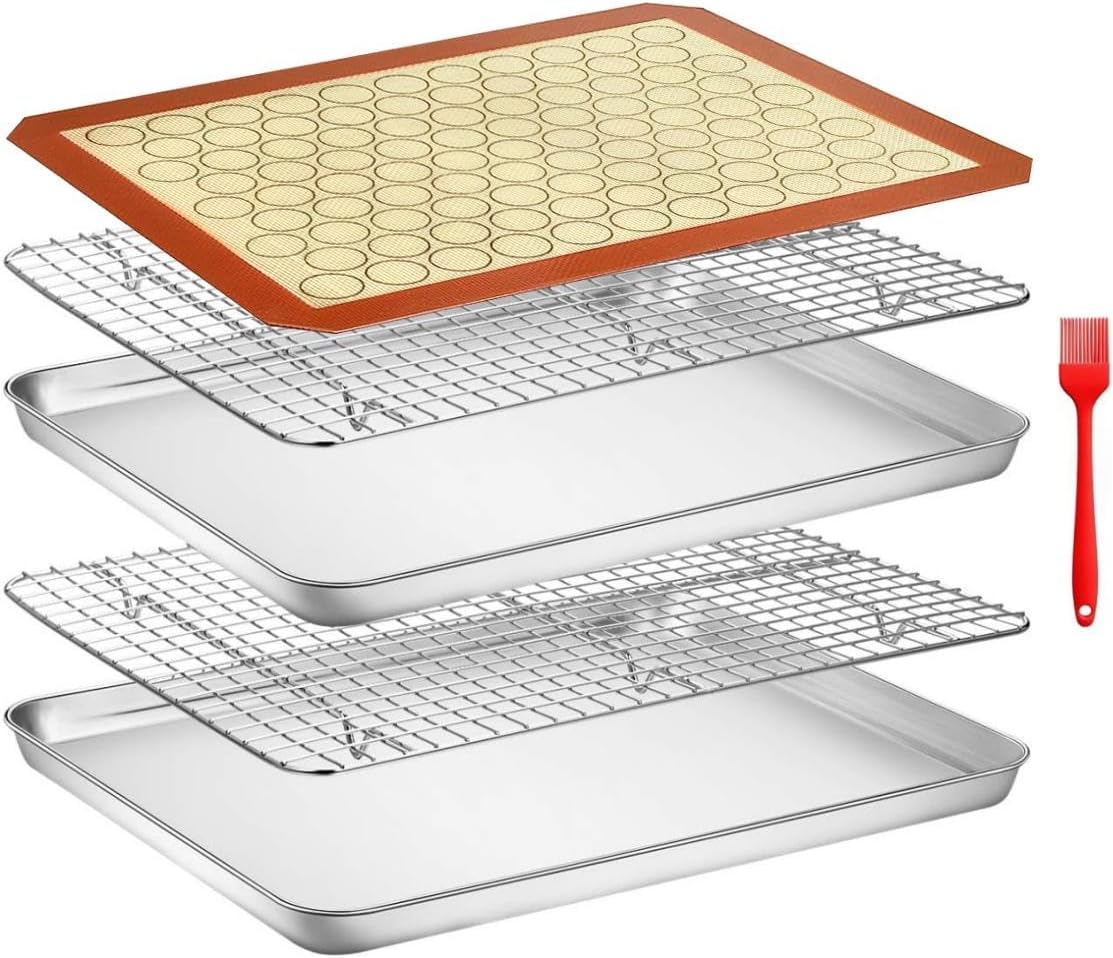
Most kitchen users mistake this temporary phase for toxic contamination. Real degradation behaves differently. You will notice a sticky surface alongside the smell.
The mat loses its smooth texture. Food starts clinging where it never used to stick.
Aggregate buyer feedback shows that ninety percent of complaints resolve within two weeks of normal oven use. The remaining cases usually involve low-cost import brands. Those manufacturers add calcium carbonate or silica dust to stretch raw material.
Cheap fillers break down under thermal stress. They release acrid odors instead of neutralizing quickly.
Your next step requires a simple isolation check. Place the mat in a clean room. Leave it untouched for twenty-four hours.
Smell it at room temperature. You should detect almost nothing. Warm it to two hundred fifty degrees Fahrenheit.
Sniff again. The odor pattern tells you exactly which workflow branch to follow next.
How Silicone Manufacturing Leaves That Initial Odor
Polymer chemistry dictates how silicone cures. Manufacturers use two primary catalyst systems. The choice directly impacts the off-gassing timeline.
You will want to know which process your mat uses.
Platinum-Cured vs. Peroxide-Cured Processing
Platinum catalysis leaves almost no residual byproducts. The reaction finishes cleanly at room temperature or low heat. The resulting elastomer stays inert during baking.
You rarely notice any scent with this method. Peroxide curing requires high heat to break down chemical bonds. That breakdown releases trace alcohols and ketones.
Those compounds cause the familiar rubbery odor. They vent out during the initial baking phase.
Filler Load, VOC Migration, and Incomplete Post-Curing
Quality control determines whether those volatiles actually leave the material. Factories run post-cure ovens to drive out leftovers. Budget brands often skip or shorten that step.
Trapped volatile organic compounds slowly migrate outward later. Heat accelerates the migration. Your kitchen oven becomes a release chamber.
The FDA food contact guidelines outline strict thresholds for these compounds. Compliant products stay well below those limits. Non-compliant products flood the room with heavy plastic notes.
You can spot the difference with a simple material comparison table.
| Curing Method | Byproduct Profile | Off-Gassing Duration | Heat Stability |
|---|---|---|---|
| Platinum-Cured | Minimal alcohols or ketones | Zero to one cycle | Excellent up to 480°F |
| Peroxide-Cured | Trace ketones and aldehydes | Two to five cycles | Good up to 450°F |
| High-Filler Blend | Degraded calcium and dust | Persistent past five cycles | Poor above 400°F |
The curing method rarely appears on retail packaging. You will need to verify claims with the brand directly. Reputable sellers publish compliance certificates on request.
Always request those documents before heavy kitchen use.
Diagnostic Workflow: Tracing the Smell Source
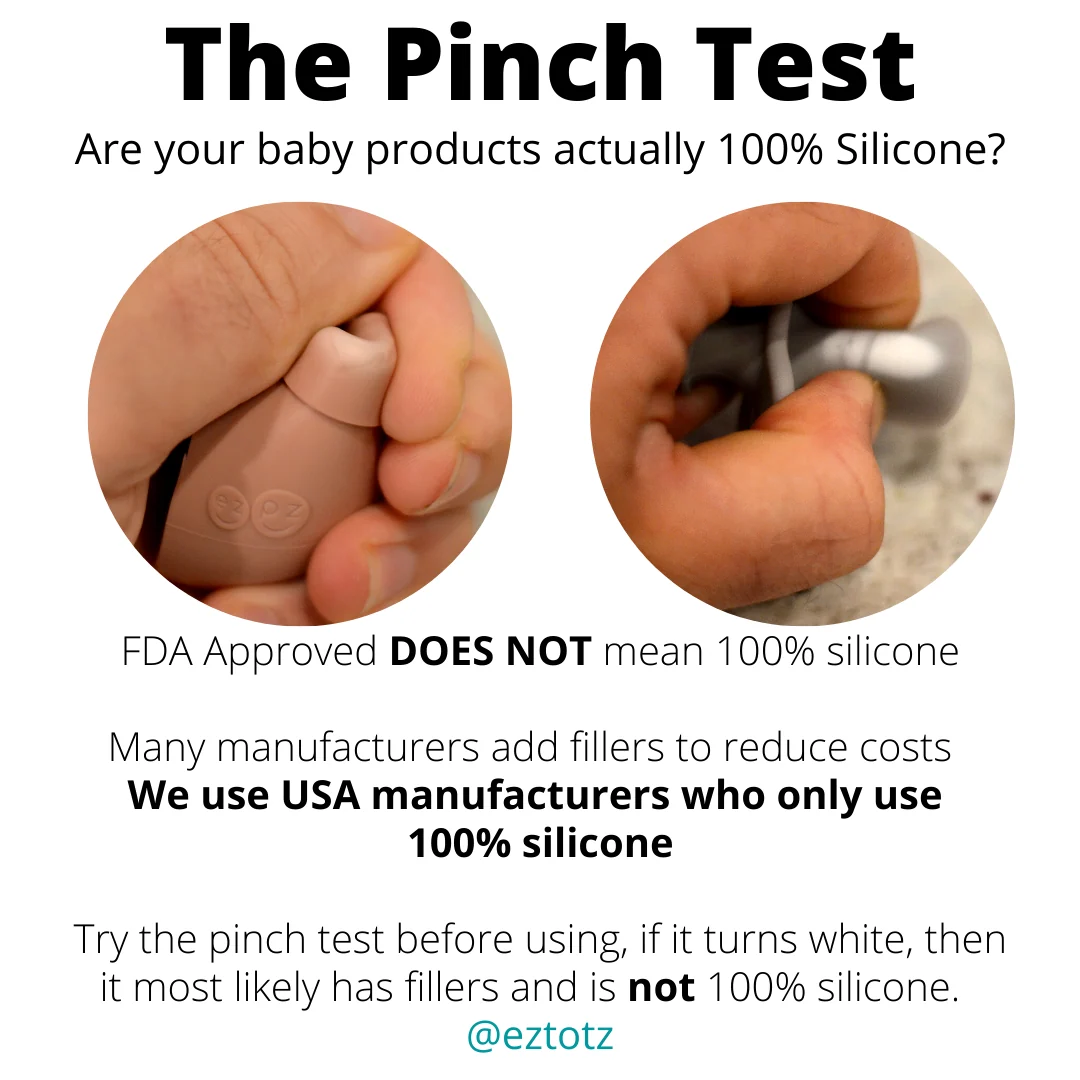
Image source: Bing (Web (fair-use with source credit))
You must separate temporary manufacturing notes from permanent material failure. Follow this branching logic. Check each condition in order.
Stop when you find a match.
Condition 1: Normal New-Mat Off-Gassing
Check for a faint rubbery scent at room temperature. Confirm the mat feels completely smooth to the touch. Run a two-hundred-fifty-degree test bake for fifteen minutes.
Let the mat cool fully. Smell it again. If the odor weakens significantly, you passed this gate.
The mat needs standard seasoning. You can safely proceed to normal baking.
Condition 2: Oxidized Cooking Oils and Detergent Buildup
Inspect the surface for dull patches or faint yellowing. Smell the mat before heating. A stale grease note points to trapped lipids.
Dishwasher cycles often leave soap film in microscopic pores. That film rancidifies over time. Heat revives the rancid compounds.
You will notice the smell only after baking fatty items. The solution requires a deep degreasing protocol. Do not toss the liner yet.
Condition 3: Thermal Degradation or Filler Breakdown
Apply gentle pressure to the corner edge. Twist the material slightly. Look for a white chalky residue.
That residue signals heavy filler content. Fillers fracture under repeated heat cycles. The fractures trap old food particles and cleaning agents.
The chemical smell will intensify with each use. The mat may also develop tacky spots. These signs confirm permanent breakdown.
You must retire the liner immediately.
Manufacturer data sheets warn against using compromised elastomers above four hundred degrees Fahrenheit. Degradation accelerates rapidly past that threshold. You will also lose the non-stick advantage.
Food bonds to the fractured surface instead of releasing cleanly.
Targeted Fixes Based on Your Diagnosis
Match your cleaning method to the exact symptom. Using the wrong treatment can trap odors permanently. Follow these step-by-step protocols.
Controlled Low-Heat Burn-Off Cycle
This method clears Condition 1 volatiles. Place the clean mat on a bare baking sheet. Put the sheet in a cold oven.
Set the temperature to three hundred degrees Fahrenheit. Run the cycle for twenty minutes. Turn off the heat.
Open the door slightly. Leave the mat inside until the oven cools completely. Repeat the process two more times.
The odor should vanish by the third round.
Acid Neutralization Soak
Use this soak for Condition 2 grease traps. Mix one part white vinegar with three parts warm water. Submerge the mat fully for thirty minutes.
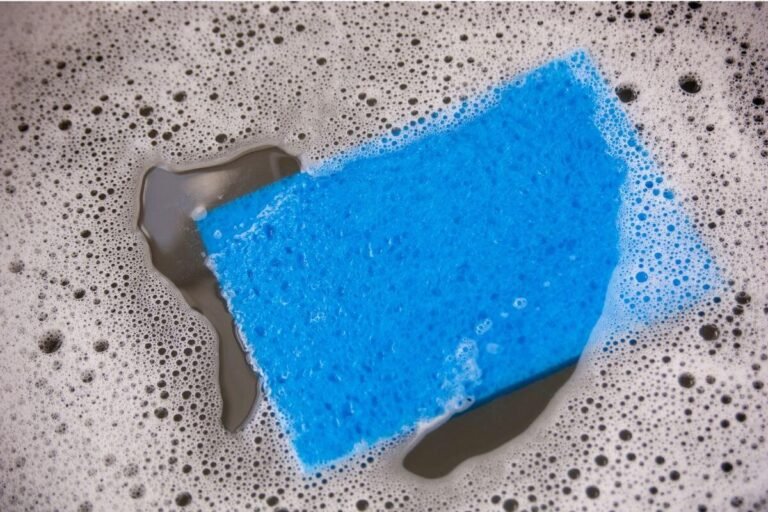
Scrub gently with a soft nylon sponge. Rinse thoroughly with hot tap water. Air dry on a flat rack.
Never twist wet silicone to squeeze out water. Twisting stretches the surface weave and locks soap residue inside pores.
Baking Soda Absorbent Paste
Apply this paste when mild acids fail. Mix two tablespoons of baking soda with one tablespoon of water. Form a thick spreadable consistency.
Coat both sides of the mat evenly. Let the paste sit for two hours. Wipe it off with a damp cloth.
Rinse with clean water. Dry completely before storage.
| Treatment Type | Target Odor Source | Drying Time | Expected Result |
|---|---|---|---|
| Low-Heat Burn-Off | Uncured manufacturing volatiles | 2 hours cooling | Neutral scent after 3 cycles |
| Acid Neutralization Soak | Trapped oils and soap film | 45 minutes air dry | Clean grease-free surface |
| Baking Soda Paste | Deep-set rancid lipids | 30 minutes air dry | Absorbed heavy chemical notes |
You should only move to high-heat baking once the mat passes a neutral smell test at room temperature. Store cured mats rolled or flat in a dry cabinet. Never stack warm liners inside plastic bins.
Trapped moisture breeds mildew and revives old odors. Proper ventilation preserves the inert surface for years of reliable kitchen service.
The Keep vs. Replace Decision Tree
You can keep the mat if the odor fades after cleaning and the surface remains completely smooth. Replace it immediately if you notice persistent tackiness, white chalky residue, or sharp plastic smells past three heating cycles. The decision relies on three measurable checkpoints.
Check the surface texture first. Run your fingertips lightly across the entire sheet. You should feel uniform resistance.
Any rough patches signal filler breakdown. Smooth texture means the base elastomer remains intact. You can safely keep it for daily baking.
Test the flexibility next. Fold the corner gently. High-quality silicone rebounds instantly without creasing.
Cheap blends hold fold lines or crack at the stress point. Permanent creases indicate polymer degradation. That mat has reached end-of-life and will contaminate your oven.
Run a final water absorption test. Sprinkle a few drops of tap water on the surface. Good silicone beads the moisture cleanly.
Degraded surfaces absorb water into micro-fractures. Those hidden pockets trap bacteria and revive chemical odors during baking. Discard the liner if water soaks in immediately.
| Checkpoint | Keep Condition | Replace Condition |
|---|---|---|
| Surface Texture | Smooth, uniform feel | Rough, chalky, or sticky |
| Flex Rebound | Bounces back instantly | Holds fold lines or cracks |
| Water Behavior | Moisture beads up fully | Water soaks into surface |
| Odor Profile | Fades after cleaning | Persists past 3 cycles |
Follow this strict routing. If two or more checkpoints fail, the material structure is compromised. Continued use will transfer off-gassing compounds directly onto your food.
Common Mistakes That Trap or Worsen Odors
Most kitchen users accidentally lock chemical smells into their mats during routine cleaning. You need to avoid specific handling errors.
Scrubbing with steel wool tears the top layer. The exposed inner matrix absorbs grease and releases heavier odors later. Always use soft nylon sponges or silicone brushes.
Aggressive abrasion creates permanent odor traps that vinegar cannot fix.
Running high-heat cleaning cycles backfires on new mats. Dishwashers often exceed one hundred forty degrees Fahrenheit during sanitize phases. That sudden thermal shock forces uncured volatiles deeper into the polymer.
Hand wash new liners until the smell stabilizes.
Stacking hot mats seals trapped gases inside. Placing a warm liner directly on top of another one prevents airflow. The trapped moisture mixes with residual manufacturing notes.
You will smell a sour blend the next time you bake. Let mats cool fully on wire racks before storage.
Using harsh degreasers introduces new chemical layers. Oven cleaners and heavy-duty citrus solvents bond with the silicone surface. Heat reactivates those bonded compounds during your next cookie batch.
Stick to pH-neutral dish soap and white vinegar rinses.
What “Food-Grade” Actually Means & Compliance Marks to Check
Food-grade means the material passed strict migration testing for direct food contact. The marketing label alone does not guarantee safety without supporting documentation. You need to verify specific regulatory standards.
In the United States, compliant silicone meets FDA Title 21 Code of Federal Regulations Section 177.2600. This standard limits the migration of organic compounds into food simulants. Reputable brands publish compliance certificates matching this exact code.
European certification follows LFGB testing protocols under Regulation 1935/2004. LFGB standards require harsher extraction tests than FDA rules. You will often find mats marked with a fork-and-glass symbol or a specific BfR compliance number.
That symbol confirms strict heavy-metal and VOC limits.
Marketing terms like "non-toxic" or "BPA-free" lack regulatory weight. Silicones do not contain bisphenol A anyway. The empty claim distracts you from actual performance data.
Look for batch-specific test reports instead.
You can verify authenticity through a simple packaging check. Legitimate certification marks appear directly on the retail box or product tag. The label should list a testing laboratory and a compliance standard number.
Generic brands omit these details entirely. Contact the manufacturer if the documentation remains unclear.
Pro Maintenance Tips to Prevent Long-Term Odor Buildup
Long-term odor prevention relies on consistent thermal management and proper airflow. You will keep the mat fresh by following three simple maintenance rules.
Pair the mat with a heavy-gauge aluminum baking sheet. Thin pans warp under heat and create uneven hot spots. Those localized hot spots accelerate polymer breakdown on the silicone surface.
A rigid sheet distributes radiant heat evenly. The liner stays well below its degradation threshold.
Rotate mats on a monthly schedule during heavy baking seasons. Continuous use without rest days traps cooking lipids inside the surface pores. Giving a mat a seven-day cooling break allows trapped gases to vent naturally.
You extend the service life by years with simple rotation.
Store liners rolled around a cardboard tube. Folding mats creates permanent stress fractures over time. The cracks collect dust and kitchen oils.
Rolled storage maintains uniform tension across the surface. Keep the roll in a dry pantry away from direct sunlight. UV exposure degrades surface elasticity.
Decision Workflow Summary: Your Next-Step Checklist
You can resolve the odor issue quickly by following this sequential checklist. Start at the top and move down only after completing each step.
- Perform a room-temperature sniff test. Note the exact scent profile. Faint rubber means off-gassing. Sharp plastic means filler degradation.
- Run the pinch test on the edge. White powder confirms cheap fillers. Clean flex means the base material is sound.
- Execute a three-cycle burn-off routine at 300°F. Ventilate the kitchen during the process.
- Apply the vinegar soak if grease notes linger. Rinse thoroughly and air-dry flat.
- Check the certification marks on the box. Verify FDA 21 CFR or LFGB compliance.
- Evaluate surface texture after cooling. Smooth texture confirms successful treatment. Tackiness requires immediate disposal.
Follow this routing exactly. You will either restore the liner safely or identify a defective batch before it touches your food. Clear diagnostics save time and keep your kitchen environment stable.
Frequently Asked Questions
Why does my silicone mat smell like plastic after washing?
Dishwasher detergents leave alkaline residues in the microscopic surface pores. Those residues react with direct oven heat during your next bake cycle. The thermal reaction produces a sharp chemical odor.
Hand washing with warm water and pH-neutral dish soap prevents this buildup.
Can I bake on a mat that still smells?
You should only bake on it once the scent fades completely. Lingering plastic notes indicate uncured polymers or severe filler breakdown. Direct heat transfers those volatile compounds onto your pastries.
Wait until the mat passes a neutral room-temperature sniff test first.
How many times can I reuse a silicone baking mat?
Manufacturer specifications rate high-quality platinum-cured mats for roughly two thousand baking cycles. Real-world kitchen use typically stretches that lifespan to three or four years. You will notice declining non-stick performance as the cycles accumulate.
Replace the liner when the surface turns permanently tacky.
Is the chemical smell toxic when baking?
Certified food-grade silicone releases trace amounts of volatile organic compounds below established safety limits. Regulatory testing confirms these short-term emissions pose no health risk during normal use. Cheap fillers and unregulated blends may exceed those migration thresholds.
Stick to mats with verifiable compliance documentation.
Should I store rolled or flat to prevent odors?
Roll the mat loosely around a wide cardboard tube. Flat stacking traps moisture and kitchen oils between the layers. Those trapped residues oxidize and produce stale chemical notes over time.
Rolling maintains even surface tension and promotes proper airflow.