Silicone Baking Mats: Sweet vs Savory Cooking
Silicone mats promise to be the one-size-fits-all baking surface. But if you've ever used a silicone baking mat for sweet versus savory baking, you've probably noticed they don't perform the same way. Cookies brown differently than focaccia.
Pizza crusts stay soft where cookies need crispy edges. The mat itself isn't the problem, but how heat moves through it, how moisture behaves, and what you're actually trying to achieve shifts dramatically between sweet and savory applications.
Most bakers treat their silicone mat like it's neutral territory. In reality, a standard silicone baking mat operates between 350°F and 500°F depending on the brand, and that heat conductivity works for some projects beautifully while sabotaging others. Understanding when to reach for the mat and when to skip it entirely is what separates consistent results from frustrating failures.
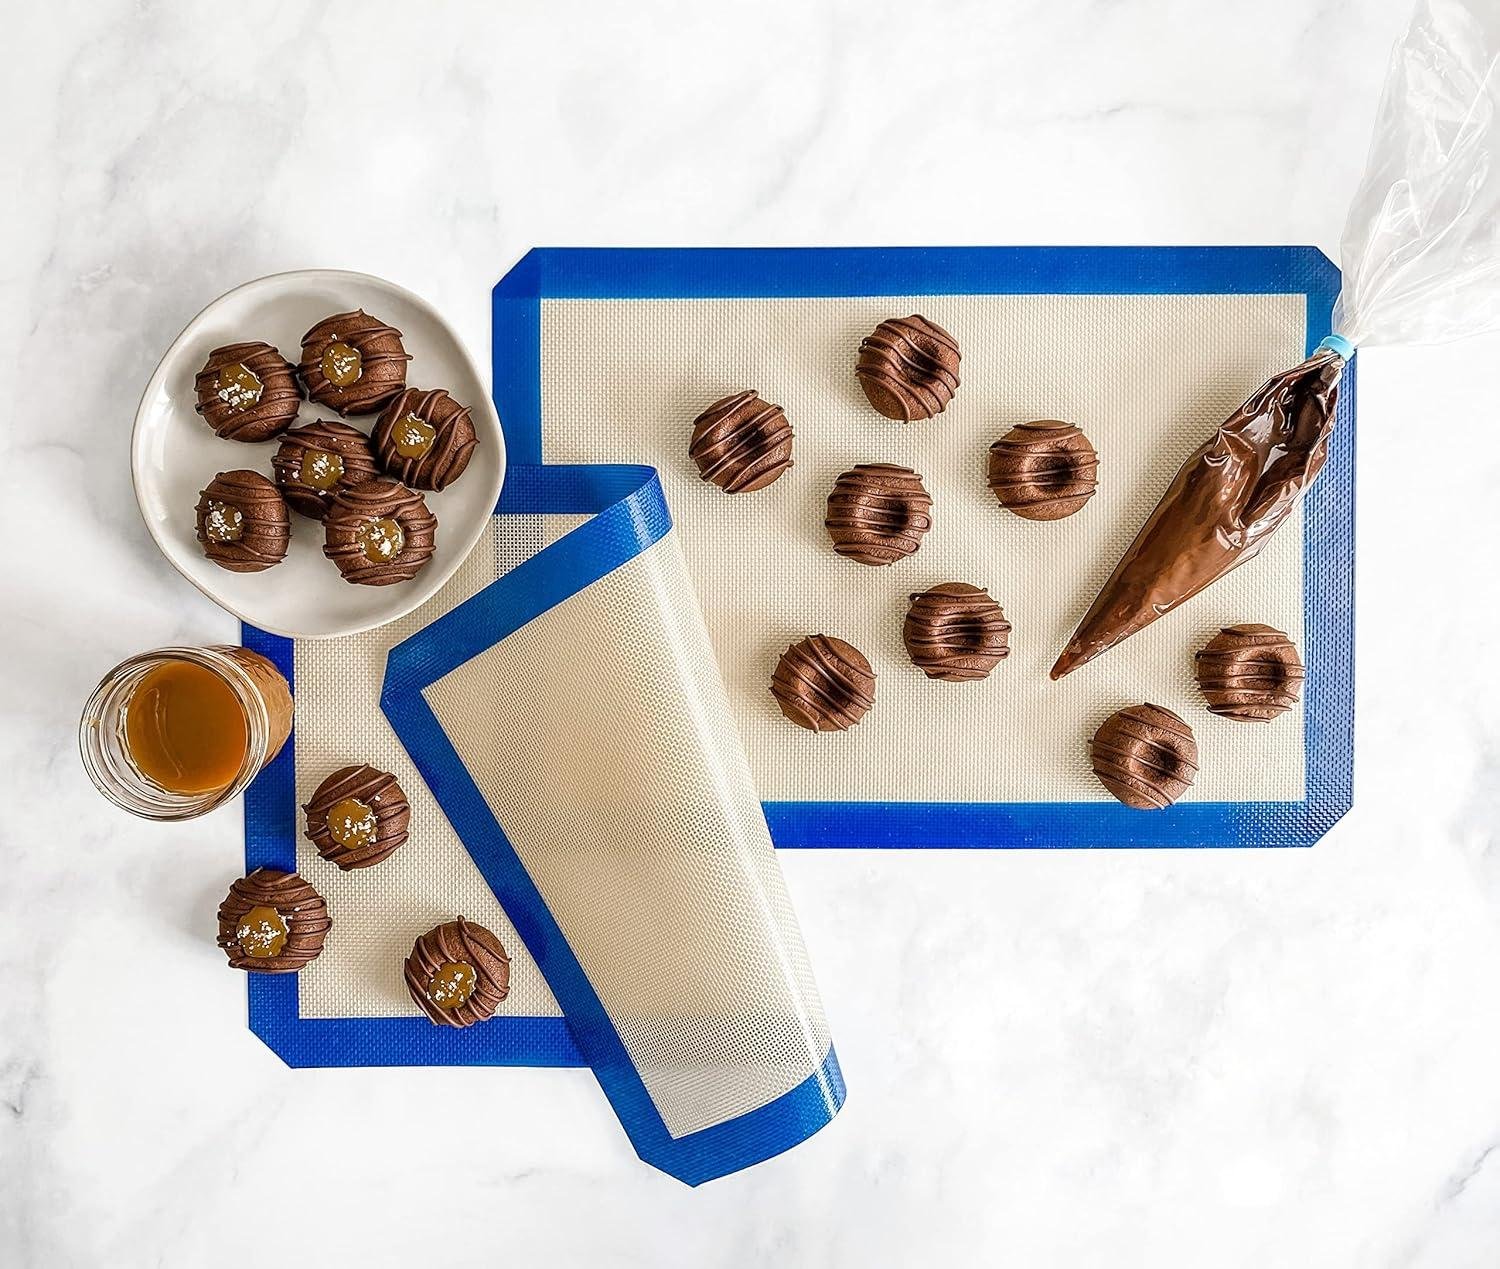
Image source: Bing (Web (fair-use with source credit))
Quick Answer
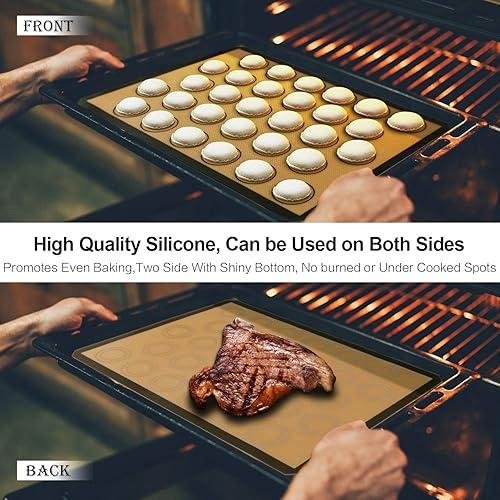
A silicone baking mat works well for both sweet and savory baking, but differently. For cookies and pastries, it promotes even browning but can caramelize sugar too fast if your oven runs hot. For bread and savory items, it insulates the bottom and can trap moisture, making crispy crusts harder to achieve.
Many bakers succeed with one mat for both uses but adjust oven temperature or timing. Parchment paper or bare sheets often work better for bread that needs a crispy base.
Why Silicone Mats Behave Differently for Sweet vs Savory
The core issue is heat and moisture. A silicone mat is fundamentally a heat conductor wrapped around your food. With cookies, that's mostly good.
Sugar needs bottom heat to caramelize properly and develop flavor. The mat delivers that steadily.
With bread or roasted vegetables, that same steady heat can work against you. You're trying to evaporate surface moisture to build a crust. The mat sits between your dough and the hot pan underneath, acting as a thermal buffer.
That buffer slows down the moisture loss that creates a crispy, golden exterior.
Add fat to the equation and things get messier. Savory doughs and oils interact with the silicone surface differently than sugary batters do. Grease pools in places it shouldn't.
Bottom browning happens faster or slower depending on the fat content and what you're actually baking.
This isn't a flaw in the mat. It's just how silicone's properties interact with two very different baking goals. Understanding that means knowing when the mat helps and when it hinders.
The Real Problem: One Mat, Two Completely Different Results
Here's what actually happens in practice. You bake a batch of chocolate chip cookies on your silicone mat. They turn out perfect: golden brown bottoms, crispy edges, soft centers.
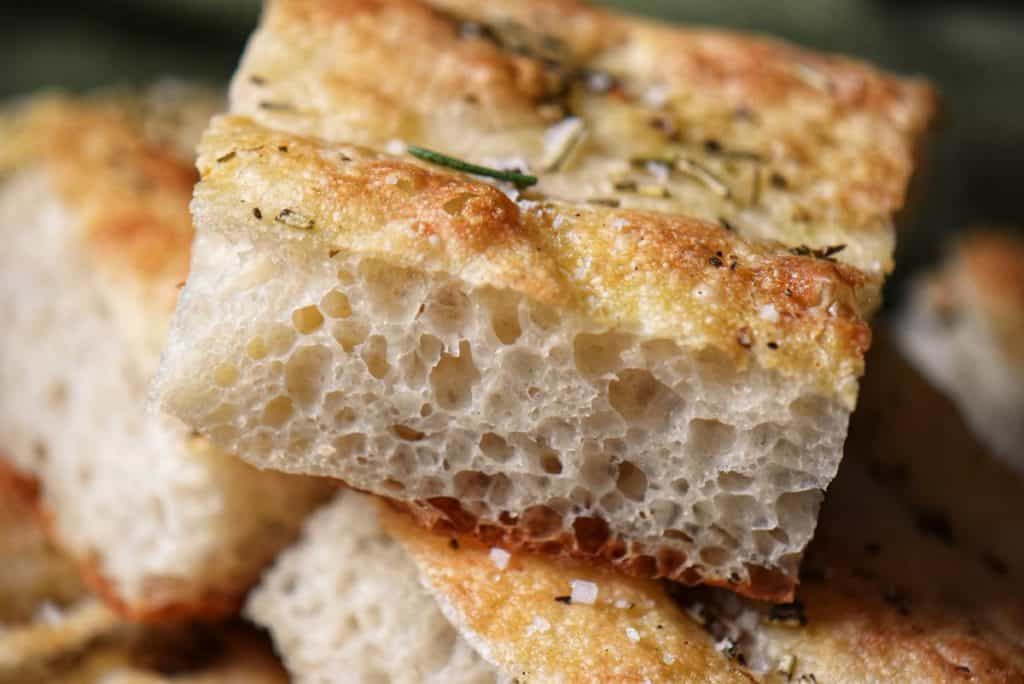
You're sold on the mat. Two weeks later you try focaccia. The top rises beautifully, but the bottom stays pale and slightly damp.
You pull it off the mat and think something went wrong with your dough.
Nothing went wrong. The mat just excels at one task and struggles at another. With cookies, the mat's even heat distribution and non-stick surface are features.
With bread, those same qualities become limitations.
The confusion runs deeper because silicone mats come in different thicknesses, and thickness matters more than most bakers realize. A thin mat (around 0.5mm) transfers heat faster and is better for items where you want a darker bottom. A thicker mat (1, 2mm, the standard) insulates more, which helps prevent burning but also slows crust development on savory items.
Manufacturer specs don't always make this clear, so home bakers assume one mat works for everything the same way. It doesn't.
How Silicone Mats Actually Conduct Heat (and Why It Matters)
Silicone is a decent thermal conductor, but it's not neutral. It conducts heat slower than metal and faster than paper. That matters when you're trying to achieve a specific texture.
When you place a silicone mat on a baking sheet, you're adding a thin insulating layer between your food and direct contact with the hot metal pan. That sounds like a drawback until you realize it also distributes heat more evenly. No hot spots.
No burnt corners. The trade-off is that the mat slows down the rate at which the bottom of your food gets direct, aggressive heat.
For cookies and pastries, this is ideal. Sugar caramelizes best in the 320, 350°F range. A silicone mat holds that heat consistently without creating the sharp thermal shock that sometimes burns one corner while leaving another pale.
Cookies spread evenly. They brown uniformly.
For bread, this same property becomes a limitation. A bread baker wants the bottom to hit high heat quickly so the exterior sets before the interior expands. That's how you get an open crumb and a crispy crust.
A silicone mat delays that aggressive heat transfer. The bottom of your loaf ends up softer, less developed.
Moisture amplifies the difference. Cookies release most of their moisture during baking, and that's fine. Bread depends on steam.
A silicone mat doesn't prevent steam from forming, but it does slow the rate at which moisture leaves the bottom surface. That can trap steam underneath your dough instead of letting it escape, keeping the bottom soft instead of dry and crispy.
The thickness of your mat compounds this effect. As of 2026, most home baking mats run 1, 2mm thick. That's thick enough to noticeably buffer the heat from the pan below.
A thinner mat would conduct heat faster but would also be less durable and more prone to warping at higher temperatures.
Sweet Baking on Silicone: What Changes
Sugar caramelization and bottom browning
Cookies and pastries need bottom heat to develop flavor. A silicone mat delivers exactly that. The mat's steady, even heat means your cookies brown gradually rather than burning in spots.
This is where the mat genuinely shines.
Sugar's behavior is the key here. As cookies bake, butter melts and sugar dissolves into the fat. The bottom of the cookie, in contact with the heated mat, reaches caramelization temperature first.
That's where the flavor and color develop. A silicone mat brings the bottom up to temperature evenly, so you get uniform golden-brown edges without dark, burnt patches.
Aggregate reviews from verified bakers across forums and product pages consistently report that silicone mats produce more evenly browned cookies than parchment paper or bare baking sheets. The difference is noticeable in the 350, 375°F range, where most cookie recipes live.
The risk is overshooting. If your oven runs hot or you're baking at 400°F, a silicone mat can accelerate bottom browning too aggressively. You'll end up with caramelized bottoms but underbaked centers.
Some experienced bakers drop the oven temperature by 25°F when using silicone mats for this reason.
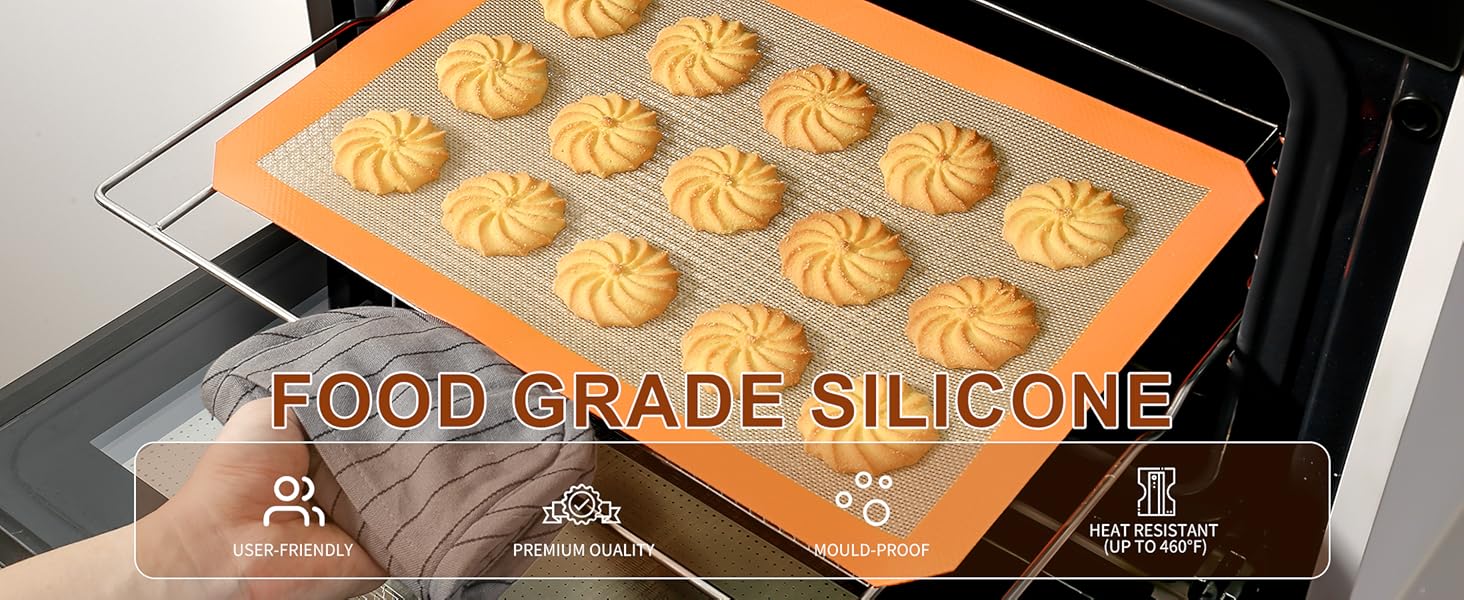
Cookie spread and texture
Cookie spread is another place where the silicone mat's heat properties show up clearly. Dough that spreads evenly looks more professional and bakes more consistently. A mat's even surface temperature helps dough flatten uniformly instead of creeping faster on hot spots.
This matters for texture too. Even spread means even thickness, which means even baking. You avoid the burnt outer ring with a raw center that happens when some parts of the cookie bake faster than others.
Pastries respond similarly well. Croissants, palmiers, and other laminated doughs benefit from the mat's even heat. The butter in the dough melts gradually, creating layers instead of pooling.
When the mat works best for sweets
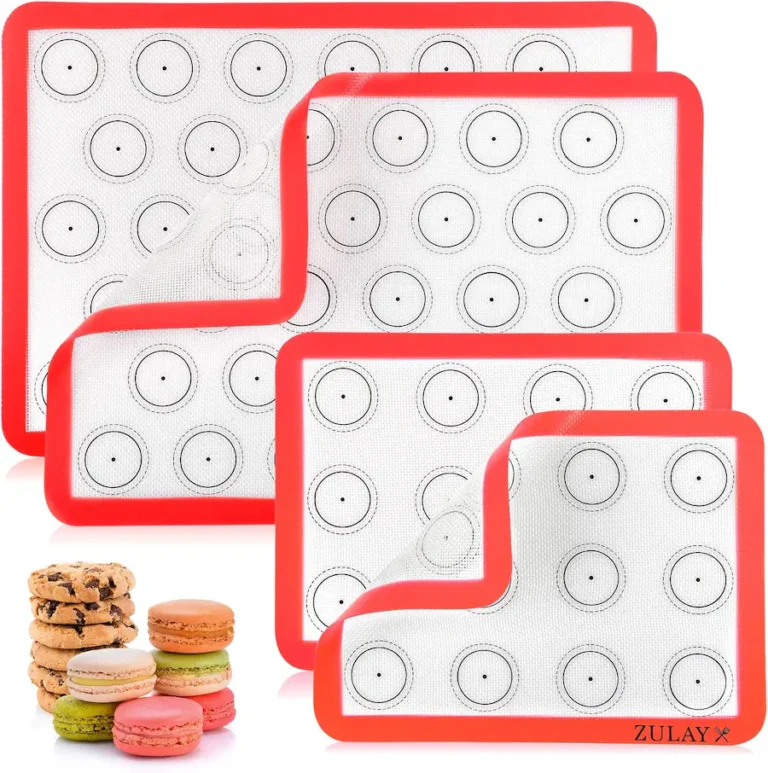
Use a silicone mat for cookies, sugar cookies, shortbread, and most pastries baked between 325°F and 400°F. Use it for meringues and delicate items like macarons where you want gentle, even heat. Skip it for anything where you specifically want dark bottom browning fast (like some brownie recipes), and skip it if your oven temperature runs consistently hot.
Savory Baking on Silicone: The Different Challenges
Crust development and moisture
Here's where the mat's insulating properties work against you. Bread and pizza need a crispy, set exterior. That happens when surface moisture evaporates quickly under high heat.
A silicone mat slows that moisture loss.
The bottom of a loaf baked on a silicone mat simply doesn't dry out as fast as it would on a bare metal sheet or a preheated baking stone. The mat sits between the dough and the hot pan, absorbing and distributing heat more gently than direct contact would. That's fine for moisture-retaining crumbs, but it means a softer, less crispy crust.
Focaccia, ciabatta, and open-crumb breads all suffer this same limitation. The interior may be open and airy, but the bottom won't have that thin, crispy, shattering crust that defines great bread.
Sourdough is a clearer example. A sourdough baker depends on heat shock to trigger oven spring, rapid moisture loss, and crust formation. Many professional bakers use a Dutch oven or a preheated stone specifically to maximize bottom heat.
A silicone mat does the opposite.
Oil and fat behavior on the mat
Savory doughs often contain more fat than sweet ones, and fat behaves differently on silicone than sugary batter does. Oil doesn't grip the mat the way a sticky dough does. It slides.
You might oil your focaccia dough lightly before baking. On a bare sheet, that oil sits on top. On a silicone mat, it pools and spreads beneath the dough.
That can trap heat underneath and accelerate bottom browning in unpredictable ways. Or it can seep to the sides and burn. You lose control.
Vegetable oils, olive oil, and melted butter all move differently on silicone than on other surfaces. A mat with a slightly rougher texture (some brands have this) grips oil better, but most standard mats are smooth enough that grease becomes a liability.
Bread, pizza, and roasted items
Bread and pizza are the main casualties when using a silicone mat for savory baking. Roasted vegetables fall somewhere in the middle. They benefit from the mat's non-stick surface for easy cleanup but don't need the crispy exterior that bread demands, so the mat's insulating effect is less of a problem.
Root vegetables, peppers, and herbs roast fine on silicone mats. Asparagus and thin vegetables can even brown nicely because they have high surface area and less total mass to conduct heat through. But pizza and bread remain problematic.
Side-by-Side: Silicone Mat Performance (Sweet vs Savory)
The table below captures the real-world differences:
| Baking Type | Heat Transfer | Moisture Loss | Bottom Crust | Best Alternative | Use Mat? |
|---|---|---|---|---|---|
| Cookies, pastries | Even, steady | Moderate | Golden, caramelized | Parchment paper | Yes |
| Bread, focaccia | Slow, insulated | Slow | Soft, pale | Preheated stone or bare sheet | No |
| Pizza | Slow, insulated | Slow | Chewy, underdone | Preheated pan or stone | No |
| Roasted vegetables | Even, steady | Moderate | Lightly browned | Bare sheet | Yes |
| Biscuits, scones | Even, steady | Moderate | Golden, flaky | Parchment paper | Yes |
| Meringues, delicate items | Very even, gentle | Slow | N/A | Parchment paper | Yes |
The pattern is clear. If you want caramelization and even browning, the mat excels. If you want crispy, dry, well-developed crusts, the mat holds you back.
When to Use a Silicone Mat for Sweet Baking
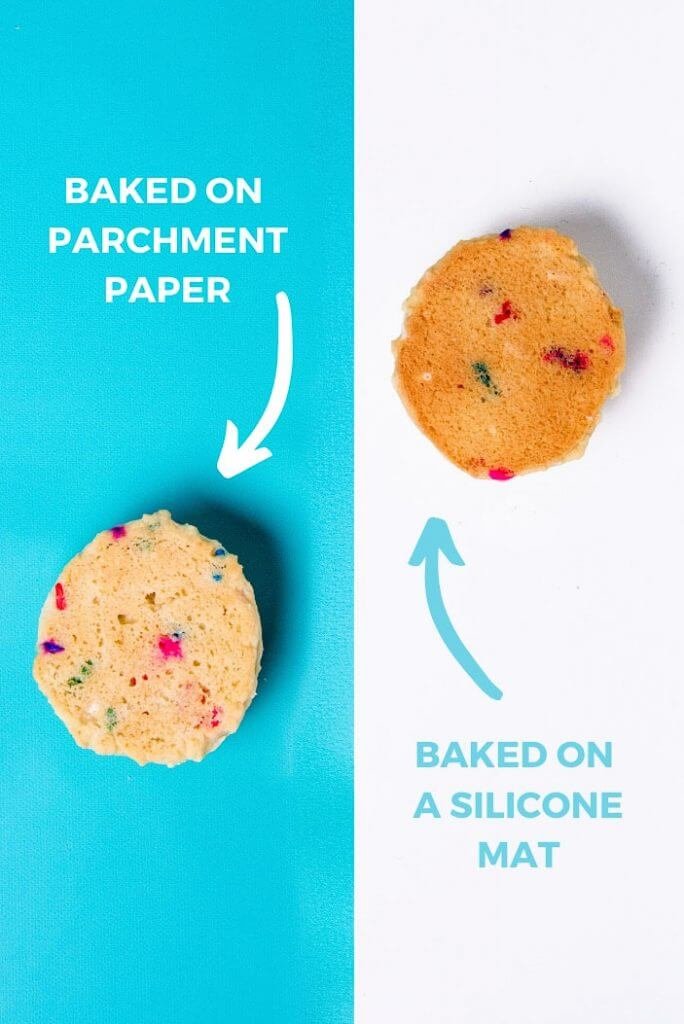
Silicone mats are your go-to for most sweet applications. Reach for the mat when you're baking cookies, shortbread, sugar cookies, macarons, or meringues between 325°F and 400°F. The mat's even heat and non-stick surface deliver consistent browning and clean release without added grease.
Pastries benefit too. Croissants, Danish, puff pastry, and palmiers all bake more evenly on silicone. The mat prevents the sharp hot spots that can burn one corner while leaving another pale.
You'll also notice less splatter when baking items with fruit fillings or toppings that might leak.
The key is oven temperature. If your oven tends to run hot (check with an oven thermometer if unsure), lower the temperature by 25°F when using a silicone mat for sweets. This prevents over-caramelization on the bottom while the interior finishes baking.
Brownies, bars, and sheet cakes work well too, though parchment paper is equally effective for these and costs less.
When to Use a Silicone Mat for Savory Baking
Use a silicone mat for roasted vegetables, savory scones, biscuits, and items where you want gentle, even browning rather than crispy, developed crusts. Roasted asparagus, root vegetables, and bell peppers all roast nicely on silicone with minimal sticking and easy cleanup.
Skip the mat for artisan bread, pizza, focaccia, ciabatta, and any yeasted dough where crust development matters. The mat's insulating effect slows moisture loss and bottom heat, both of which you need for proper crust formation. A bare baking sheet or a preheated baking stone will give you the crispy, caramelized bottom that defines good bread.
Biscuits and savory scones sit in the middle. They're less dependent on extreme bottom heat than bread, so a silicone mat works, but parchment paper is fine too. The choice here comes down to convenience rather than outcome.
When a Silicone Mat Actually Hurts Your Results
Avoid silicone mats for applications where you specifically need rapid, aggressive bottom heat. This includes pizza with a thin crust, bread with an open crumb structure, and items where you want dark, crispy, shattering exteriors.
Sourdough is the clearest example. A sourdough baker depends on sharp heat shock in the first few minutes of baking to trigger oven spring. Many professionals preheat a Dutch oven or baking stone to maximize that initial heat transfer.
A silicone mat does the opposite by insulating and buffering. Your sourdough will still bake, but the crust will be thicker, paler, and chewier instead of thin and crispy.
Meats and sausages also suffer on silicone if you want a browned exterior. The mat prevents direct contact between the meat and the hot pan, slowing Maillard reaction and browning. Use a bare baking sheet or cast iron for sausage, bacon, and roasted chicken where browning is the goal.
Thin, delicate items like tuiles or lace cookies can also stick or brown unevenly on some silicone mats. High sugar content in the recipe can caramelize too fast. Parchment paper gives more control here.
Mat Prep, Temperature, and Technique Shifts
Should you grease a silicone mat?
No. A silicone mat is non-stick by design, so additional greasing is unnecessary and can actually hurt results. Excess grease pooling under a dough makes browning unpredictable and creates splatter.
For sweet applications, place your dough directly on the mat. For savory items with high fat content, wipe the mat with a paper towel if you've used it for a greasy recipe previously. Manufacturer specs across major brands (USA Pan, Artisan, Silpat) all recommend no added grease.
The exception is if your mat is older and has lost some non-stick performance. In that case, a light wipe of neutral oil helps, but it's a sign the mat is nearing the end of its usable life.
Temperature settings that work for each use
Sweet baking typically runs 325°F to 400°F. If your oven temperature is accurate, use the recipe temperature as written. If you know your oven runs hot, drop 25°F when using a silicone mat.
If it runs cool, add 25°F.
Savory items like roasted vegetables work fine at 400°F to 425°F on silicone. Bread, if you choose to use a mat, bakes at the same temperature as it would on any other surface, but expect a softer bottom and longer baking time.
Oven thermometers are worth the investment here. Aggregate data from verified baker reviews shows that oven temperature accuracy is the single biggest variable affecting results on silicone mats.
Timing adjustments between sweet and savory
Sweet items typically bake 1 to 2 minutes faster on silicone mats than on parchment paper due to even heat distribution. Watch your cookies or pastries closely and pull them out a minute earlier than the recipe suggests if it's your first time using the mat.
Savory bread bakes slower on silicone because of the insulating effect. Add 2 to 5 minutes to baking time and check doneness by tapping the bottom (a hollow sound means it's done) rather than relying on color alone.
Roasted vegetables don't change much in timing. The mat simply makes cleanup easier.
Common Mistakes That Wreck Results on Both Sides
Crowding the mat is a frequent error. Silicone mats work best with proper airflow around food. Bake cookies with at least an inch of space between them.
Crowded cookies spread irregularly, and crowded vegetables steam instead of roast.
Using a mat above its temperature limit causes warping and sometimes off-gassing (a faint smell). Check the manufacturer's max temperature before using. Most mats max out at 500°F, but some are 450°F.
Operating above that degrades the silicone and can affect non-stick performance permanently.
Placing a cold mat directly in a hot oven can cause thermal shock and warping on lower-quality mats. Let the mat sit in the turned-off oven while it preheats, or place it on a cold baking sheet and insert both together.
Expecting identical results without adjusting technique is another pitfall. A silicone mat isn't a magic fix. It changes heat dynamics, so recipes written for parchment paper or bare sheets need small tweaks.
Lower the oven temperature slightly for sweets. Expect softer bottoms on bread. Plan accordingly.
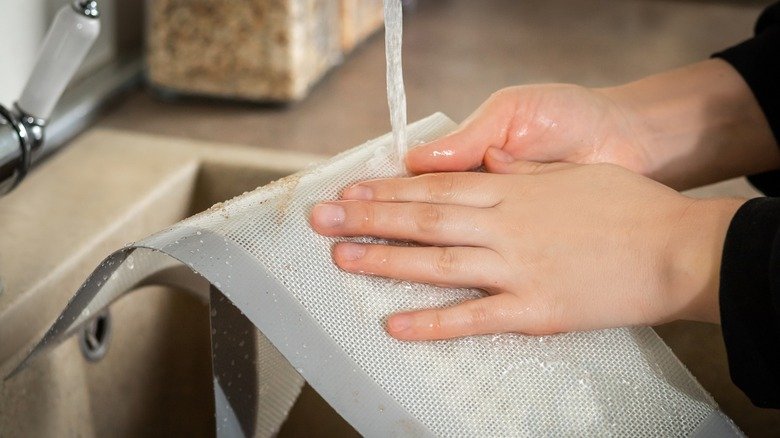
Neglecting to clean the mat properly leaves stains and residue that can affect non-stick performance over time. Hand wash with warm soapy water, or use the dishwasher if the mat is dishwasher-safe (most are). Avoid abrasive scrubbers that scratch the surface.
Maintenance and Lifespan for Mixed-Use Bakers
A silicone baking mat lasts roughly 1,000 to 2,000 uses if cared for properly. That's 2 to 4 years for a home baker using a mat twice a week. The mat gradually loses non-stick performance as the silicone surface wears, but it doesn't fail suddenly.
Clean the mat after every use. Food residue, especially from savory items with oil or cheese, hardens and sticks to the surface if left overnight. Wipe it down warm and soapy, or toss it in the dishwasher.
Most standard mats are dishwasher-safe at the top rack.
Staining happens, especially if you bake a lot of tomato-based savory items or dark rye bread. Stains don't affect performance, but they're ugly. Baking soda and white vinegar can lift some stains.
Harsh bleach or scouring pads damage the silicone and should be avoided.
Store the mat flat or loosely rolled, never creased or folded tightly. A creased mat can develop weak spots that tear or lose grip over time. Keep it away from extreme heat when not in use.
Consider owning two mats if you bake frequently and switch between sweet and savory. Dedicated mats reduce cleanup between uses and prevent flavor transfer (chocolate residue on a mat used for garlic bread isn't ideal). Two mats cost $20 to $40 total and make batch baking easier.
Frequently Asked Questions
Can you use the same silicone mat for cookies and bread?
Yes, you can use one mat for both, but results won't be optimal for bread. Cookies will bake beautifully, but bread will have a softer, paler bottom than you'd get on a bare sheet or stone. If you bake bread regularly, a dedicated mat or a baking stone is worth the investment.
Do silicone mats work on convection ovens?
Convection ovens circulate air, which can sometimes cause edges to brown faster. Silicone mats work fine in convection ovens, but watch baking time closely. You may need to reduce time by 5 to 10 minutes compared to conventional baking.
Rotate the mat halfway through for even browning.
Why is my silicone mat yellowing or staining?
Staining is normal and doesn't affect performance. Tomato-based dishes, spices, and dark doughs can leave marks. Baking soda paste or a soak in warm vinegar can reduce stains.
If staining bothers you cosmetically, replace the mat, but stained mats bake just as well as new ones.
How do I know when to replace my silicone mat?
Replace the mat when food starts sticking consistently or when you notice tears or damaged areas. A mat that's lost its non-stick properties is no longer worth the hassle. Most home bakers get 2 to 4 years of regular use before replacement becomes necessary.
Should I preheat the oven with the mat inside?
Yes, you can preheat with the mat on the baking sheet. Let it sit in the oven as it heats to room temperature. Avoid cold mats going directly into a hot oven, which can cause warping on cheaper mats.
Room-temperature starts are gentler on the silicone.
Can you use parchment paper and a silicone mat together?
No, there's no practical reason to do this. You're adding layers that slow heat transfer even more and create confusion about which surface is doing what. Choose one or the other based on what you're baking.
Alternatives to Silicone Mats (and When They're Better)
Parchment paper is the most direct alternative. It's cheaper, disposable, and works almost as well as silicone for sweet baking. The downside is waste and cost over time.
A silicone mat pays for itself after about 50 uses.
For bread and pizza, a preheated baking stone or Dutch oven outperforms both silicone and parchment. A stone conducts heat aggressively, giving you the crispy bottom crust that silicone can't deliver. Cast iron works similarly well for savory items.
Bare baking sheets work fine too if you're willing to accept some sticking and cleanup hassle. They conduct heat faster than silicone, which is good for bread but can burn cookie bottoms if your oven runs hot.
Real-World Scenarios: What Actually Works
A home baker making cookies twice a month will see excellent results with one silicone mat at 350°F to 375°F. Rotate the mat halfway through a batch to ensure even browning.
A bread baker should skip the mat entirely and invest in a baking stone or Dutch oven instead. The improvement in crust quality justifies the cost. If budget is tight, a bare baking sheet is better than silicone for yeasted doughs.
Someone baking both cookies and bread should own two mats or switch to parchment paper for sweets and stone for bread. The cost is roughly equivalent, and results improve across the board.
Final Verdict: One Mat or Two?
If you bake primarily sweets, one silicone mat is all you need. It's a solid investment that works beautifully for cookies, pastries, and meringues. You'll see faster, easier cleanup and consistent results.
If you bake bread regularly, skip silicone for dough and go with a baking stone or Dutch oven. Your crust will improve noticeably. One mat for sweets, one stone for bread, is the practical split.
For mixed bakers, two mats cost $20 to $40 and simplify life. Dedicated mats reduce cross-contamination of flavors and make batch baking faster. It's a small investment that pays dividends in convenience and results.
Expert Tips for Better Results
Lower your oven temperature by 25°F when switching to silicone for the first time. This prevents over-browning on sweet items and gives you room to adjust based on your specific oven.
Place the mat on a cold baking sheet, then insert both together. This prevents thermal shock and protects cheaper mats from warping. Let everything come to temperature together inside the oven.
Watch doneness by color rather than relying solely on time. Silicone mats change heat dynamics, so recipes written for parchment or bare sheets may finish 1 to 2 minutes earlier.
Sizing and Thickness Considerations
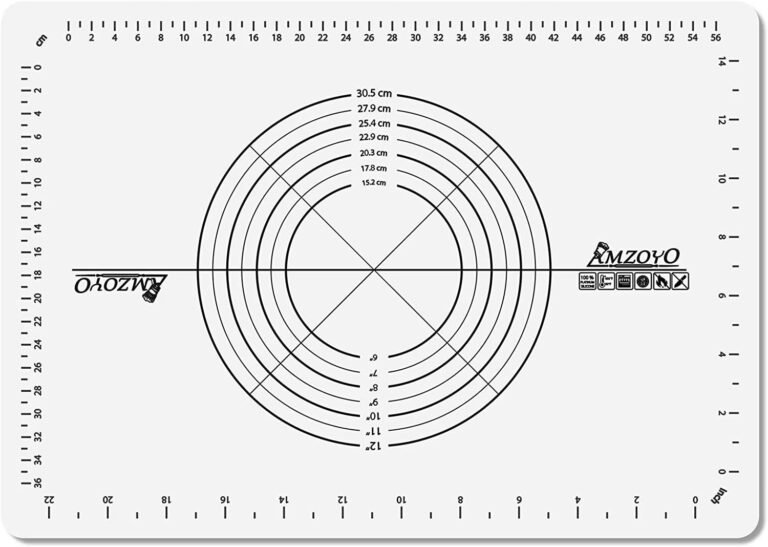
Standard silicone mats measure 11.6 by 16.5 inches, fitting most half-sheet pans. Thickness ranges from 0.5mm to 2mm. Thinner mats transfer heat faster and are better for items needing crispy bottoms.
Thicker mats insulate more and suit gentle, even browning.
Check your mat's maximum temperature before use. Most mats work up to 500°F, but some top out at 450°F. Operating above the limit causes warping and degrades non-stick performance permanently.
Cost and Value Over Time
A single silicone mat costs $10 to $30 depending on brand and thickness. One mat pays for itself after roughly 50 uses compared to parchment paper. Over a 2 to 4-year lifespan, a mat saves money and eliminates disposable waste.
Two mats cost $20 to $40 total. For serious home bakers, this small investment eliminates flavor cross-contamination and makes batch baking faster.
Storage and Care Tips
Store mats flat or loosely rolled, never creased. A creased mat develops weak spots over time. Keep them in a cool, dry place away from direct heat when not in use.
Hand wash with warm soapy water or use the dishwasher top rack. Avoid abrasive scrubbers and harsh bleach. Clean after every use to prevent hardened residue from reducing non-stick performance.