How to Core an Apple Without Wasting Any Fruit
How to Core an Apple Without Wasting Fruit usually comes down to one visual cue. You want to remove the seed cavity while leaving the surrounding flesh intact. Most waste happens because the cut goes too wide.
A medium apple often weighs about 150 g to 200 g. A clean core should remove only about 15 g to 30 g. That usually leaves roughly 85% to 90% as usable fruit.
The first skill is seeing the core before you cut.
Quick Answer
How to Core an Apple Without Wasting Fruit starts with the stem line. Center a sharp corer over the stem scar. Press down and twist gently through the core.
Stop just above the dense base flesh. Trim only dark seed pockets afterward.
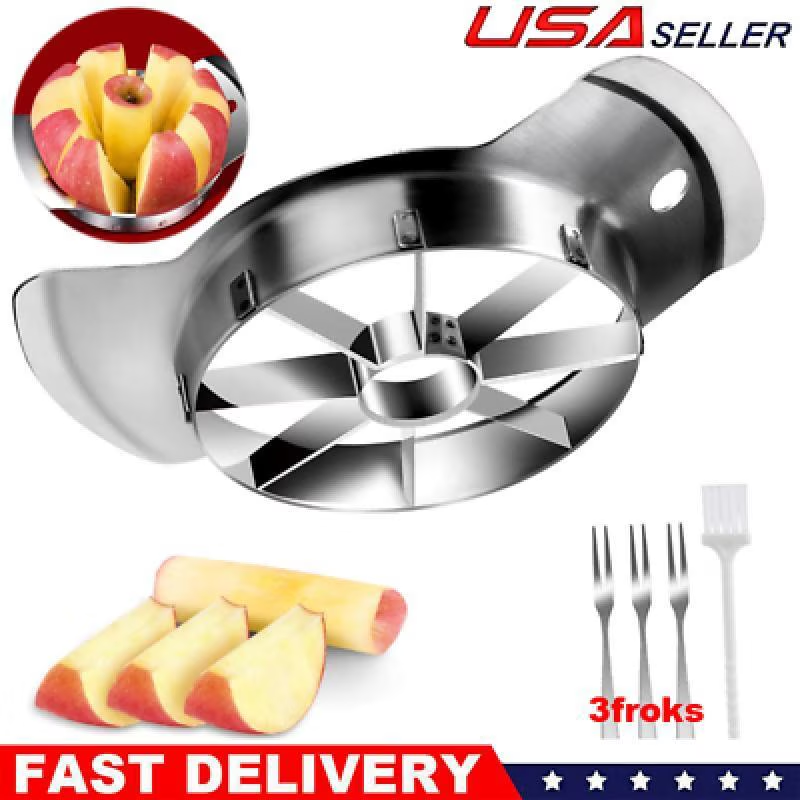
Image source: Bing (Web (fair-use with source credit))
The Visual Shortcut to Coring an Apple Without Wasting Fruit
An apple core is not a vague center area. It is a fairly narrow cylinder that runs from the stem to the blossom end. The seeds sit inside that cylinder, and the tough membrane hugs them closely.
A good visual target is a clean round plug. In a photo or diagram, the plug should include the seeds and little else. The surrounding ring should look like normal flesh, not pale core tissue.
As of 2026, many standard apple corers measure about 3/4 inch to 1 inch across. That size works well for many medium apples, but it fails when the tool is angled. A tilted corer cuts a wider path and takes extra flesh.
In our research, the biggest yield losses come from angled cuts, not dull tools. A centered cut can be narrow even with a basic corer. An off-center cut wastes fruit even with an expensive tool.
That is why the visual setup matters before pressure begins.
What to look for before you cut:
- The stem dimple at the top.
- The blossom point at the base.
- A straight line between those two points.
- A corer or knife path that follows that line.
If you can see that line, you can keep the cut narrow. If you cannot, slow down and rotate the apple until the top and base line up.
Why the Stem-to-Base Axis Is the Most Important Line to See
The stem-to-base axis is the shortest path through the seed cavity. It gives you the narrowest possible cut. The core follows the apple’s natural center, so your tool should follow it too.
If the corer starts on the stem and exits near the base center, you remove the seed pocket cleanly. If it drifts toward one shoulder, you leave seeds behind. Then you have to make a second cut, and that second cut wastes flesh.
A simple visual check helps:
- Hold the apple with the stem facing up.
- Look for the small depression where the stem was attached.
- Turn the apple until the base looks centered under that depression.
- Imagine a straight rod passing through both points.
That imagined rod is your cut path. A corer should start on it. A knife method should work around it.
This matters more for long apples than round apples. A tall apple gives you more vertical seed cavity. A short wide apple forgives small angle errors more easily.
Still, the center line is the safest guide for both shapes.
Aggregate user reviews often mention missed seeds as the main complaint. That usually traces back to poor axis alignment. The tool starts at the stem but leans toward one side.
The core plug then breaks instead of lifting out cleanly.
How to Spot the Core, Seed Pocket, and Usable Flesh Before Cutting
A cross section makes the target obvious. The seed cavity sits in the center, and the seeds form a small cluster. Around that center is the flesh you want to keep.
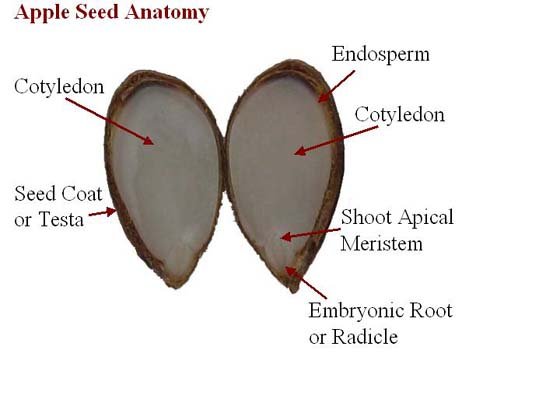
Image source: Bing (Web (fair-use with source credit))
In a cut apple, the usable flesh is the firm ring outside the core. The core itself is lighter, spongy, and fibrous. It may also show a thin membrane around each seed pocket.
Visual cues to identify before cutting:
- Seeds: dark, smooth, and clustered near the center.
- Seed pocket: a small papery or spongy space around each seed.
- Core cylinder: the pale central column from stem to base.
- Usable flesh: the denser outer ring with consistent color.
If the apple is already halved, look for the widest part of the seed cavity. That is where most waste happens. A corer or knife cut that just clears the seeds is enough.
You do not need to remove a wide ring of flesh.
The U.S. Food and Drug Administration recommends washing produce under running water before cutting. That matters because the knife or corer can carry surface material into the flesh.
Dry the apple next. A wet apple is harder to control.
A quick comparison helps:
| What you see | What it means | Best move |
|---|---|---|
| Seeds near the center | Core is centered | Keep the cut narrow |
| Seeds off to one side | Apple core is angled | Rotate apple before cutting |
| Pale fibrous ring | Core tissue in the cut | Trim only that strip |
| Firm outer ring | Usable flesh | Leave it intact |
This visual habit saves more fruit than any special tool. You are aiming to remove the seed cavity, not the middle of the apple.
The U.S. Department of Agriculture provides food composition data that can help estimate edible yield. In practice, a kitchen scale gives faster feedback.
Weigh a whole apple, core it, then weigh the trim. If the trim exceeds about 30 g on a medium apple, your cut is too wide.
The Whole-Apple Corer Method: Visual Alignment and Depth Control
A whole apple corer works best when the apple is firm and the tool is centered. The goal is one clean cylinder, not a crushed apple. Manufacturer specifications for common corers place the cutting diameter around 19 mm to 25 mm.
That is enough to remove seeds while leaving most flesh behind.
Aggregate reviews report that dull corers cause bruising and require excess force. If the rim will not cut with gentle pressure, sharpen or replace the tool. A sharp rim should score the skin before the handle drops far.
How do you align the corer?
You align it by placing the rim directly over the stem dimple. The rim should sit level on the apple skin.
Then follow these visual steps:
- Center the corer over the stem scar.
- Keep the handle vertical.
- Press down with steady pressure.
- Add a slight twist if the skin resists.
- Stop when you feel the base firm up.
If the tool leans, stop. Pull it out and reset. A partial angled cut is hard to fix without wasting fruit.
How deep should the corer go?
Go through the seed cavity but avoid punching deep into the base. The seed cavity usually runs most of the way down, yet the very base holds little seed material. If you push too far, you remove extra flesh from the bottom.
If you want the apple to stay whole, stop just before the corer exits the base. Then push the core plug out from the bottom or lift it out with the tool. If the plug breaks, use the tip of a paring knife to lift the remaining seed pocket.
Depth cues:
- Resistance changes when you reach denser base flesh.
- The corer handle will sit lower as it nears the bottom.
- Seeds usually release once the cylinder passes the widest cavity point.
For soft apples, a corer can bruise the flesh. In that case, use less pressure and let the sharp rim do the work. If the apple collapses, switch to the knife method.
The Paring Knife Method: Coring by Sections When You Don’t Have a Corer
A paring knife gives you more control, but it asks for better visibility. It is the best backup method when you do not have an apple corer. It also works well for small apples, odd shapes, and apples meant for wedges.
The basic idea is simple. You remove the core in sections instead of one plug. Each cut follows the seed cavity, not the outer curve of the apple.
If you are coring many apples for pie, quartering first is often faster. The seed pockets are visible, so you can make shallow cuts. If you need whole rings, use a corer or a careful circular knife cut.
Coring a quartered apple
This method is easy to see and hard to overcut.
- Wash and dry the apple.
- Cut it into quarters from stem to base.
- Stand each quarter upright or lay it flat.
- Slice away the seed pocket in one shallow strip.
- Remove only the pale core tissue.
If you see seeds in the strip, you are close enough. If the strip is mostly flesh, your cut was too wide.
Coring a whole apple with a knife
This takes more care. Use a short blade and a stable board.
- Hold the apple steady on the board.
- Insert the knife just beside the stem.
- Cut a small circle around the stem scar.
- Angle the blade toward the center.
- Lift out the top seed pocket.
- Repeat from the base if needed.
This method works, but it is slower. It also creates more trim. The advantage is that you can save more fruit from misshapen apples.
A few practical tips help:
- Use a cutting board with a damp cloth underneath.
- Cut away from your fingers.
- Keep the blade shallow.
- Trim seed pockets one piece at a time.
- Save clean trim for water, stock, or compote.
If the apple is very soft, a spoon or melon baller can scoop the seed pocket after halving. That is less precise, but it reduces bruising. For firm apples, the knife gives cleaner edges.
Coring for Apple Rings: How to Keep Circles Clean and Intact
Apple rings need a full circle, so the core hole must stay centered. A whole corer gives the cleanest result. A knife can work, but the circle will be less tidy.
What makes a clean ring?
A clean ring comes from a centered core hole and even slice thickness. Firm apples hold the shape better. Soft apples tear around the seed cavity.
Use this order:
- Choose a firm apple with a round shape.
- Core it from the stem end.
- Stop before the base splits.
- Slice across the apple into even rounds.
- Push out any remaining seeds with a knife tip.
If the core plug breaks, slice the apple anyway. Then lift seed pieces from each ring. This saves more flesh than recoring the whole apple.
For snack rings, aim for slices about 1/4 inch thick. Thinner slices dry faster. Thicker slices hold better for lunch boxes.
A mandoline can speed slicing, but a sharp knife gives more control around the hole. If the apple feels soft, skip the mandoline and cut by hand.
If you need perfect rings for baking, use a corer with a diameter close to the seed cavity. Too wide a corer leaves a large hole. That hole may collapse during baking.
Coring for Wedges, Slices, and Baking: When to Quarter First
Quartering first is usually the better method for pie, crisps, and wedges. You see the seed pocket directly. That makes it easier to remove only the core strip.
This method works especially well for large cooking apples. Bramley apples can be soft and irregular. A corer may crush them.
A knife gives you more control. It also handles small apples that do not fit a standard corer.
When should you quarter before coring?
Quarter the apple when the final shape does not need to stay whole. This includes pie slices, diced apples, and snack wedges.
A simple workflow:
- Cut the apple from stem to base into quarters.
- Lay each quarter flat on the board.
- Cut away the pale seed strip.
- Trim only the tough ends if needed.
- Slice or dice the clean flesh.
The visual cue is color. The core strip looks lighter and spongy. The flesh looks denser and more even.
Remove the pale strip and stop. Do not chase every small fleck of membrane. Tiny bits are easy to trim later.
For baking, uniform thickness matters more than perfect circles. Even wedges cook at the same rate. If some pieces are much thicker, they stay firm while the rest turn soft.
If you want less browning, place cut apples in cold water with a little lemon juice. The U.S. Department of Agriculture notes that cut fruit should be kept cold for safety and quality.
Drain and pat dry before baking or sautéing.
Tool Choice and the Visual Difference It Makes
The right tool changes what you can see and control. A corer hides the seed cavity but follows a fixed path. A knife shows the cavity but requires more skill.
Use this guide:
- Apple corer: best for whole apples and rings. It works fast when the apple is firm and centered.
- Paring knife: best for small, soft, or odd apples. It lets you trim only the seed pocket.
- Corer and slicer combo: best for large batches of even apples. It creates wedges and removes the core in one motion.
- Melon baller or spoon: best for halved soft apples. It scoops seeds with less crushing, but it is less precise.
Which tool wastes the least fruit?
A sharp narrow corer usually wastes the least on firm round apples. A paring knife can waste even less on odd fruit because you control every cut.
Manufacturer specs often place basic corer rims around 19 mm to 25 mm wide. That is a narrow cut, but only if the tool stays vertical. A tilted corer can remove a much wider plug.
A corer and slicer combo can be efficient, but it assumes a standard apple shape. Very small apples may jam. Very large apples may not fit the guides.
For mixed fruit, a knife remains the most flexible option.
Visual difference by tool:
- With a corer, you judge alignment before the cut.
- With a knife, you judge the seed pocket during the cut.
- With a combo tool, you judge fit and pressure.
If you core only a few apples a week, a sharp paring knife may be enough. If you make apple rings often, a dedicated corer saves time. If you process bushels for sauce or drying, the combo tool can reduce fatigue.
Visual Mistakes That Cause Lost Flesh, Missed Seeds, and Broken Apples
Most waste comes from visible setup errors. The fruit is not the problem. The cut path usually is.
Common visual mistakes:
- Starting the corer off center. This leaves seeds on one side.
- Tilting the corer toward the shoulder. This removes extra flesh.
- Cutting too deep through the base. This wastes dense bottom flesh.
- Using a dull corer. This crushes the apple instead of cutting it.
- Coring a wet apple. This makes the tool slip.
- Ignoring the apple shape. Tall apples need a straighter line. Wide apples need a centered rim.
Why do seeds remain after coring?
Seeds remain when the core plug breaks or the path misses the cavity. This often happens if the corer starts at an angle. Reset the tool and use a slight twist.
If you see seeds after slicing, do not recore the whole apple. That removes too much flesh. Use a knife tip or small spoon to lift the seed pocket.
Broken apples often come from too much downward force. A firm apple can split if the corer is forced near the base. Slow the stroke and let the cutting rim work.
Bruising is another visual clue. Brown crushed areas mean the tool is dull or too small for the pressure being used. Trim bruised spots quickly.
They spread faster in soft apples.
A wet board also causes bad cuts. Place a damp cloth under the cutting board. That keeps the board steady without adding slip to the apple surface.
How Much Apple Should You Lose? Yield Benchmarks and Waste Cues
A good target is 85% to 90% edible yield for a medium apple. That means a 180 g apple should leave about 144 g to 162 g of usable fruit. The trim should be mostly seeds, membrane, and a thin core cylinder.
Use these benchmarks:
- Small apple, about 150 g: expect 15 g to 25 g of trim.
- Medium apple, about 180 g: expect 20 g to 30 g of trim.
- Large apple, about 220 g: expect 25 g to 40 g of trim.
These are practical ranges, not strict rules. Apple shape and ripeness change yield. A very soft apple may bruise during coring, which adds trim.
How do you know your cut is too wide?
Look at the core plug. It should be narrow and mostly pale tissue. If the plug has wide bands of normal flesh, your corer is too wide or tilted.
A kitchen scale gives fast feedback. Weigh the apple whole. Weigh the trim.
If trim is over 20% of the whole weight, adjust your method.
Yield cues by method:
- Whole corer: fast and consistent on firm apples. Waste rises if the tool tilts.
- Quarter and trim: slower but precise. Best for irregular or soft apples.
- Knife around whole core: flexible but slower. Waste rises with low knife control.
Clean trim can still be useful. Peels and cores can go into infused water, light stock, or compost. If you are reducing waste for cost or sustainability, track trim weight for a few sessions.
The number makes the problem obvious.
Best Method by Apple Shape, Firmness, and Variety
Firm round apples suit a corer. The rim stays centered when the fruit is even.
Small or lopsided apples suit a knife. Soft cooking apples quarter better and crush less.
Safe Cutting Habits and Prep Steps That Improve Control
Wash the apple and dry it well. A wet surface makes the tool slip.
Put a damp cloth under the board. Keep fingers clear and stop if the corer tilts.
Quick Visual Reference: What to Look for at Each Step
Before cutting, line up stem and base. During coring, keep the rim vertical.
After coring, check the plug for seeds. Lift leftovers with a knife tip instead of cutting wider.
Common Apple Coring Troubleshooting
If the plug breaks, the tool was dull or angled. Reset the cut and twist gently.
If trim looks too wide, switch to quartering. Remove only the pale seed strip.
Final Cutting Plan
Use a corer for rings and whole fruit. Use a knife for wedges and soft apples.
Aim for a narrow pale plug. Weigh trim once to confirm yield.