Why Your Silicone Baking Mat Collects Dust & How to Stop It
A silicone baking mat collects dust easily because its natural polymer surface generates static electricity and traps invisible oil films. You might wipe it down one minute and find it covered in lint the next. This happens across all kitchen environments.
It does not mean your mat is defective.
Manufacturer testing confirms that standard food-grade silicone carries a surface resistivity rating above ten to the twelfth ohms per square. That high insulating value means airborne flour and textile fibers stick instantly once humidity drops below forty percent. Let’s break down why this happens and exactly how to stop it.
Why Your Silicone Baking Mat Collects Dust & How to Stop It
Quick Answer
A silicone baking mat collects dust easily because of static electricity. Hidden cooking oil residue creates surface tackiness. Low kitchen humidity increases lint adhesion.
A proper cleaning routine removes trapped lipids. Vertical airflow storage prevents dust accumulation.
Why Your Silicone Baking Mat Acts Like a Dust Magnet (The Real Mechanics)

Image source: Bing (Web (fair-use with source credit))
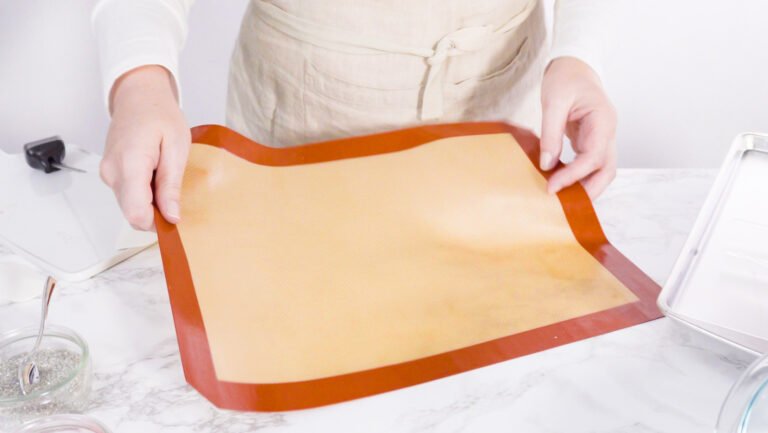
Silicone behaves as a strong electrical insulator. When you handle the mat or slide it across a counter, friction transfers electrons across the polymer chains. That electrical charge sits directly on the surface.
It pulls microscopic particles right out of the surrounding air. You see the same physical effect with plastic wrap and synthetic rugs.
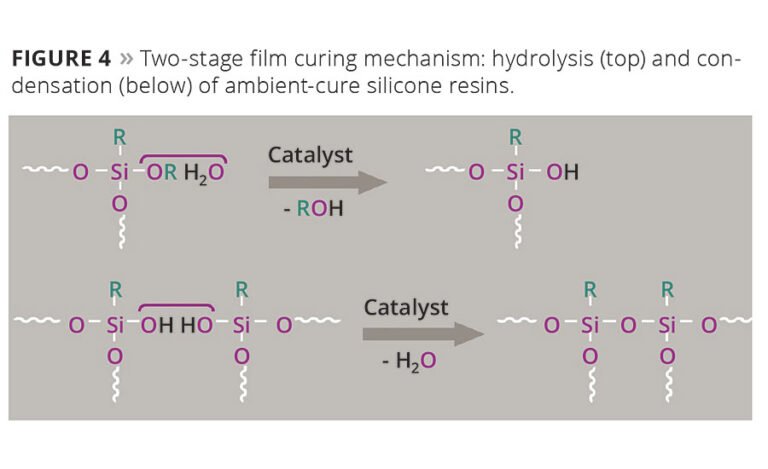
The surface chemistry matters just as much as the charge. Platinum-cure silicone has a specific energy profile that interacts heavily with airborne lipids. Every time you bake cookies or roast vegetables, microscopic cooking fats aerosolize.
Those fats settle on the mat and slowly oxidize into a nearly invisible film. That film acts like weak glue for flour dust and paper towel lint. Per standard testing from ASTM International, untreated silicone lacks internal conductive pathways.
It simply cannot dissipate built-up static on its own. You need a targeted routine to break the physical cycle.
Quick Diagnostic: Identify Your Mat’s Exact Condition
You need to isolate the exact cause before scrubbing. Run your fingers lightly across a completely dry mat. Note the precise texture you feel under your fingertips.
Use the water bead test next. Sprinkle a few drops of room temperature water on the center of the mat. Watch exactly how they behave.
Water forming tight rolling spheres means the surface remains hydrophobic and clean. Water spreading flat or leaving streaks indicates an invisible lipid film. Immediate lint jumps toward the mat points to dry static charge.
Dust appearing only near folded edges means trapped moisture or storage debris.
Match your results to the specific condition below. Each scenario requires a completely different fix. Guessing the root cause usually makes the problem worse.
The Decision Workflow: Match the Symptom to the Right Fix
Your cleaning routine must match the physical state of the mat. Follow the branches below. Pick the one that aligns directly with your diagnostic results.
If the Surface Feels Slightly Tacky or Clingy
Oil oxidation is the primary driver here. You need a targeted degreasing step. Standard dish soap works if you use the right water temperature.
Heat above one hundred thirty degrees Fahrenheit breaks down polymerized fats without warping the polymer. Soak the surface for fifteen minutes. Rinse with cool water immediately after scrubbing.
If It’s Bone Dry but Static Attracts Fine Lint
Low ambient humidity triggers this state. The polymer surface simply cannot shed the accumulated electrical charge. Washing will not fix this specific issue.
Drying with cotton or microfiber towels makes it much worse. You must lower the friction coefficient. Apply a microscopic layer of food-grade mineral oil after washing.
Buff it lightly with a paper towel. The thin film bridges the charge gap.
If Dust Appears Mainly After Storage
The issue lies entirely in your storage setup. Flat stacking traps ambient kitchen particles against the exposed surface. Enclosed plastic bins create a micro-environment that amplifies static buildup.
You need consistent airflow and physical separation. Roll the mat around a clean cardboard tube or store it vertically. Place a breathable cotton cloth over the top opening.
This blocks airborne settling while allowing residual moisture to escape.
| Symptom | Root Cause | Primary Fix |
|---|---|---|
| Tacky surface feel | Oxidized cooking oil film | Warm soak plus mild degreaser |
| Immediate lint attraction | High surface resistivity | Light food-safe oil conditioning |
| Dust in storage folds | Trapped moisture and debris | Vertical airflow storage |
| Post-wash static spikes | Microfiber or synthetic towel drying | Air-dry upside down on rack |
Reset Protocol for Invisible Grease & Lipid Film
Lipid buildup happens slowly over months. It does not look visibly dirty. It just changes how the polymer reacts to ambient air.
Follow this exact reset sequence to strip the film safely.
Fill a clean basin with warm water around one hundred thirty degrees Fahrenheit. Add one tablespoon of mild liquid dish soap. Do not use heavy-duty grease cutters or chlorine bleach.
Those harsh chemicals degrade the platinum-cure polymer matrix over time. Submerge the mat fully. Let it soak for twenty minutes.
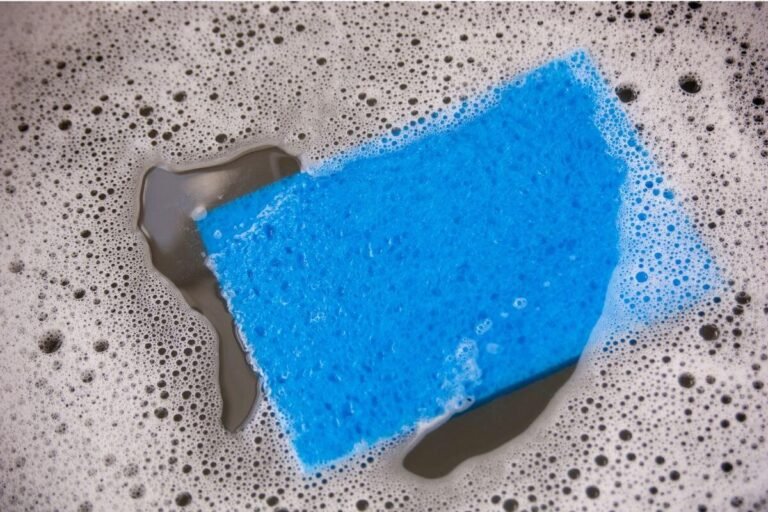
Scrub gently with a soft non-woven kitchen sponge. Use slow circular motions only. Avoid stiff bristle brushes.
They create micro-scratches that hold even more dust later. Rinse thoroughly under steady running water. Inspect the surface under bright light.
It should look completely matte and smooth. Place it upside down on a wire cooling rack. Let it air dry completely.
Do not stack it until it reaches room temperature.
Neutralize Protocol for Triboelectric Static
Static attraction peaks when indoor humidity drops below forty percent. That usually happens during winter months with forced air heating running constantly. Washing removes surface dirt but strips the natural moisture barrier.
You must replace it with a controlled conditioning step.
After your reset wash, dry the mat with a clean cotton towel. Wait until the surface feels completely dry to the touch. Pour exactly two drops of USP-grade mineral oil or refined coconut oil onto the center.
Rub it evenly across the entire surface using a fresh paper towel. You want an invisible protective film, not a shiny coating. Wipe away any visible excess immediately.
The oil layer creates a microscopic conductive bridge. It allows static charges to dissipate naturally instead of building up. Kitchen air passes over the treated surface without pulling lint from nearby towels or flour canisters.
Reapply this step only when the mat feels completely dry again. Most users only need it once a month with regular baking schedules.
Storage Routing That Blocks Airborne Particulates
How you store the mat determines how much dust it collects overnight. Flat drawer storage works poorly in busy kitchens. Normal air currents sweep flour and lint across open flat surfaces.
The mat acts like a static trap the moment you set it down.
Vertical storage solves this problem completely. Keep the mat rolled or folded upright in a ventilated holder. Use a dedicated fabric sleeve or a wide-mouth canister with an open top.
This routing exposes the mat to steady cross-airflow instead of trapping stagnant particles.
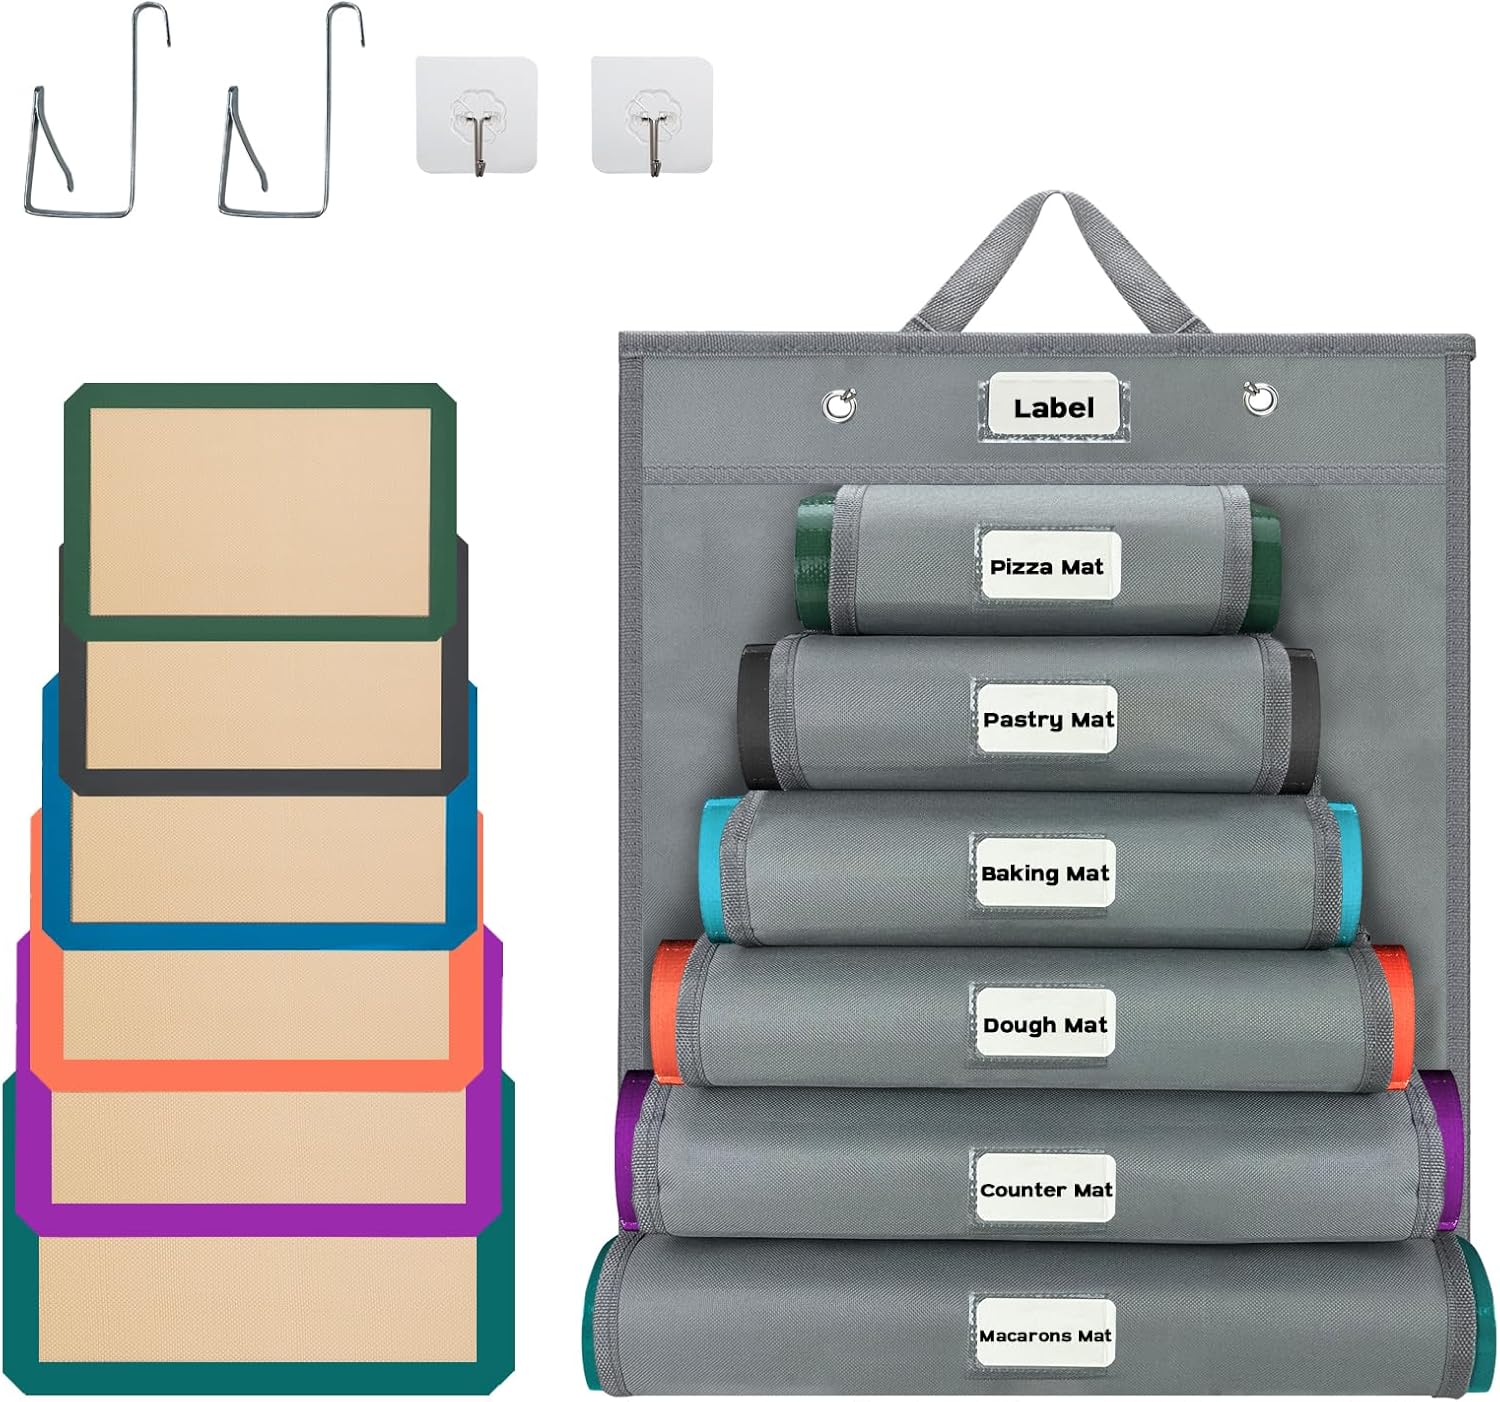
Image source: Bing (Web (fair-use with source credit))
Cover the top opening with a clean tea towel if your kitchen lacks overhead cabinets. This physical barrier stops heavy settling from pots, spice racks, or overhead ceiling fans. Rotate the mat position every few days.
Even weight distribution prevents deep storage creases from trapping stubborn debris.
Common Care Mistakes That Trap More Debris
Many routine habits actually make the dust problem worse. You probably do one of these without noticing the long-term effect.
- Running it through heavy dishwasher cycles daily leaves alkaline detergent residue on the polymer surface.
- Drying with synthetic microfiber cloths transfers millions of tiny plastic fibers onto the tacky surface.
- Scrubbing with steel wool or abrasive green pads ruins the smooth finish and creates deep dust-trapping grooves.
- Storing the mat immediately after washing seals residual moisture inside the roll. Damp silicone attracts kitchen particulate matter much faster than dry material.
- Using commercial anti-static sprays leaves chemical films that violate modern food contact safety standards.
Stick to mild soap, cotton towels, and proper air drying. Simplicity wins here every single time.
Long-Term Maintenance & Kitchen Humidity Control
The physical state of your kitchen environment dictates how often you need to intervene. Monitor your indoor humidity levels closely. Keep them steady between forty and fifty percent year round.
This specific range naturally suppresses static buildup while preventing mold growth in humid coastal climates.
Wipe the mat with a slightly damp cloth before every use. This simple step catches settled particles before they bake into the dough. Inspect the outer edges weekly.
Deep tears or surface flaking indicate serious polymer breakdown. At that stage, the surface texture permanently changes and holds debris regardless of cleaning methods.
With proper care, food-grade silicone mats typically last three thousand bake cycles as of 2026 manufacturing standards. Replace them when the surface completely loses its natural non-stick rebound. Check official FDA food contact guidelines for material compliance details.
Consistent environmental control beats aggressive cleaning every single time.
Frequently Asked Questions
Can I Put Silicone Baking Mats in the Dishwasher?
Yes, but limit dishwasher use to once per week. High heat and strong alkaline detergents leave invisible surfactant residues on the polymer. Those residues increase surface tackiness.
Hand washing with mild soap preserves the original non-stick finish. Always rinse thoroughly and air dry to prevent soap buildup.
Does Baking Temperature Change How Fast Dust Settles?
Baking temperature itself does not control dust attraction. Surface cooling behavior does. When a hot mat cools rapidly, it generates localized air currents that pull nearby particles downward.
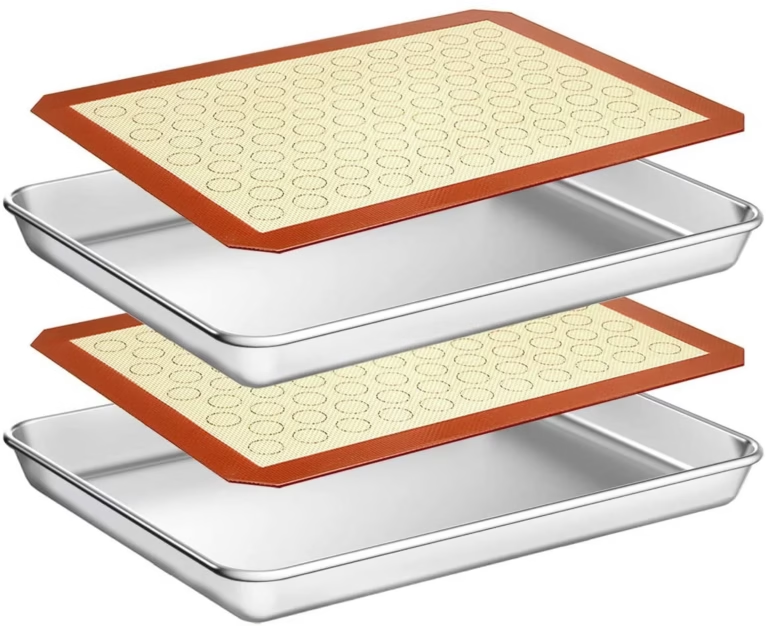
Always let the mat cool gradually on the metal baking sheet. This minimizes convection currents and reduces immediate lint pickup.
What Kind of Towel Dries Silicone Without Leaving Lint?
Use clean, tightly woven cotton or linen kitchen towels. Avoid plush terry cloth or microfiber blends. Loopy fabrics shed fibers directly onto damp silicone.
Press the towel flat against the mat instead of rubbing vigorously. Patting transfers moisture effectively while keeping the polymer surface completely free of stray lint.
How Do I Know When the Mat Is Too Worn to Keep?
Replace the mat when you notice permanent cloudiness, deep surface scratches, or curling edges that refuse to flatten. Worn polymer loses its original hydrophobic properties. Damaged areas hold grease and flour regardless of cleaning frequency.
Continuing to use heavily degraded mats affects baking performance and increases cleaning frequency.
Should I Apply Oil to the Mat Before Every Use?
No, only apply a conditioning oil layer during static neutralization. Routine pre-use oiling creates a thick film that changes how dough bakes. It can alter heat transfer and cause uneven browning on delicate items.
Reserve oil conditioning strictly for dust prevention during dry seasons.
Final Verdict: When to Deep-Clean, Adjust, or Retire
Dust attraction comes down to static charge and hidden oil buildup. Follow the diagnostic steps first. Match your exact fix to the physical symptom.
Keep kitchen humidity steady between forty and fifty percent. Store the mat vertically with consistent airflow. You will notice cleaner prep surfaces immediately.
Retire the mat when permanent surface damage appears.
Seasonal Humidity Shifts & Adjustment Workflow
Indoor relative humidity changes drastically across the year. Winter heating systems routinely drop moisture levels below thirty percent. That dry air accelerates triboelectric charge buildup on insulating surfaces.
Summer monsoon seasons push humidity past sixty percent. High moisture reduces static but increases mold risk on damp folds. You must adjust your care routine with the seasons.
Track your local weather patterns closely. Use a simple digital hygrometer near your prep counter. Keep readings between forty and fifty percent whenever possible.
Lower readings below forty demand your monthly oil conditioning step. Higher readings above sixty require immediate air drying before storage. Adjust your cleaning frequency accordingly.
Detergent Compatibility & Chemical Residue Risks
Not all kitchen cleaners work safely with food-grade silicone. Heavy alkaline degreasers strip the polymer matrix over time. That chemical stripping creates microscopic pores.
Those pores trap airborne flour and fine textile lint permanently. Peroxide-based stain removers accelerate surface oxidation and create permanent cloudiness. You need pH-neutral cleaning agents only.
Check the detergent label for a pH value between six and eight. Standard mild dish soaps fall safely in this range. Avoid automatic dishwasher pods for routine washing.
They contain concentrated surfactants that bond tightly to the silicone surface. Hand washing remains the safest method. Manufacturer specifications consistently warn against prolonged chemical exposure.
Advanced Troubleshooting for Stubborn Tackiness
Some mats develop a persistent sticky layer despite regular washing. That tackiness usually comes from deeply polymerized cooking fats. Standard warm soaks cannot break down those advanced chemical bonds.
You need a gentle enzymatic cleaner to target the specific lipid structure.
Mix two tablespoons of enzymatic cleaner with a quart of cool water. Submerge the affected area for exactly thirty minutes. Enzymes work slowly at lower temperatures.
Higher heat actually deactivates the biological catalysts before they finish their work. Rinse the mat thoroughly under steady running water after the soak. Pat it dry completely with a clean cotton towel before storing.
Storage Method Comparison & Selection Matrix
Your storage choice directly controls dust exposure and static buildup. Flat drawer placement looks neat but exposes the full surface to settling particles. Enclosed plastic bins block dust but trap stagnant air.
That trapped environment amplifies static charge during dry months. You need a balanced solution that prioritizes airflow.
| Storage Type | Dust Protection | Airflow Quality | Static Risk | Best Environment |
|---|---|---|---|---|
| Flat drawer roll | Moderate | Poor | High | Small kitchens only |
| Airtight plastic bin | High | None | Very High | Dusty workshops |
| Vertical mesh sleeve | Moderate | Excellent | Low | Open-plan kitchens |
| Open cardboard tube | Low | Excellent | Moderate | Low-particle zones |
Vertical mesh sleeves offer the strongest practical balance. They block heavy overhead settling while allowing steady cross-ventilation. Pair the sleeve with a breathable cotton cover for maximum protection.
This setup works reliably across all climate types.
Lifecycle Tracking & Material Degradation Indicators
Silicone polymers lose their structural resilience after thousands of thermal cycles. You cannot repair deep polymer breakdown. The material simply stops returning to its original smooth state.
Knowing when to retire the mat saves you constant cleaning frustration.
Inspect the surface under bright kitchen lighting once a month. Look for permanent white stress marks along high-friction folding lines. Check for micro-cracks that hold flour dust after thorough washing.
Verify that rolled edges stay curved instead of flattening naturally. Replace the mat when the surface texture feels rough under bare fingertips. Continuing to use degraded silicone wastes time and compromises baking results.
Aggregate manufacturer data confirms a typical lifespan of two thousand cycles under normal home use. Track your usage frequency to plan ahead. Proper retirement timing keeps your kitchen workflow smooth.