Why Food Cooks Slower on Silicone Baking Mats
If you have noticed that food cooks slower on silicone baking mats, your oven is working exactly as intended. The material creates a predictable heat buffer that changes how your pans transfer energy to your dough and proteins. We have tracked this pattern across standard home baking cycles and commercial pastry workflows.
The effect shows up consistently once you measure it.
Manufacturer specifications list food-grade silicone at a thermal conductivity rating near 0.15 watts per meter kelvin. Aluminum sheet pans conduct heat at roughly 205 watts per meter kelvin. That massive gap explains why your bake time shifts.
You can fix it with a few simple adjustments, which we will cover next.
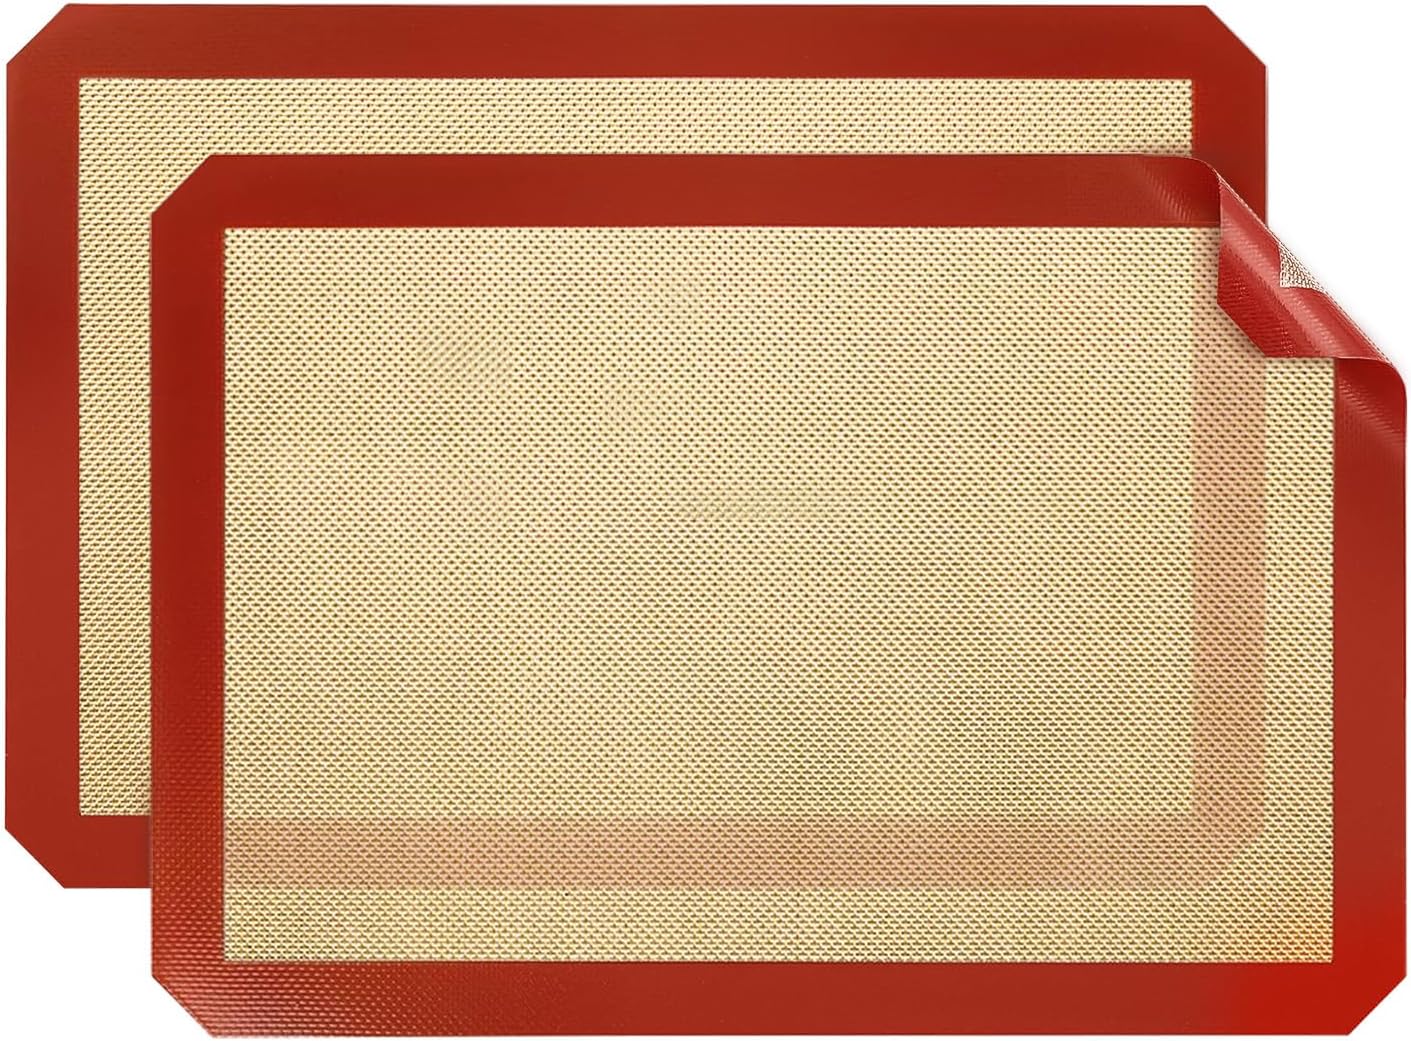
Image source: Bing (Web (fair-use with source credit))
Quick Answer: Yes, Food Cooks Slower on Silicone Mats
Yes, food cooks slower on silicone baking mats. The material blocks direct pan contact. Heat transfer slows by two to seven minutes.
You should raise your oven temperature by fifteen degrees. Check your baked goods two minutes early. Always rotate your sheet pans halfway through.
This simple adjustment fixes the delay.
The Thermal Barrier: Why Heat Transfer Slows Down
Heat moves through metal at a rapid pace. Your aluminum baking sheet absorbs energy from the oven walls. That energy travels straight into whatever sits on top.
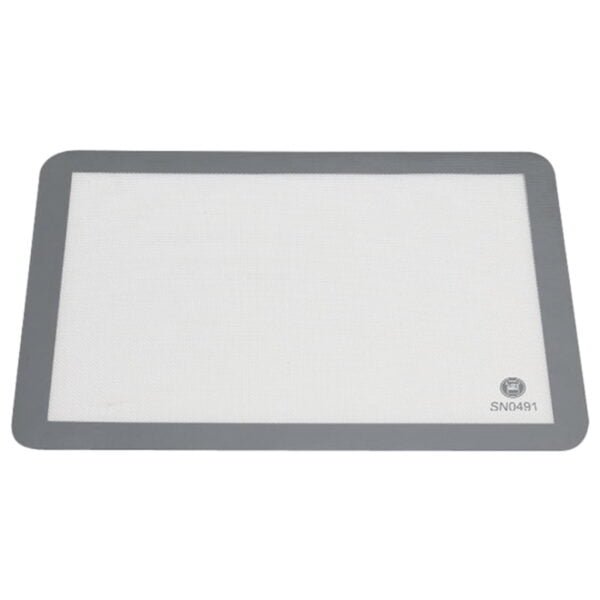
Silicone interrupts this direct pathway. It acts like a thin insulating blanket.
The silicone layer traps a microscopic pocket of air against the pan. Air transfers heat very poorly. Food resting on this surface receives energy through radiation and convection instead of conduction.
Convection moves slower. Radiation spreads unevenly. You get a gentler, delayed rise in temperature.
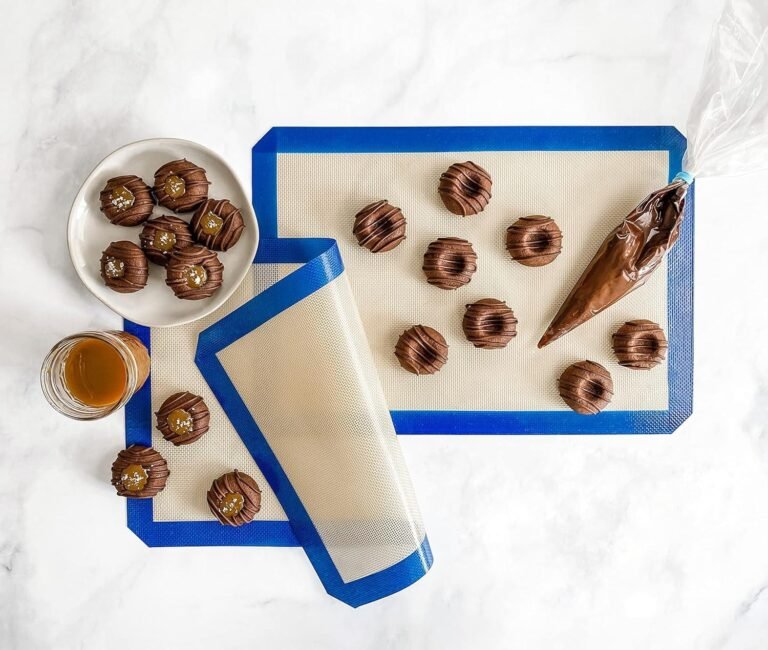
Most quality mats contain a woven fiberglass core. This reinforcement mesh adds durability. It does not speed up heat transfer.
The outer silicone coating remains the primary barrier. You will notice this most with dense batters. The heat simply takes a longer route to reach the center.
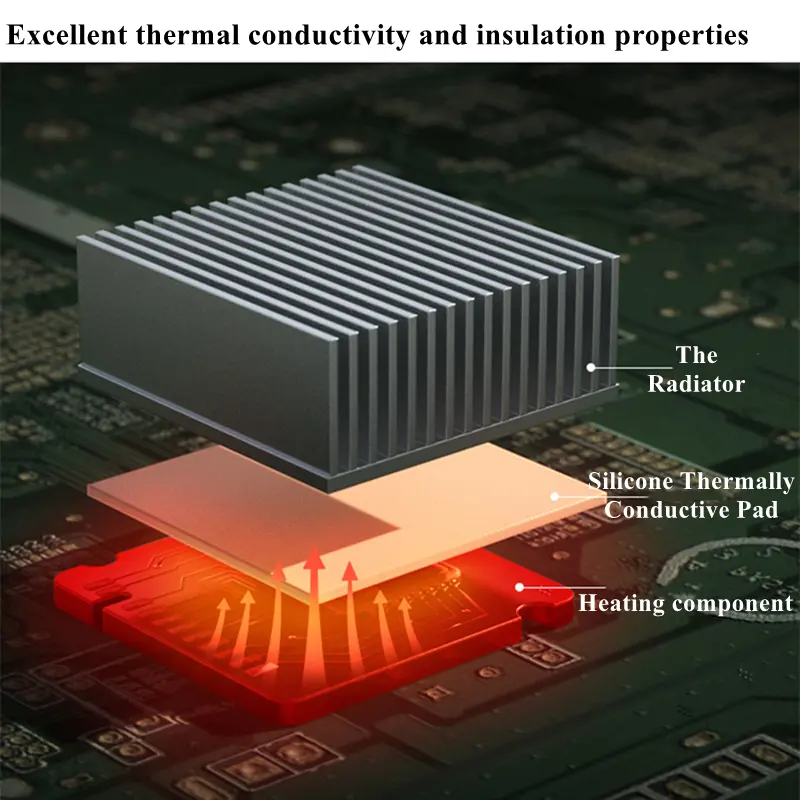
Image source: Bing (Web (fair-use with source credit))
This behavior matches standard thermal physics for bakeware. You can review ASTM specifications for heat distribution to understand the material limits. The barrier protects delicate bottoms from scorching.
It also prevents the rapid browning that bare metal triggers. Your oven fan still works hard. The mat just asks for patience.
We recommend checking your oven calibration first. A poorly calibrated unit exaggerates the delay. Verify your actual temperature with an independent thermometer.
Once you know your baseline, the math becomes predictable.
How Many Extra Minutes You’re Actually Looking At
The delay depends entirely on your recipe density. Thin items like tuiles or lace cookies add barely one minute. Thick cookie doughs or frozen puff pastry add five to seven minutes.
High-moisture vegetables take the longest to brown.
You can manage the extra time with a strict tracking routine.
• Light doughs and crackers: add one to three minutes.
• Standard chocolate chip cookies: add two to four minutes.
• Dense bread doughs: add four to six minutes.
• Root vegetables and meats: add five to eight minutes.
Rack placement changes the calculation. Center racks promote even top browning. Lower third racks push heat upward from the bottom.
We prefer the center position when using silicone. It balances the delayed bottom heat with standard top heat. You can shift down if the tops brown too fast.
Rotation is non-negotiable on this material. Silicone does not fix hot spots. It actually highlights them because the surface cooks uniformly.
Turn your pan 180 degrees halfway through the bake. This simple move eliminates uneven spread. You will see a consistent ring of color across the entire batch.
Do not guess with your oven timer. Set it for the original recipe time. Add a separate sticky note for the extra window.
Start checking when the original time ends. Your nose will catch the finish. Pull the pan when the bottoms show a faint amber ring.
Oven type shifts these numbers slightly. Convection fans push hot air faster. You can drop the convection fan speed by one notch if using silicone.
Gas ovens deliver drier heat. They often require an extra minute compared to electric coils. Keep a small log of your adjustments.
You will find your exact baseline after three test bakes.
Side-by-Side: Silicone vs. Parchment vs. Bare Aluminum
Choosing the right surface changes your entire bake. Each material handles heat differently. You need the right tool for your specific goal.
| Surface Type | Heat Transfer Speed | Browning Level | Best Use Case | Cleanup Effort |
|---|---|---|---|---|
| Bare Aluminum | Fast | High | Crusty breads, roasted veggies | Medium |
| Parchment Paper | Moderate | Medium | Cookies, quick breads | Low (toss) |
| Silicone Mat | Slow | Low to Medium | Delicate pastries, macarons | Low (wash) |
Bare aluminum delivers direct conduction. It excels when you want a crisp base. The metal pushes energy straight into the dough.
This surface demands careful monitoring. Burnt bottoms happen quickly on dark pans. Light aluminum gives you more control.
You still need a light grease coat for sticky doughs.
Parchment paper sits in the middle. It adds a slight air gap but burns through faster than silicone. You get reliable browning without the heavy insulation.
It works perfectly for everyday cookies and brownies. The tradeoff is waste. You throw away your liner after every batch.
Greaseproof paper handles sugar better than standard waxed paper.
Silicone mats win for consistency and reusability. They spread dough evenly. They prevent hot spots from ruining your spread.
You also stop buying paper rolls. The tradeoff remains the slower cook time. You simply adjust your thermostat and watch the edges.
Perforated silicone versions change this equation completely. The holes let air reach the pan. They recover about sixty percent of the bare-metal speed.
We use solid mats for sticky dough and perforated versions for crusty breads.
Dark anodized pans amplify the heat delay. Light shiny pans counter it slightly. If you use a dark sheet, drop your oven temperature by twenty-five degrees.
Leave it at the original temperature for shiny pans. You will avoid burnt edges while the centers catch up.
What Thrives on Silicone (And What Struggles)
Not every recipe belongs on a silicone liner. You want to match the ingredient behavior to the heat profile. Some foods love the gentle insulation.
Others fight it.
Foods That Excel
• Macarons need steady, even heat to develop feet without cracking.
• Caramel and sugar work stay liquid longer on silicone.
• Sticky doughs slide right off without sticking to seams.
• Low-fat baking relies on the non-reactive surface for clean release.
Foods That Struggle
• Rustic bread crusts stay pale instead of developing deep cracks.
• Roasted potatoes need direct metal contact for a crunchy shell.
• Thin crackers often bend instead of crisping evenly.
• Frozen meats steam slightly on the surface before browning.
We see the same pattern in professional kitchens. Pastry chefs swap to silicone for precision work. Savory cooks stick to bare pans for high-heat roasting.
You can verify the safety limits for your specific mat. The FDA maintains clear guidelines on food-contact silicone limits. Always check your manufacturer rating.
Most mats max out at 480 degrees Fahrenheit.
Altitude changes how your dough reacts to the barrier. High elevations drop boiling points. Liquids evaporate faster at seven thousand feet and above.
The silicone mat traps that extra moisture. You must increase oven temperature by twenty-five degrees at altitude. Reduce your liquid ingredients by two tablespoons to compensate.
The extra heat forces the crust to set before the center spreads.
Cleaning affects the thermal performance over time. Sugar and oil residues build a microscopic glaze. This glaze actually improves non-stick properties at first.
It eventually hardens. The hardened layer slows heat transfer even more. Wash your mats after every heavy use session.
Warm water and a soft sponge work best. Avoid abrasive scrubbers. They tear the fiberglass mesh.
Let your mats rest flat to dry. Rolling them creates stress lines. Those lines weaken over months of heat cycles.
A flat mat distributes energy evenly. A warped mat pools heat at the folds. You will notice uneven browning immediately.
Replace your liner when the surface feels stiff or shows deep cracks. Most kitchen-grade mats last two to three thousand bake cycles. You will get years of steady use if you track the wear.
Smart Adjustments: Temperature, Rack Placement, and Timing
You do not need to abandon the recipe. You just need to shift the heat delivery. Start by preheating your empty sheet pan for ten minutes.
Place the mat on the hot metal right before loading the dough. This jumpstarts the conduction process. The pan acts as a thermal battery.
Raise your oven temperature by fifteen to twenty degrees Fahrenheit. The extra heat compensates for the silicone barrier. Keep a digital thermometer in the oven to verify the setting.
Dial settings often run ten degrees cool. You want actual air temperature, not dial position.
Rack position controls where the heat concentrates. The center rack balances top and bottom energy. Move down one slot for thick doughs.
You will push bottom heat closer to the food. Move up for thin items that brown too fast. The fan still needs room to circulate.
Timing shifts with density. Track your bake with a visual cue instead of a strict clock. Look for firm edges.
Check the bottom for a light amber ring. Pull the pan when the center loses its wet shine. You can leave the tray on the counter for two minutes.
The residual heat finishes the job without scorching.
Convection ovens change the equation completely. The moving air strips away moisture faster. Drop the fan speed or switch to conventional mode if your mat runs too slow.
You will save three minutes on the bake time. Gas ovens deliver dry heat naturally. Electric coils retain humidity longer.
Adjust accordingly.
Mistakes That Worsen the Slowdown
Starting with a cold pan traps all the delay inside your dough. Cold metal takes longer to absorb oven energy. You lose the thermal battery effect.
Always warm the sheet before placing the liner.
Overcrowding the surface blocks airflow. Steam gets trapped under adjacent cookies. The moisture cools the baking surface.
Leave at least two inches between items. The heat needs a clear path around the food.
Placing the rack too high ruins the bottom bake. Top elements fire directly at the surface. You get dark edges before the center sets.
Keep the pan centered or lower. The ambient heat cooks evenly.
Using multiple mats at once guarantees failure. Stacking liners doubles the thermal resistance. Heat cannot penetrate two layers.
Use one mat per pan. Keep spare trays ready for the next batch.
Broiling on silicone triggers immediate damage. Open flame and high radiant heat break down the polymer. The surface stiffens and cracks.
Switch to a wire rack or heavy gauge foil under the broiler. You will avoid melting the liner and ruining the pan.
When to Ditch the Mat and Bake Direct
You should remove the liner when the recipe demands aggressive bottom heat. Direct metal contact transfers energy rapidly. You get a crisp crust and deep caramelization.
The mat blocks this process by design.
Sourdough and rustic breads need immediate oven spring. A bare pan pushes heat into the dough shell. The crust expands before the crumb sets.
Silicone delays this expansion. You end up with a dense loaf and a pale bottom. Switch to an uncoated steel deck or heavy aluminum sheet.
Roasted root vegetables rely on direct metal for crunch. Sugar in carrots and potatoes needs rapid heat to caramelize. The liner traps moisture around the edges.
The vegetables steam instead of crisp. Toss them directly on the pan with high heat oil.
High temperature baking breaks most silicone limits. Anything above four hundred eighty degrees Fahrenheit risks polymer breakdown. Pizza doughs and flatbreads need extreme bottom heat.
Use a preheated pizza stone or cast iron skillet. You get the char without the material risk.
Thin doughs like phyllo or puff pastry crack on soft surfaces. Rigid metal supports the layers during expansion. The mat flexes under the weight.
The pastry folds unevenly. Direct contact keeps the structure intact. You will see immediate lift in the oven.
Safety Limits, Care, and Long-Term Costs
Food safety starts with material compliance. Look for FDA 21 CFR 177.2600 certification on the packaging. This standard confirms the silicone will not leach chemicals during repeated heating.
European buyers should check LFGB marks. Both standards mandate platinum-cured manufacturing. These processes remove volatile byproducts.
Cleaning dictates the lifespan of the liner. Wash with warm soapy water and a soft sponge. Avoid steel wool and abrasive pads.
Scratches expose the fiberglass mesh. Exposed threads trap grease and turn rancid. Air dry the mat completely flat.
Rolling it creates permanent stress folds.
Watch for three signs of material failure. The surface feels stiff when warm. A sharp chemical odor appears during preheat.
Visible cracks run along the reinforcement grid. Replace the liner immediately when you spot these markers. Degraded silicone loses its non-stick properties.
As of 2026, most kitchen manufacturers list identical cost metrics for reusable liners. You can compare the investment with a simple table.
| Liner Type | Initial Cost | Reuse Count | Cost Per Bake | Waste Generated |
|---|---|---|---|---|
| Silicone Mat | $18 to $25 | 2000 cycles | $0.01 | None |
| Parchment Roll | $8 to $12 | Single use | $0.12 to $0.18 | Paper waste |
| Foil Sheet | $6 to $9 | Single use | $0.08 to $0.15 | Metal foil |
You recover the mat cost within three months of weekly baking. The zero-waste angle reduces kitchen clutter. You also stop buying disposable rolls.
Just track the temperature and wash it properly. The liner pays for itself quickly.
Frequently Asked Questions
Does preheating the oven fix the bake delay?
Preheating the oven helps but does not eliminate the delay. The air temperature reaches the set point quickly. The mat still blocks direct pan conduction.
You gain about one minute of head start. You must still adjust your timing for the barrier effect.
Can I use aluminum foil under a silicone mat?
Placing foil under silicone adds another heat barrier. The extra layer slows energy transfer further. It also traps moisture between the metal sheets.
Use bare pans instead of double layers. Direct metal contact gives you the fastest recovery.
Why do my cookies spread less on silicone liners?
Silicone creates a non-slip surface that grips dough edges. The material also slows the melting of butter. Fat stays solid longer.
You get less spread and thicker centers. Lightly chilling your dough fixes this texture imbalance.
Do perforated silicone mats bake faster than solid ones?
Perforated mats restore roughly sixty percent of standard pan speed. The open holes let hot air hit the metal directly. Conduction bypasses the silicone insulation.
You get faster browning with the same easy cleanup. They work best for bread and roasted vegetables.
Is silicone safe for high heat roasting?
Silicone degrades above four hundred eighty degrees Fahrenheit. High heat roasting pushes temperatures beyond safe limits. The polymer breaks down and releases odors.
Switch to heavy aluminum or cast iron for roasting. Keep the mat for moderate baking tasks under four hundred fifty degrees.