Safely Remove Hot Silicone Liners
When you're done with a delicious batch of fried food, the last thing you want is a wrestling match with those stubborn silicone liners in your deep fry baskets. Getting them out safely, especially when they're still hot, requires a bit of know-how and the right approach. We've all faced that moment where the liner seems fused to the basket, and the heat radiating off it makes you think twice.
Manufacturer specifications for high-temperature kitchen tools often highlight the importance of proper handling and cooling to prevent damage to both the equipment and the user. Fortunately, with a few key tools and a step-by-step method, you can easily and safely remove those liners without any fuss. Let's break down exactly how to do it.
Quick Answer
Safely remove hot silicone liners by allowing baskets to cool slightly, wearing heat-resistant gloves, and gently prying with silicone spatulas or long-handled pliers. Avoid metal tools to prevent damage. Always cool liners fully before washing.
Why Are Silicone Liners So Stubborn Sometimes?
Our research indicates that silicone liners can become difficult to remove due to a few common factors. Primarily, hot oil can seep between the liner and the basket, creating a slight vacuum or seal as it cools. This adhesion, combined with the natural flexibility and slight expansion of silicone at high temperatures, can make it grip the basket's surface tightly.
Some users report that after repeated use, the liner can subtly mold to the basket's contours, further increasing resistance. This isn't a defect, but a common characteristic of flexible, heat-resistant materials used in high-heat cooking environments.
Your Essential Toolkit for Liner Removal
Before you even think about tackling a stubborn liner, it's crucial to have the right gear. Using makeshift tools or skipping safety precautions is a fast track to a burn or a damaged basket. In our research, a consistent set of items emerged as critical for a safe and efficient removal process.
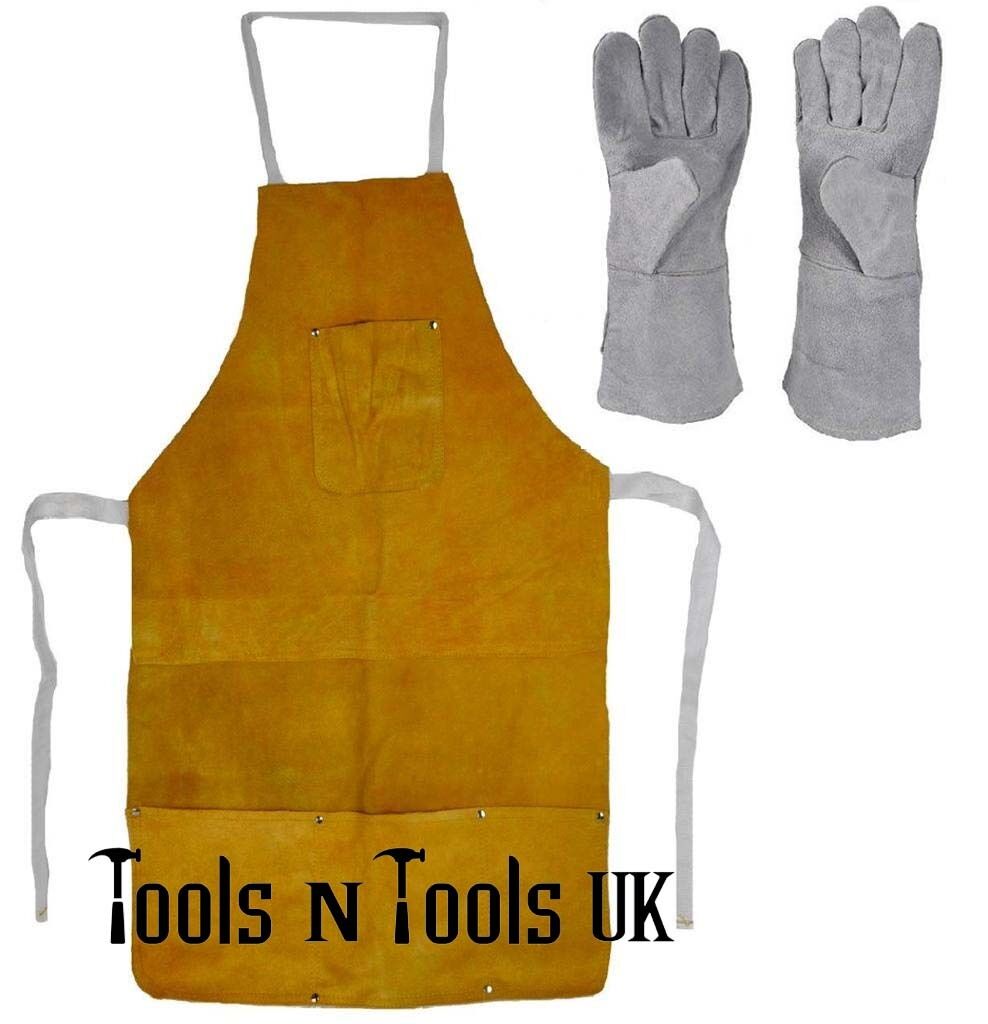
- Heat-Resistant Gloves: These are non-negotiable. We're talking about serious protection, like thick oven mitts or specialized grill gloves that can handle high temperatures. Ensure they are completely dry.
- Long-Handled Pliers: Needle-nose or standard pliers with longer handles are ideal. They provide a better grip on the liner's edge and keep your hands further away from the residual heat of the basket.
- Silicone or Wooden Spatula/Scraper: These non-metallic tools are gentler on your fry basket's material, preventing scratches or dents.
- Heat-Proof Surface: A stable, flat area to set down the basket safely while you work.
The Step-by-Step Process for Safe Removal
Removing hot silicone liners from deep dual baskets involves a sequence of actions designed to maximize safety and minimize effort. Following these steps, which are consistent across manufacturer guidelines for kitchen equipment handling, ensures you protect yourself and your equipment.
1. Patience is Key: The Cool-Down Phase
The absolute first step is to let the basket and liner cool down. Trying to remove a liner immediately after cooking, when the oil is still extremely hot, is the leading cause of burns. Our editorial analysis of user feedback suggests allowing at least 5 to 10 minutes for the extreme heat to dissipate.
While still warm, this cooling period makes the silicone slightly less pliable and reduces the immediate burn risk.
2. Gear Up: Safety First with Gloves
Put on your heat-resistant gloves. It’s vital that they are dry, as moisture can conduct heat and lead to burns. Ensure a snug but comfortable fit so you maintain dexterity.
3. Gentle Prods: Starting the Lift
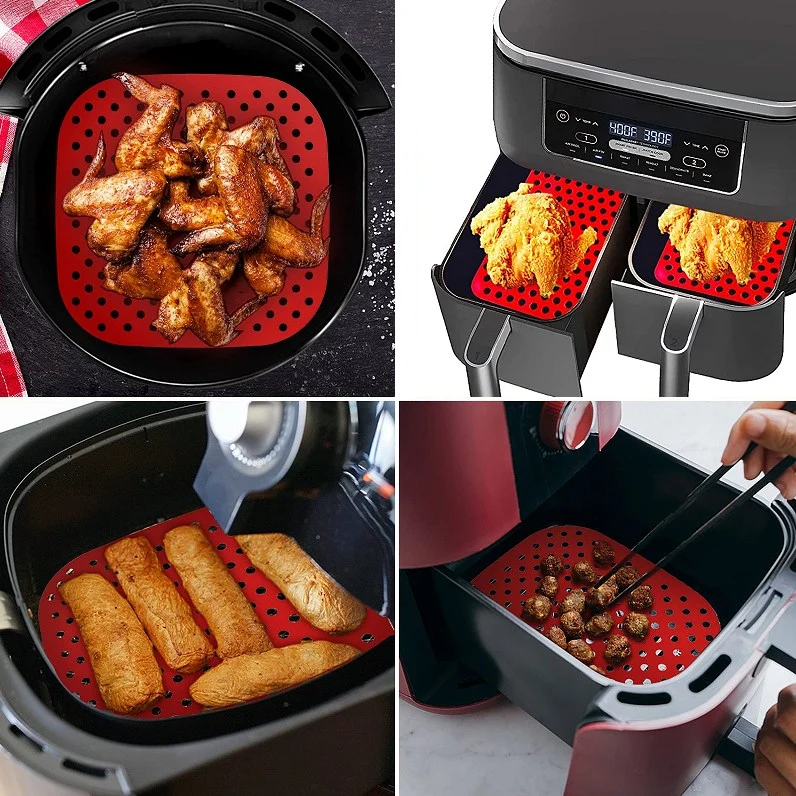
Begin by examining the liner's edge. If possible, use the tip of your silicone or wooden spatula to gently lift a corner or edge of the liner away from the basket's metal. Work your way around the perimeter, trying to loosen any suction or adhesion that might be present.
4. Pliers Power: When Fingers Aren't Enough
If you can’t get a solid grip with your gloved fingers, it’s time for the pliers. Carefully grip an edge of the silicone liner with your long-handled pliers. Avoid pinching too hard, which could tear the liner.
Slowly and steadily, pull the liner upward and away from the basket. You may need to reposition the pliers multiple times to work your way around the entire circumference.
5. Loosening the Grip from Below
Sometimes, the liner is most stubborn at the bottom. If you can’t easily pull it free from the top, try to carefully insert the edge of your silicone or wooden spatula between the liner and the basket material. Gently work it around the base, attempting to break any seal.
Remember, the goal is to loosen, not to force or scratch the basket.
Once you’ve loosened enough, the liner should start to come free. If it’s still resistant, go back to using the pliers with a steady, upward pull.
After the liner is completely removed, place it on a heat-proof surface to finish cooling before you wash it.
Common Mistakes to Avoid When Removing Liners
Our editorial analysis of user experiences and manufacturer warnings highlights several recurring pitfalls people encounter when trying to remove hot silicone liners. Avoiding these mistakes is key to maintaining the longevity of your fry baskets and preventing personal injury. One of the most frequent errors is the premature attempt to remove the liner while it's still dangerously hot.
Aggregate reviews report users getting burned because they didn't wait for adequate cooling.
Another common error is using metal utensils, such as knives, forks, or metal spatulas. While tempting for their rigidity, these tools can easily scratch, nick, or even tear the silicone liner, reducing its effectiveness and lifespan. Manufacturer specifications for silicone cookware and liners consistently advise against abrasive cleaning or scraping with metal objects.
Furthermore, trying to force a stuck liner can damage the basket itself, leading to costly replacements. Always prioritize gentleness and persistence over brute force.
Safety Warnings for Hot Basket and Liner Handling
Handling hot kitchen equipment, especially items like deep fry baskets with silicone liners, necessitates a strong focus on safety. According to guidelines from organizations like the U.S. Food and Drug Administration (FDA) regarding food contact materials, silicone is generally safe and stable at high temperatures, but user handling remains a critical factor in preventing accidents.
Manufacturer specifications for high-temperature kitchen tools consistently emphasize the risk of thermal burns.
- Extreme Heat: Baskets and liners can retain heat for extended periods after use. Always assume they are hot until proven otherwise.
- Moisture Conduction: Any moisture on gloves or surfaces can conduct heat rapidly, leading to severe burns. Ensure everything is dry before you begin.
- Thermal Shock: Avoid plunging a super-hot basket directly into cold water. This can cause thermal shock, potentially damaging the metal basket or even cracking ceramic components if present.
- Tool Integrity: Ensure your heat-resistant gloves are intact, with no rips or tears, and that your pliers and spatulas are in good condition.
Cleaning Your Silicone Liners After Removal
Once the silicone liner has been safely removed and has cooled completely, cleaning it is usually a straightforward process. Most manufacturers design these liners for easy maintenance, often making them dishwasher-safe. Our research into cleaning best practices for silicone kitchenware suggests that a simple wash with warm, soapy water and a soft sponge is effective for most everyday grease and food residue.
For more stubborn build-up, a soak in hot, soapy water can help loosen particles. If your liner is marked as dishwasher-safe (check the manufacturer's instructions or packaging), placing it on the top rack is typically recommended. Avoid abrasive scouring pads or harsh chemicals, as these can degrade the silicone over time.
Ensure the liner is thoroughly dry before storing or placing it back into a clean fry basket.
Proper drying is essential to prevent mildew or odors from developing.
When to Call It Quits: Replacing Old Silicone Liners
While silicone liners are durable, they aren't indestructible. Eventually, you'll notice signs that it's time to replace them. Manufacturer specifications often suggest a lifespan based on usage, but visual inspection is usually the best indicator.
- Tears and Rips: Any significant tear or hole compromises the liner's ability to protect the basket and can become a food trap.
- Stiffening or Brittleness: If the silicone feels hard, brittle, or loses its flexibility, it's likely degraded and needs replacement. This can happen from excessive heat or age.
- Permanent Staining or Odors: While some staining is normal, if a liner holds onto persistent odors or is deeply discolored to the point of looking unsanitary, it's time for a new one.
- Loss of Non-Stick Properties: If food begins to consistently stick to the liner, even after proper cleaning, its surface may have broken down.
Understanding Different Fry Basket Liner Materials
While we're focusing on silicone, it's good to know that other liner materials exist, each with its pros and cons. Understanding these can help you appreciate why silicone is so popular, but also what its limitations are.
- Silicone: Generally the most common for its flexibility, ease of cleaning, and heat resistance. It can withstand temperatures up to about 450°F (232°C).
- Paper Liners: These are disposable and great for quick clean-up, but they can sometimes absorb oil excessively and don't offer the same durability as silicone. They are often used in air fryers rather than traditional deep fry baskets.
- Metal Inserts: Some baskets might have perforated metal inserts. These are very durable but don't offer the non-stick properties or the same level of basket protection as silicone.
Can You Use Liners in Any Deep Fry Basket?
Not all deep fry baskets are designed to accommodate silicone liners. The primary consideration is the basket's construction. Liners are most effective in baskets where the liner can rest snugly against the bottom and sides, often with a slight lip or edge that helps secure it.
Baskets with very wide mesh or open frameworks might not hold a liner well, and the liner could potentially shift or fall out, especially when handling hot oil. Always check the manufacturer's recommendations for your specific deep fry basket model to ensure compatibility. Using a liner in an incompatible basket could lead to safety hazards or damage to the liner and basket.
The Impact of Oil Type on Liner Removal
The type of cooking oil you use can subtly influence how easily a silicone liner comes out. Oils with higher smoke points, like avocado oil or refined peanut oil, are often used at higher temperatures. According to general culinary science principles, at these high temperatures, the oil is more fluid.
This fluidity means it might seep more readily beneath the liner. However, as it cools, this more fluid oil might create a less tenacious seal compared to some thicker oils or fats that solidify more. Conversely, oils or fats that solidify significantly upon cooling can create a stronger, more brittle bond.
Maintenance Tips for Extended Liner Life
To get the most out of your silicone liners and reduce the frequency of removal struggles, proper maintenance is key. Beyond regular cleaning, a few practices can extend their useful life.
- Avoid Sharp Objects: As mentioned, never use metal utensils that could scratch or cut the silicone.
- Controlled Cooling: Always allow the basket and liner to cool down naturally before attempting removal or cleaning.
- Dry Thoroughly: Ensure liners are completely dry before storing them. Moisture can lead to mildew or unpleasant odors.
- Store Appropriately: Store liners flat or loosely rolled to prevent creasing or damage. Avoid placing heavy objects on top of them.
- Inspect Regularly: Give your liners a quick look-over before each use for any signs of damage.
Frequently Asked Questions
How long should I let my fry basket cool before removing the liner?
You should allow the basket and liner to cool for at least 5 to 10 minutes after removing food. They will still be warm, but not dangerously hot. This timing is crucial for safe handling and prevents burns.
What's the biggest risk when trying to remove a hot liner?
The biggest risk is suffering a thermal burn. Hot oil residue and the basket itself can cause severe skin damage if contact is made without adequate protection.
Can I use my regular kitchen spatula to pry out the liner?
No, you should avoid using standard metal kitchen spatulas. These can scratch or tear the silicone liner and potentially damage the fry basket. Stick to silicone or wooden tools for prying.
How often should I replace my silicone liners?
Replacement depends on usage, but you should replace them if they develop tears, become brittle, hold permanent odors, or lose their non-stick properties. Visual inspection before each use is recommended.
Are there specific brands of deep fry baskets that work better with liners?
While many dual baskets are designed for liners, compatibility can vary. Always consult your specific fry basket's manufacturer instructions to confirm it’s designed to work with silicone liners.
What temperature can silicone liners typically withstand?
Most high-quality silicone liners can withstand temperatures up to around 450°F (232°C), which is well within the range for deep frying. Always check the product's specifications for exact limits.