Why Cherry Pits Keep Breaking and How to Stop It
Cherry Pits Keep Breaking when the pitter does not drive the stone straight out through the cherry. You press the handle, the pit resists, and the stone snaps instead of popping free. That turns a fast prep job into a batch of fragmented pits and mashed fruit.
Most trouble starts with fit. Fresh-market sweet cherries often range from about 18 to 30 mm in diameter. Many manual pitters work best in the middle of that range.
If the fruit sits outside that range, the pit moves first. Soft or warm cherries collapse before the plunger clears the stone. That fit problem explains why one bowl pits quickly and the next one fails.
Quick Answer
Cherry Pits Keep Breaking when the pitter strikes off center. It also happens with very soft fruit. Large cherries may not sit in the cup.
Small cherries shift before pressure. Chill fruit and align the plunger. Then test five cherries.
Why Cherry Pits Break Instead of Popping Out Whole
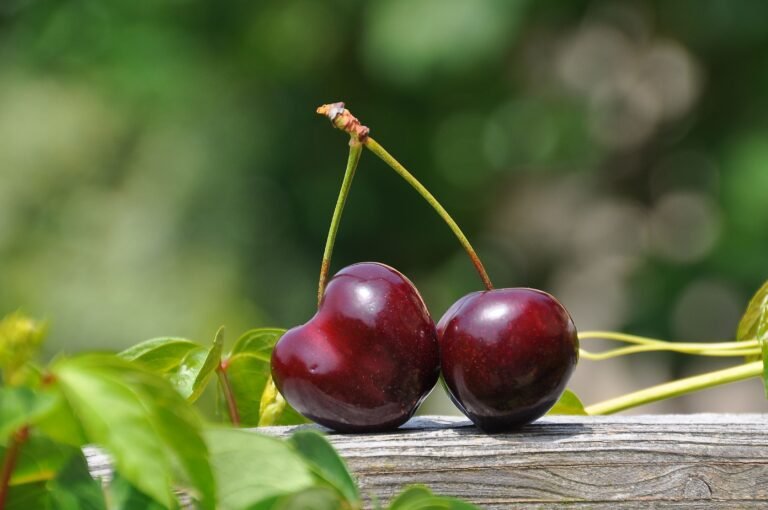
A cherry pit breaks when the pitter loads the stone sideways instead of driving it straight out. The pit is the hard endocarp. It has a natural seam called the suture line.
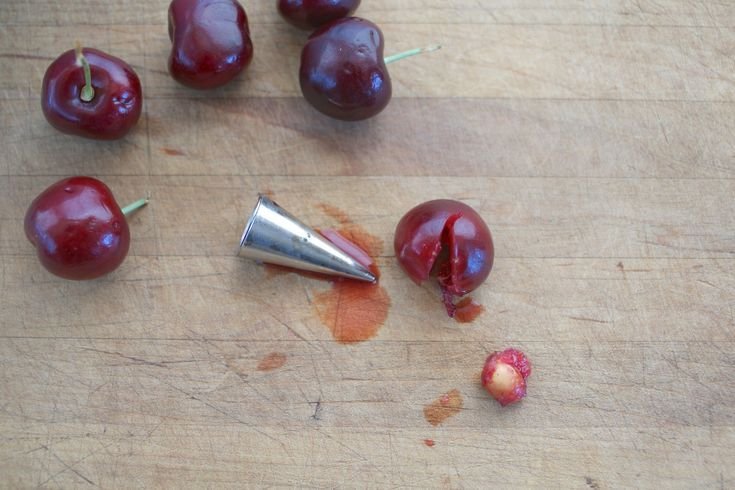
Image source: Bing (Web (fair-use with source credit))
That seam is a weak point. If the plunger strikes even slightly away from the center, the pit can crack along that seam. The fruit may also collapse and rotate the pit before the plunger finishes its travel.
This is why force alone does not solve the problem. More pressure often makes the failure worse. The goal is a centered push with the fruit held firmly under the plunger.
The USDA Agricultural Marketing Service treats pits and pit fragments as defects in pitted cherries. That matters for canning, freezing, and baking. It also explains why the problem feels so annoying.
You are not just losing time. You are creating a physical contaminant in the bowl.
The Quick Diagnostic: What the Broken Pit Pattern Means
The broken pit pattern tells you where to start. Do not change everything at once. Pick the pattern that matches your bowl, then make one fix.
| Broken pit pattern | Most likely cause | First fix |
|---|---|---|
| Pit splits into two halves | Strike near the suture line | Center the cherry and reduce pressure |
| Pit shatters into fragments | Brittle pit or hard impact | Chill fruit and check plunger fit |
| Pit stays whole but fruit is mashed | Fruit too soft or too large | Sort size and work smaller batches |
| Pit sticks or jams in the tool | Residue or poor alignment | Clean the plunger and realign the cup |
If you see clean halves, start with alignment. If you see shards, start with fruit temperature and pit condition. If the cherry is wrecked but the pit is whole, start with size sorting.
This diagnostic keeps you from blaming the pitter too early. Many pitters get returned for a problem caused by soft fruit or poor size matching.
Cherry Conditions That Cause Pit Breakage
Cherry condition changes how the pit carries load. A firm, cold cherry supports the stone. A warm, soft cherry lets the stone tilt.
- Ripeness: Overripe fruit collapses. The pit rotates before ejection.
- Temperature: Warm cherries bruise easily. Chill fruit at 35 to 40°F for 30 to 120 minutes before bulk pitting.
- Size: Fresh-market sweet cherries can range from about 18 to 30 mm. Small fruit shifts in the cup. Extra large fruit may not seat fully.
- Variety: Sweet cherries often hold shape better. Tart cherries can be softer and harder to pit cleanly.
- Pit maturity: A fully hardened pit resists crushing. A pit that is still drying or weak along the seam can split.
As of 2026, many home pitters are still sized for medium to large sweet cherries. That creates trouble for small tart cherries and jumbo fresh cherries. If your batch mixes sizes, sort first.
Pitter Setup Problems That Crack or Shatter Pits
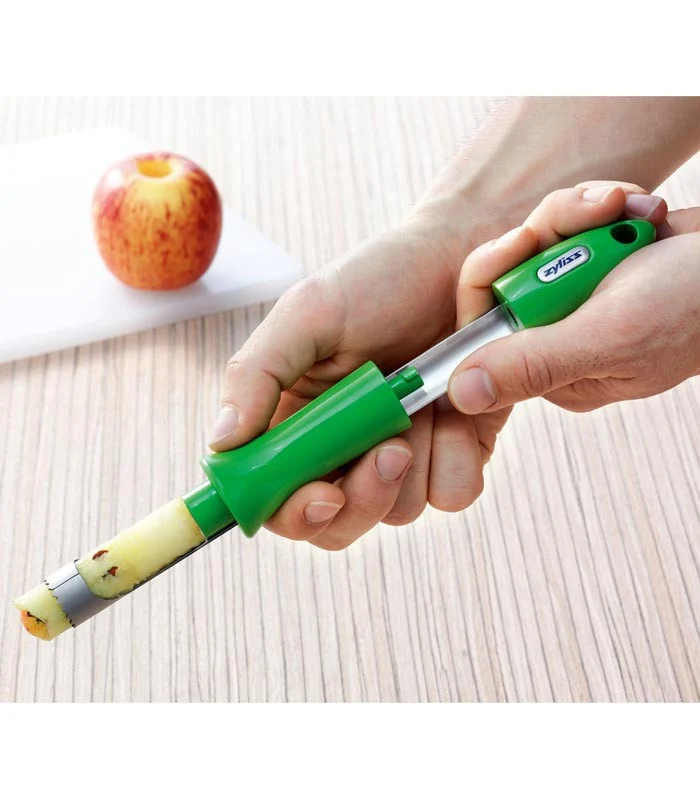
A pitter can break pits even when the fruit is perfect. The tool must hold the cherry and guide the plunger on the same axis. If those parts are out of line, the pit gets sheared.
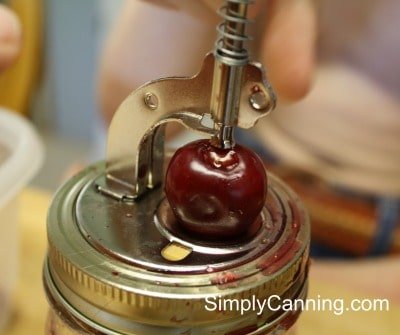
Image source: Bing (Web (fair-use with source credit))
Aggregate user reviews report that alignment issues cause many early pitting failures. Manufacturer specifications indicate that the plunger should pass through the pit cup without rubbing or wobbling.
Use this setup check:
- Look at the pit cup. It should cradle the cherry without letting it roll.
- Check the plunger. It should point at the center of the cup.
- Test the spring. Weak spring tension can let the cherry shift.
- Inspect for dried juice. Residue can make the plunger stick and release unevenly.
- Look for wear. Cracked plastic or bent metal can ruin alignment.
The FDA warns that hard fragments in food can become physical hazards. A chipped pitter part can create the same kind of risk as a broken pit. Stop using a tool with cracked metal or loose pieces.
Decision Branch: Pit Splits Cleanly Along the Suture Line
If the pit splits into two neat halves, the tool is probably hitting the seam. That can happen even with good fruit. The suture line is the pit's natural weak point.
Start with alignment. Place the cherry so the stem scar faces the same way each time. Many cherries have a slight orientation, and consistent placement helps the plunger avoid the seam.
Then reduce force. A slow, steady press gives the pit time to move through the flesh. A fast jab loads the seam and invites a split.
If the problem continues, check ripeness. Fruit that is very soft gives less support. Chill it briefly and try again.
If clean splits still happen across multiple batches, the pitter may not match your cherry size. A shallow cup may let the fruit roll. A deeper cup or a model with better size control may solve it.
Decision Branch: Pit Shatters Into Small Fragments
If the pit breaks into sharp pieces, the problem is usually impact. The plunger hits too fast. The pit may also be brittle along its seam.
Shattering is more common with very firm fruit and worn tools. A narrow pit cup can pinch the stone. A loose plunger can strike at an angle.
Start by slowing the press. Use steady pressure, not a quick jab. Let the tool push the pit through the flesh.
Then inspect the pitter. The plunger should not wobble. The cup should not have cracks or dried juice ridges.
If the fruit is extra large, the pit may not sit deep enough. Sort those cherries out. Use a larger pitter cup or a backup method for that batch.
Pits can also become more brittle as fruit matures. If you are pitting late season cherries, expect harder stones. A slower press reduces shock.
If the pitter leaves dark specks, those may be pit shards. Treat the batch as contaminated until inspected. Small pieces can lodge near the stem end or in folds of torn flesh.
If shards keep appearing, stop bulk pitting. You will need a careful inspection pass before cooking or canning. Continuing will only spread fragments through the whole batch.
Decision Branch: Pit Stays Whole but the Cherry Is Crushed
If the pit comes out whole but the cherry looks smashed, the fruit is giving way before the pit releases. That usually points to softness, heat, or excess force.
Chill the cherries first. Fruit at 35 to 40°F holds its shape better. A 30 to 120 minute chill can make a clear difference.
Partial freezing can help very soft fruit. Twenty minutes in the freezer can firm the flesh. Do not let the fruit freeze solid.
Sort by ripeness. Overripe cherries will bruise no matter how good the pitter is. Use them for sauce or jam, not pitted halves.
Check the cup size. If the cherry is too small, it rolls and collapses. If it is too large, the tool squeezes the sides instead of supporting the pit.
Use a lighter press. The plunger should do the work. If you feel a hard stop, reset the cherry and try again.
A shallow bowl under the pitter catches juice. This keeps your view clear and stops cherries from sliding. It also makes crushed fruit easier to separate from good fruit.
For tart cherries, work in smaller batches. They are often softer than sweet cherries. They need gentler handling and more frequent inspection.
Step-by-Step Workflow for Pitting Cherries Without Breaking Pits
Use one repeatable method. This keeps the failure pattern from changing on you.
- Sort cherries by size. Keep small, medium, and large fruit separate.
- Remove bruised, split, or leaking cherries. Use those for cooking, not clean pitting.
- Wash the fruit. Dry it lightly so the tool does not slip.
- Chill firm cherries for 30 to 120 minutes. Aim for 35 to 40°F.
- Check the pitter. The plunger should center over the pit cup.
- Seat each cherry the same way. The stem scar should face a consistent direction.
- Press slowly and evenly. Stop if the pit resists.
- Eject the pit into a shallow tray. This makes fragments easy to spot.
- Check every 10 cherries. If the pattern changes, pause and adjust.
- Rinse the tool often. Dried juice changes alignment fast.
Use a light colored tray. Pit fragments show up faster against white or pale plastic. A deep bowl can hide shards under juice and skins.
If the tool jams, rinse it before continuing. Juice buildup changes the plunger path. It can also make the next cherry seat at an angle.
If the first five cherries pit cleanly, continue. If two pits break, stop and run the diagnostic again. Small course corrections save a lot of wasted fruit.
Pre-Batch Checks: Size Sorting, Chill Time, Alignment, and Test Runs
A short pre-batch check saves time. It also prevents a whole bowl from turning into scrap.
| Check | Pass sign | Fix if it fails |
|---|---|---|
| Size | Cherry sits snug in the cup | Sort by diameter |
| Chill | Flesh feels firm, not mushy | Chill 30 minutes more |
| Alignment | Plunger points to cup center | Clean or adjust the tool |
| Test run | Five cherries pit with whole pits | Change batch or method |
Medium cherries, often about 20 to 24 mm across, are the easiest to pit. Very small cherries shift. Very large cherries may need a different tool.
A small ruler or caliper helps at first. After one batch, you can sort by eye. The goal is consistency, not perfection.
If your pitter lists a size range, stay inside it. Outside that range, results get inconsistent. You may get broken pits, crushed fruit, or both.
Do the test run on a clean plate. It gives you a clear view of pit ejection. You want whole pits and fruit that keeps its shape.
If the test fails, do not push through the whole batch. Fix one variable. Then test again.
Common Mistakes That Make Cherry Pit Breakage Worse
Most failures come from a few repeated habits. They are easy to fix once you spot them.
- Forcing the handle. This cracks pits and crushes fruit.
- Pitting warm cherries. Soft flesh gives the pit room to tilt.
- Skipping size sorting. Mixed sizes defeat the tool's fit range.
- Ignoring residue. Sticky juice makes the plunger catch.
- Using a worn pitter. A bent rod or cracked cup ruins alignment.
- Overfilling a hopper tool. Fruit can rotate before pitting.
- Pressing too fast. A quick hit loads the suture line.
- Not inspecting the output. Fragments pile up before you notice.
Pitting over a deep bowl can hide fragments. Use a tray or plate instead. You want to see the pits as they come out.
Waiting too long to clean the pitter makes residue worse. Rinse it before juice dries. That keeps the plunger moving straight.
If you only fix one thing, fix pressure. Slow, centered force solves many cases. If that fails, move to size and temperature.
When to Change Tools, Adjust Technique, or Switch Cherry Batches
Sometimes the fix is not pressure. It is the batch or the tool. If clean alignment and chilling do not help, stop forcing the fruit.
Use this rule:
- If two of five test cherries break pits, change one variable.
- If four of five break pits, stop using that setup.
- If only large cherries fail, separate them.
- If only soft cherries fail, divert them to sauce.
A handheld plunger pitter suits medium, firm cherries. A tabletop lever model gives more control for large batches. A crank or hopper pitter can speed work, but it may crush mixed sizes.
Aggregate reviews report hopper pitters work best with uniform fruit. If your cherries vary widely, sorting matters more than tool speed.
Switch batches when fruit quality changes. Rain near harvest can make cherries soft. Late season fruit may have harder pits.
Tart cherries often need colder fruit and a gentler press. Sweet cherries usually hold shape better when firm.
If the pitter cup is too shallow, the cherry rolls. If the plunger rod is too wide, it loads the pit edge. In those cases, a better sized tool beats more effort.
Safety Check: Finding and Removing Pit Fragments From Pitted Cherries
Pit fragments are a physical hazard. They can crack teeth or cause choking. Food safety guidance treats hard objects in ready to eat food as a risk.
Inspect fruit on a light tray. Spread cherries in one layer. Look near the stem scar and torn flesh.
Use these checks:
- Run clean fingers over each cherry.
- Press gently to feel hard spots.
- Rinse pitted cherries in a colander if the recipe allows.
- Drain and blot before baking or freezing.
If you are canning or freezing, inspect twice. Fragments hide better once juice and sugar pack the fruit. A final visual check after pitting catches most pieces.
For children or older adults, be stricter. If shards were seen, treat the batch as suspect. Cooking does not make pit fragments safe.
Expert Tips for Bulk Pitting Sweet and Tart Cherries
Bulk pitting is a rhythm job. Set up for speed without losing control.
Keep fruit cold. Work in small trays from the fridge. Warm fruit turns mushy fast.
Sort before you start. Keep jumbo cherries separate. Use a different pitter cup or a knife for those.
For sweet cherries, aim for firm fruit. For tart cherries, expect softer flesh. Chill them longer and press slower.
Use a splash guard or a deep pan under the tool. Juice makes counters slippery. It also hides fragments.
Clean the pitter often. Rinse every 20 to 30 cherries. Dried juice changes alignment.
Save bruised fruit for jam. Do not fight a bad batch. A few minutes of sorting can save pounds of fruit.
Common Cherry Pitting Questions, Answered
Why do my cherry pits split in half?
The plunger is probably hitting the natural pit seam first. That weak line cracks quickly under off center pressure during pitting. Seat each cherry the same way before every single press.
Press slowly until the whole pit comes out clean.
Do cherries pit better cold or at room temperature?
Cold cherries usually pit better than soft room temperature fruit every time. Firm chilled flesh holds the stone steady during the press. Warm fruit collapses quickly and lets the pit tilt sideways.
Chill fruit thirty minutes first for cleaner results and less bruising.
What size cherries are easiest to pit?
Medium cherries are easiest because they fit standard pitter cups well. Very small cherries often shift before the plunger makes contact. Very large cherries may not seat fully in the cup.
Sort sizes and test five fruit before processing the batch.
Are pit fragments dangerous to eat?
Yes, pit fragments can crack teeth or create a choking risk. They are physical contaminants, not just a texture problem. Inspect pitted fruit on a light tray before use.
Recheck every batch carefully before serving young children or older adults.
Final Decision Guide: Match the Symptom to the Right Fix
Use this guide when you want a fast answer. Match what you see to the first fix. Then retest five cherries.
| Symptom | Most likely cause | Best next move |
|---|---|---|
| Pit splits into halves | Off center strike at seam | Center fruit, press slower |
| Pit shatters | Brittle pit or hard impact | Chill fruit, slow the press |
| Cherry is crushed | Soft or oversized fruit | Sort sizes, chill longer |
| Pit jams in tool | Juice residue or misalignment | Rinse and realign pitter |
| Fragments in bowl | Broken pits not caught | Inspect on light tray |
If the problem follows one size, change the tool fit. If it follows soft fruit, change the batch. If it follows every cherry, the pitter setup is the likely cause.