Can You Pit Frozen Cherries? Easy Methods That Work
Can You Pit Frozen Cherries without turning them into a sticky mess? Usually, yes, but not while they are rock-hard. Fully frozen cherries crack, split, and shatter when forced.
The goal is a short tempering window where the flesh gives but the fruit stays cold.
As of 2026, USDA frozen cherry grade standards still allow some pit fragments in pitted fruit. The U.S. Food and Drug Administration also sets the food danger zone at 40°F to 140°F, so thawing method matters.
That is why the right branch starts with the label, not the pitter.
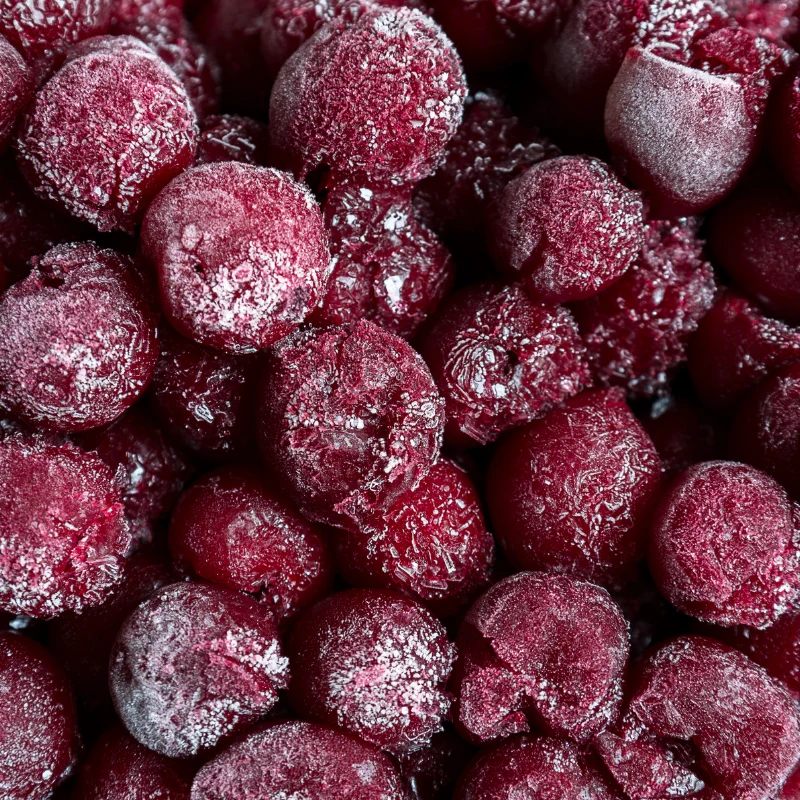
Image source: Bing (Web (fair-use with source credit))
Quick Answer: You Can Pit Frozen Cherries, but Not While Rock-Hard
Can You Pit Frozen Cherries safely at home? Yes, if they are partially thawed and still cold. Rock-hard fruit cracks pits and creates sharp fragments.
Pit pieces can harm children, pets, and dental work. Thaw in the fridge, then use a cherry pitter.
Check the Label Before Trying to Pit Frozen Cherries
The label tells you whether pitting is even your job. Many frozen cherries are pitted before freezing, but wording varies by brand and market.
Frozen cherry formats also differ. IQF cherries pour loose from the bag. Block-frozen cherries come in a solid mass and need breaking apart.
| Package wording | What it means | Do this |
|---|---|---|
| Pitted or stoned | Pits were removed before freezing | Inspect, drain, and use |
| Unpitted or with pits | Whole cherries still hold stones | Pit after partial thaw or strain after cooking |
| May contain pits | Mechanical pitting was not perfect | Check every piece before serving kids or pets |
| Sweetened or syrup pack | Fruit is packed with sugar or syrup | Expect softer fruit and more juice |
If the bag says pitted, you still need a quick visual check. Mechanical depitting can leave small pit pieces, and grade standards do not promise zero fragments.
If the bag says with pits, do not panic. You have two practical routes. You can temper and pit the fruit.
You can also cook and strain it.
If the label is unclear, treat the cherries as unpitted. That protects teeth, blenders, and food processors.
Use these quick checks before you start:
- Buy pitted IQF cherries for smoothies and raw toppings.
- Buy unpitted bulk cherries only if you accept prep time.
- Reduce added sugar when using sweetened frozen cherries.
- Check heavy ice crystals for possible thaw and refreeze history.
Plan for waste if you buy unpitted fruit. One pound of whole cherries usually yields about 2.5 to 3 cups of pitted fruit. Pits and trim often account for 6 to 10 percent of the weight.
Juice loss can push that higher once thawing starts.
Price per pound can mislead you. Pitted fruit costs more upfront but saves labor and waste. Unpitted fruit can be a smart buy for sauce.
It is a poor buy for smoothies if you lack time.
What You Plan to Make Changes the Best Method
Your recipe decides how perfect the pitting needs to be. A smoothie needs zero pits. A strained syrup can tolerate pits during cooking.
| Recipe or use | Pit status needed | Best method |
|---|---|---|
| Smoothie, sorbet, fruit leather | Fully pitted | Buy pitted or thaw and pit |
| Pie, galette, cake | Pitted and drained | Partial thaw, pit, then dry |
| Jam, sauce, compote, syrup | Pits can come out later | Cook with pits, then strain |
| Yogurt, oatmeal, lunch box | Fully pitted | Thaw, inspect, and drain |
| Traditional clafoutis | Pits may stay for flavor | Warn guests and avoid serving to children |
For raw or blended uses, choose pitted fruit. A blender can crack a pit fast. That creates sharp shards and a gritty texture.
For baking, pitted fruit is still best. Excess juice from thawed cherries can make pastry soggy. Pat the fruit dry or toss it with starch.
For sauces, the cook-and-strain method saves labor. Heat softens the flesh. A sieve or food mill removes pits without fussy hand pitting.
Cherry type also changes the result. Sweet Bing cherries taste great out of hand. Tart Montmorency cherries make brighter sauce and pie filling.
Match the method to the eater, not just the dish. Pitted fruit is the safe choice for children, older adults, braces, and dentures.
Home cooks preserving a cherry harvest often freeze unpitted fruit first. That works, but it creates a later prep task. If you know the use case before freezing, pit first.
Pitted fruit freezes well in single layers on a tray.
For food service or baking at scale, labor changes the math. Hand pitting slows down a kitchen. A tabletop pitter may pay for itself in large batches.
Cook and strain may still win for sauce.
Use these quick pairing rules:
- Club store bags often favor pitted IQF fruit.
- Farmers market surplus may be unpitted and irregular.
- Sweet cherries suit snacks and cake.
- Tart cherries suit pie, jam, and syrup.
The Four Conditions That Decide What to Do
Four conditions control the workflow. Ignore one, and the fruit can turn messy or unsafe.
| Condition | Why it matters | If this is true, then |
|---|---|---|
| Freeze state | Rock-hard fruit cracks pits | Temper first |
| End use | Blenders and raw dishes need clean fruit | Use only pitted cherries |
| Label status | It reveals starting pit load | Inspect or pit |
| Tool and time | Pitters work best on pliable fruit | Choose pitter, knife, or strain |
Freeze state is the big one. Manufacturer specifications indicate most cherry pitters target fresh or thawed fruit. Solid ice can jam them.
Aggregate reviews report crushing and broken pits when the fruit is too hard.
Temperature matters too. Keep thawing cherries out of the food danger zone when possible. The fridge is the safest place to temper fruit.
A sealed bag in cold water works faster, but it needs attention.
Our research shows the best texture comes from stopping early. You want cherries that bend slightly but still feel cold. Over-thawed fruit loses juice and turns soft.
Use this thawing guide as a starting point:
| Thaw method | Typical time | Best for | Caution |
|---|---|---|---|
| Refrigerator | 1 to 3 hours partial, overnight full | Safe tempering | Plan ahead |
| Sealed bag in cold water | 20 to 40 minutes | Faster partial thaw | Keep the bag sealed |
| Cool countertop | 10 to 30 minutes | Small batches | Watch the two hour limit |
| Microwave | Uneven and fast | Not recommended | Cooked edges and hot spots |
If you are working with a large bag, spread the fruit in a shallow layer. It tempers more evenly than a deep bowl. If the fruit clumps, break it apart before pitting.
Fruit quality is a hidden condition. Freezer burn creates dry spots and flat flavor. Heavy ice crystals may mean the fruit thawed and refroze.
Torn skins release more juice during pitting.
If the fruit smells off, discard it. If it looks dark and dry, use it only in cooked recipes. Good fruit should smell like cherries, not cardboard.
Trust your nose as much as the date.
Decision Tree: What to Do Based on Thaw State and End Use
Use this tree before you grab a knife or pitter. Match the fruit to the recipe, not the other way around.
Branch 1: The cherries are already pitted
Inspect the fruit before use. Look for pit fragments, stems, and freezer-burned pieces.
Drain wet fruit for pies and cakes. Reserve the juice for smoothies or syrup if it is clean.
If you are serving toddlers, older adults, or pets, cut large cherries smaller. Even pitted fruit can be a choking risk.
If the fruit is icy but pitted, break clumps and use it frozen. It works well in smoothies. For baking, thaw and drain first.
Branch 2: They are rock-hard and needed raw or blended
Do not force a pitter through frozen fruit. You will crack pits and damage the tool.
If the recipe is raw, thaw first. Use the refrigerator for partial thawing. A sealed bag in cold water can speed the process.
Avoid microwave defrosting. It cooks edges and leaves centers frozen. Avoid hot water too.
It hurts texture and food safety.
If you need the fruit right away, use store-bought pitted cherries. If only unpitted fruit is available, switch to a cooked and strained recipe.
Do not use a straw, paperclip, or chopstick for frozen cherries. Those hacks work poorly even on fresh fruit. Frozen cherries need controlled pressure.
A proper pitter is safer.
Branch 3: They are partially thawed and slightly pliable
This is the best pitting window. The flesh gives, but the cherry still holds shape.
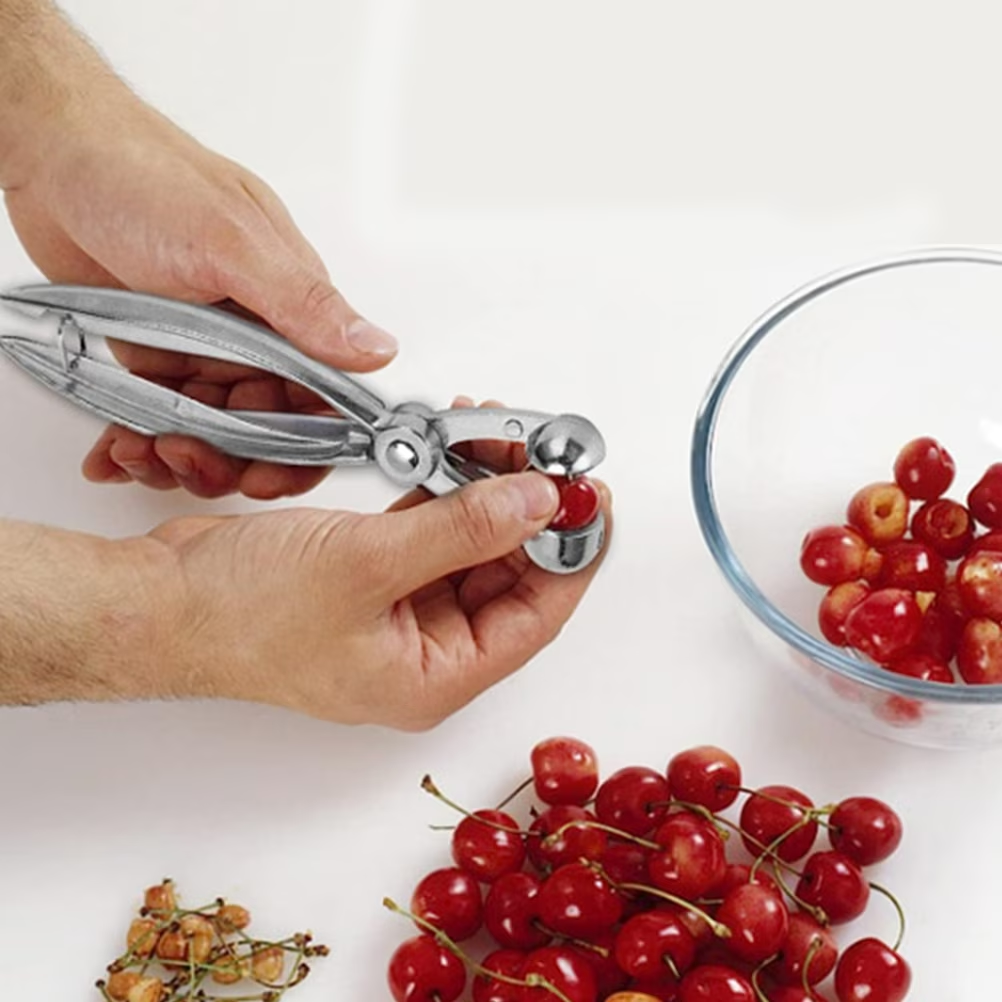
Image source: Bing (Web (fair-use with source credit))
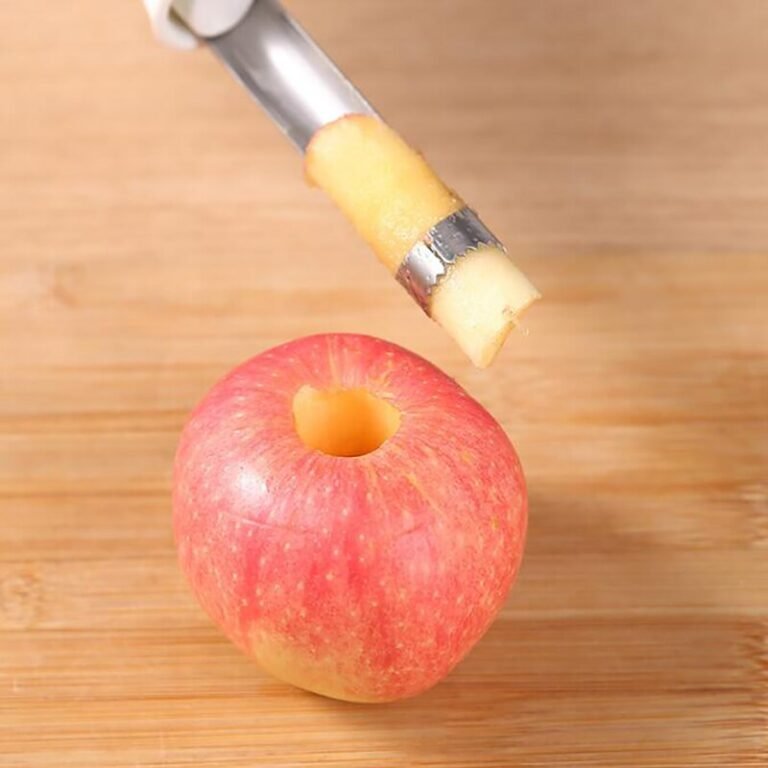
Set up a non-slip board. Place a bowl under the work area. Use a cherry pitter over the bowl.
Work in small batches. Keep the rest cold. Warm fruit gets sticky fast.
Inspect each cherry after pitting. Cut larger fruit in half if you see pit fragments.
Drain the pitted fruit. Pat it dry for baking. Portion and refreeze what you will not use.
If the cherries were thawed in the refrigerator, refreezing is safe. Quality may drop slightly, so label the bag with the date.
A simple workflow helps:
- Wash hands and tools.
- Spread cherries on a tray.
- Let them temper until pliable.
- Pit over a deep bowl.
- Check each cherry.
- Drain excess juice.
- Pat dry for baking.
- Freeze or cook promptly.
Branch 4: They are fully thawed or mushy
Fully thawed cherries are fine if they stayed cold. Use fridge-thawed fruit within 1 to 2 days for best quality.
If the fruit sat out over 2 hours, discard it. At warm room temperature, the safe window drops to 1 hour.
Mushy fruit is best for cooked uses. Make compote, sauce, or syrup. Strain out pits if they are present.
Do not use mushy fruit for pie chunks. It will release too much liquid. Mix it into sauces or smoothie packs instead.
If you see mold, fermented smell, or slimy juice, do not taste it. Throw the fruit away. Freezer damage is not the same as spoilage.
Freezer-burned fruit can be safe but tastes flat.
Branch 5: You are making sauce, jam, compote, or syrup
You can cook unpitted cherries and strain them later. This works well for large batches.
Do not crush the pits while stirring. Broken pits can add bitterness and sharp pieces.
Broken stone fruit pits also contain amygdalin. Avoid eating crushed pit material.
Use a coarse sieve or food mill. Press gently. Let the fruit drain without forcing pit material through.
This route is practical when the fruit is already soft. It is not ideal for pie filling. The result can be too wet.
A basic cook and strain flow works well:
- Put cherries in a wide pot.
- Add a little water or juice.
- Warm slowly until juicy.
- Crush gently with a spoon.
- Simmer until slightly thick.
- Strain through a sieve.
- Cool before storing.
How to Partially Thaw Frozen Cherries Safely for Pitting
The safest way is a short fridge thaw. Put the cherries in a shallow dish. Cover the dish and place it in the refrigerator at 40°F or below.
Check them after 1 hour. Small berries may be ready sooner. Large sweet cherries may need 2 to 3 hours.
You want fruit that bends a little but still feels firm and cold.
If you need them faster, use a sealed bag in cold water. Keep the bag closed. Press out extra air before sealing.
Change the water every 20 minutes if it warms.
Avoid the microwave. It creates soft cooked edges while centers stay hard. Avoid hot water too.
It damages texture and raises food safety risk.
| Method | Typical time | Best for | Stop point |
|---|---|---|---|
| Refrigerator | 1 to 3 hours | Safe partial thaw | Pliable but cold |
| Sealed bag in cold water | 20 to 40 minutes | Faster prep | Fruit bends slightly |
| Cool countertop | 10 to 30 minutes | Small batches | Still under two hours out |
Countertop thawing needs a timer. Do not leave cherries out past two hours. If the room is above 90°F, cut that limit to one hour.
Step-by-Step: Pitting Partially Thawed Cherries Without Making a Mess
Once the cherries bend slightly, set up a clean station. Use a non-slip cutting board. Place a deep bowl under the pitter to catch juice.
Work in small batches. Keep the rest in the fridge. Warm cherries release more juice and become sticky.
- Wash your hands and the pitter.
- Pick out stems and damaged fruit.
- Place one cherry in the pitter cup.
- Press smoothly until the pit drops.
- Drop the pitted cherry into a clean bowl.
- Check the cherry for pit pieces.
- Cut large cherries in half if needed.
If a pit will not release, stop. Do not squeeze hard. Hard pressure can crack the pit and send shards into the flesh.
Drain the pitted cherries in a colander. Save the juice if it is clean and useful. For pie or cake, pat the fruit dry with paper towels.
Refreeze only fruit that thawed in the refrigerator. Spread pitted cherries in a single layer on a tray. Freeze until firm, then bag them.
Cook-and-Strain Method: When You Can Skip Pitting Entirely
Yes, this method lets you skip hand pitting for wet recipes. It works best for sauce, jam, compote, and syrup. The heat softens the flesh and loosens it from the stone.
Put the frozen cherries in a wide pot. Add a small splash of water or juice. Warm them slowly until they release liquid.
Crush the fruit gently with a spoon. Do not smash the pits. Broken pits can add bitterness and create sharp fragments.
Simmer until the mixture thickens slightly. Then press it through a coarse sieve or food mill. Let it drain without forcing solids through the mesh.
Use this method when texture matters less than flavor. It is a poor choice for pie filling. The fruit will be too soft and wet.
It also works well for bulk bags. You save time on pitting. You lose some yield to skins and pits.
Tools and Hacks: What Works on Frozen Cherries and What Fails
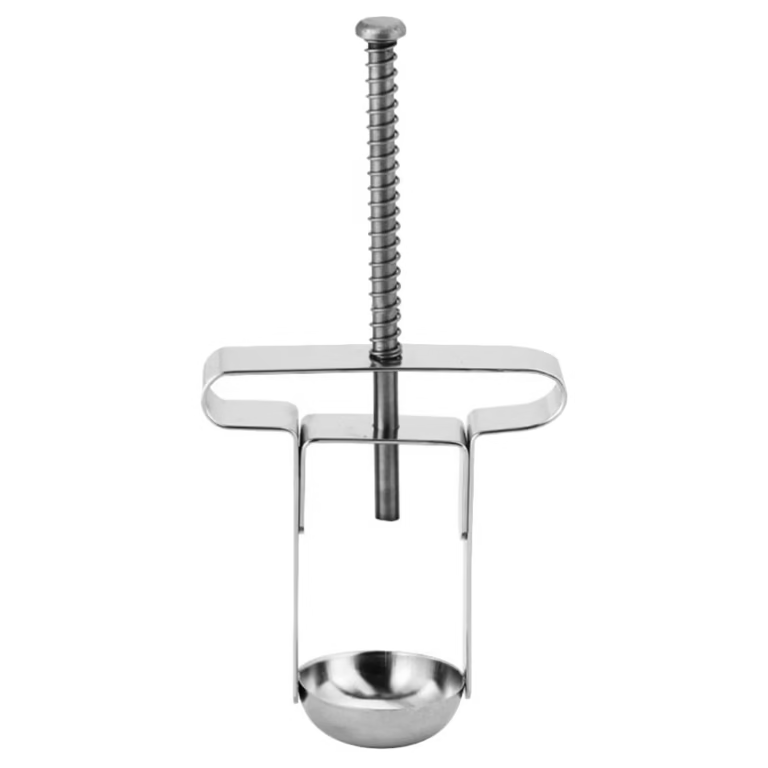
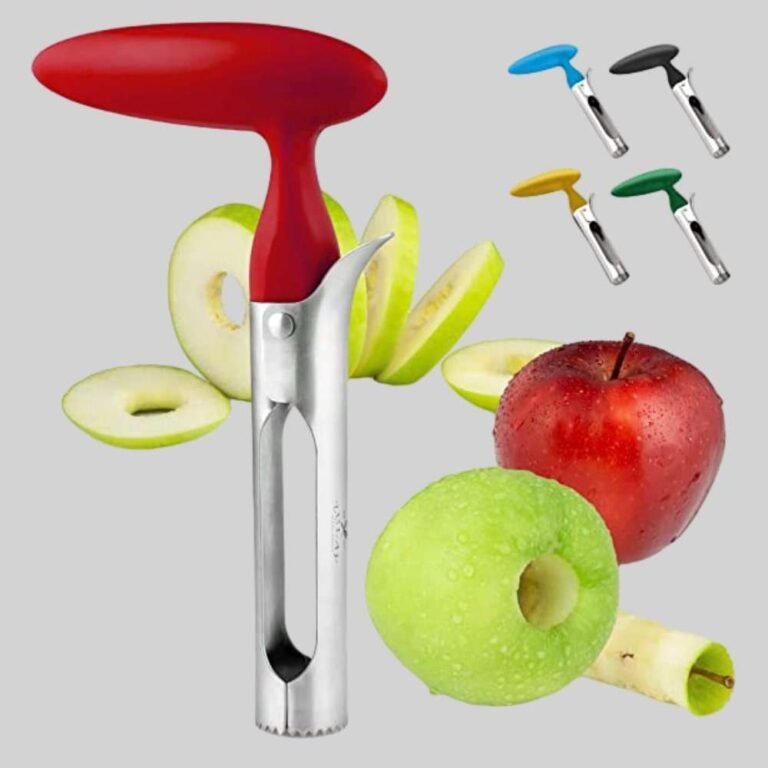
A cherry pitter is the best manual tool for tempered cherries. As of 2026, manufacturer specs usually list fresh or thawed fruit as the intended use. Aggregate reviews report jams and crushed fruit on rock-hard cherries.
| Tool | Result on frozen cherries | Best use |
|---|---|---|
| Handheld cherry pitter | Clean pits when fruit is pliable | Small home batches |
| Tabletop cherry pitter | Faster and more stable | Large batches |
| Paring knife | Messy and risky | Emergency small jobs |
| Olive pitter | Works on small fruit only | Small thawed cherries |
| Straw or chopstick | Unreliable and messy | Not recommended |
| Food mill | Safe after cooking | Sauce and jam |
Can you use an olive pitter for cherries?
Yes, if the cherries are small and partly thawed. Many olive pitters have a narrow cup. Large Bing cherries may slip, crush, or pit poorly.
Do viral hacks work on frozen cherries?
No, most fail once the fruit is frozen. A straw can mush the skin. A chopstick can push pit fragments into the flesh.
A pitter gives more control.
Mistakes That Lead to Broken Pits, Juice Splatter, or Unsafe Fruit
The biggest mistake is forcing a pitter through solid fruit. Frozen flesh does not flex. The pit cracks instead of popping out.
Another common error is thawing too far. Over-thawed cherries leak juice and turn soft. They are hard to handle and poor for baking.
| Mistake | Result | Better move |
|---|---|---|
| Pitting rock-hard cherries | Cracked pits and shards | Temper first |
| Microwave thawing | Cooked edges and uneven centers | Use fridge or cold water |
| Leaving fruit out too long | Food safety risk | Keep total time under two hours |
| Crushing pits while cooking | Bitter taste and sharp bits | Stir gently and strain |
| Skipping inspection | Hidden pit fragments | Check each cherry |
Do not serve unpitted cherries to children, pets, or anyone with dental work. Whole pits can be a choking hazard. Broken pits are worse because they can cut the mouth.
If cherries smell fermented or show mold, discard them. If they sat out too long, discard them. Do not taste questionable fruit to decide.
Safety Notes: Pit Fragments, Thawing Limits, and Who Should Avoid Unpitted Cherries
Keep pits away from kids and pets.
Storage, Yield, and Whether Unpitted Frozen Cherries Are Worth It
Pitted fruit saves time. Unpitted fruit suits sauce.
Quick Decision Guide: Pick Your Method Based on Your Situation
Raw use: pitted. Sauce: strain after cooking.
FAQs About Pitting Frozen Cherries
Can you pit frozen cherries without thawing?
No.
How long to thaw?
One to three hours.
Are pit pieces dangerous?
Yes.
Can you refreeze them?
Yes, if fridge thawed.
Final Recommendation: Choose Pitted Fruit or Strain After Cooking
Buy pitted for smoothies. Strain sauce cherries.