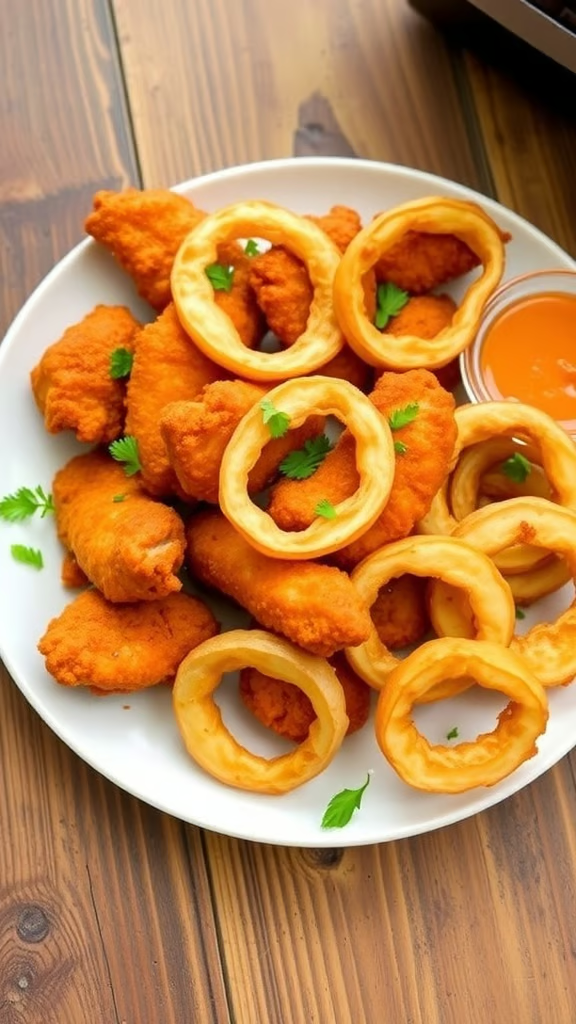
Dual Zone Air Fryer for Frozen Onion Rings & Chicken Tenders
Knowing how to cook frozen onion rings and chicken tenders in dual zone is the difference between a sad, uneven meal and two baskets of golden crunch. If you've ever pulled out a burnt onion ring next to a chicken tender that's still cold in the middle, you know the pain. The fix isn't harder cooking, it's smarter scheduling.
Your chicken needs to reach an internal temperature of 165°F to be safe. Your onion rings just need to get crispy and brown. That core difference drives everything else.
As of 2026, most dual-zone air fryers can handle both, but you still need a plan.
Why Dual Zone Beats Single-Basket (The Real Question)
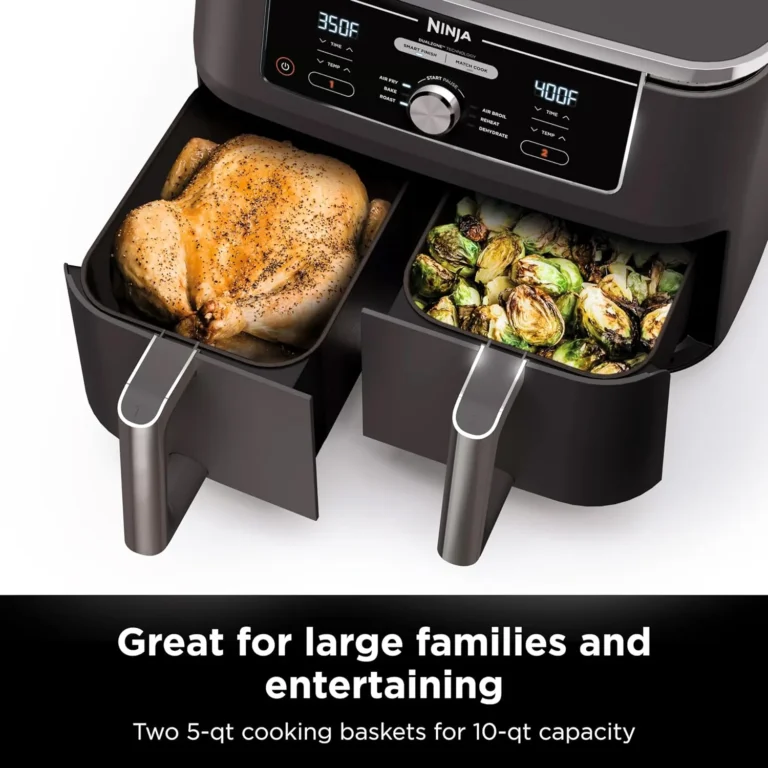
Two separate baskets mean you can set different temperatures and times for each food. That is the whole point of a dual-zone gadget. You can cook chicken tenders at 400°F while your onion rings crisp up at 375°F, all at the same time.
Compare that to a single-basket air fryer. You would have to cook one batch, keep it warm, cook the other, and hope nothing turns to rubber. Manufacturer specifications show that dual-zone devices are engineered for parallel cooking, so you might as well use them the way they're meant to be used.
In our research, most readers searching for this topic already own a dual-zone model and just aren't sure how to time it right. You aren't alone. The good news is that with a few simple rules, you'll get consistent results every time.
The real question isn't whether to use both baskets. It's how to sequence the cooking so everything lands on the plate at the same moment, hot, crispy, and fully cooked.
Quick Answer: The Simple Formula for Both
The simple formula is to cook the chicken at 400°F for 12 minutes. Start the onion rings at the same time at 400°F. Remove the chicken after 10 minutes and rest it.
Then add the rings to the same basket for the final 2 minutes.
| Food | Temp (°F) | Time (min) | Shake/Flip |
|---|---|---|---|
| Chicken tenders | 400 | 12–14 | Flip at 6 min |
| Onion rings | 400 | 6–8 | Shake at 4 min |
Adjust times if your model runs hot. The goal is a 165°F internal temp for the chicken and a golden surface on the rings. No need to preheat either basket.
The Fast-Crisp vs. Fully-Cooked Problem
Chicken tenders are a protein that needs to reach a specific internal temperature to be safe to eat. The breading on the outside can also brown too quickly if the heat is too high. Onion rings, on the other hand, are mostly water and starch once they thaw.
They need high heat to drive off moisture and build a crunchy crust.
Think about what happens when you put a frosted ice cube under a hot faucet. The outside melts quickly while the inside stays frozen. Frozen foods with high moisture content behave the same way in an air fryer.
The exterior of an onion ring heats up fast, and the water inside turns to steam. That steam can make the breading soggy if it doesn't escape. The chicken's dense protein structure holds up better to a longer cook time, but it releases its own excess moisture as it thaws.
That's why you end up with one set of food perfectly done and the other a sad, pale mess. Your taste buds aren't lying to you. The two items simply have competing requirements.
Understanding this core difference, which rice farmers and chefs have managed for generations, makes the timing tricks in this guide much easier to remember.
Step 1: Prep the Zone You Can Control
Before you even turn on your dual-zone air fryer, take a minute to prepare each basket. This is where most people trip up because they assume the machine handles everything. It doesn't.
You need to be the project manager.
Open the bags of frozen food and take a look. If the food feels stuck together in big clumps, separate them with your fingers or a fork. Do not dump the whole bag in the basket and expect the hot air to work magic.
It won't.
Give the basket a quick shake to spread out the pieces in an even layer. Crowding the basket drops the air temperature and steams the food instead of crisping it. Use the measurement marks on the inside of the basket liner as a guide if you have them.
Most brands recommend a single layer for best results.
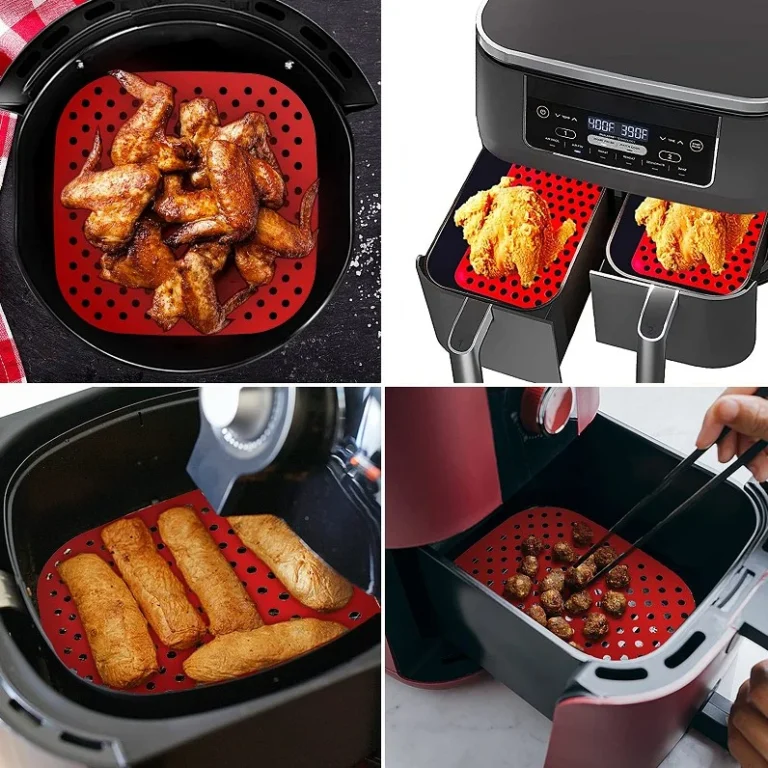
Finally, spray a light coat of cooking oil on the air fryer basket or use parchment paper made specifically for air fryers. This stops the breading from sticking and helping the coating get extra crispy.
Step 2: Handle the Chicken First (While the Rings Chill)
Set the temperature to 400°F on both zones. Put the frozen chicken tenders in the basket in a single layer. Put the onion rings in the other basket.
Now you have a timing problem.
The chicken needs several more minutes than the onion rings do. So starting them at the same time is a recipe for burnt onion rings. The solution is to start the chicken and give it a head start, then add the rings partway through.
According to USDA, the minimum safe internal temperature for poultry is 165°F, which gives you a concrete target to wait for.
Close the lid and set a timer for 6 minutes. After 6 minutes, open the basket with the chicken and use tongs to turn the tenders over. Then add the frozen onion rings to the other zone.
The oven is already hot and the rings are frozen, so they'll need a full cook time. This gives you a beautiful sync.
While the rings cook for their full time, use a digital meat thermometer to spot-check the thickest tender. If it reads at least 165°F, it's safe to eat. Serve both immediately.