Should I Grease Silicone Baking Mats? The Clear Answer

If you’ve found yourself standing over a sheet pan, can of cooking spray in one hand and a silicone mat in the other, you’re not alone. The question “Should I grease silicone baking mats” trips up home bakers every day. The mat feels slick out of the box, but recipe instructions often disagree.
Some call for a greased pan no matter what.
Here’s the thing. Silicone baking mats are engineered for nonstick performance that needs no added fat in most situations. Yet manufacturer specs and real-world baking kitchens show that mat condition and what you’re baking change the answer.
A new Silpat or similar mat rated to 480°F will release chocolate chip cookies without a trace of butter. An older mat that’s seen a few hundred bake cycles might not.
Quick Answer
No grease is needed for most low-sugar baked goods on a new silicone mat. Grease very lightly for sticky, high-sugar recipes like tuiles or caramel. Never grease when making macarons or meringues.
Skip aerosol cooking sprays with lecithin, they ruin the mat’s surface. The rule changes with mat age and what you bake.
Why So Many Home Bakers Ask This Question
A quick online search pulls up conflicting advice. One baker insists greasing is a waste of time. The next reports a batch of lace cookies welded to a mat they’d trusted.
The confusion has a root cause that’s easy to overlook: not all silicone baking mats are the same, and not all ovens behave identically.
Brand-new food-grade silicone with an embedded fiberglass core releases dough effortlessly. But after months of use, a mat can develop a nearly invisible film from fats, sugars, and flour dust. That buildup creates just enough grab to tear a delicate pastry.
Meanwhile, recipe instructions written for parchment or bare metal don’t always translate. You see a “grease your pan” line and wonder if the silicone liner counts as the pan.
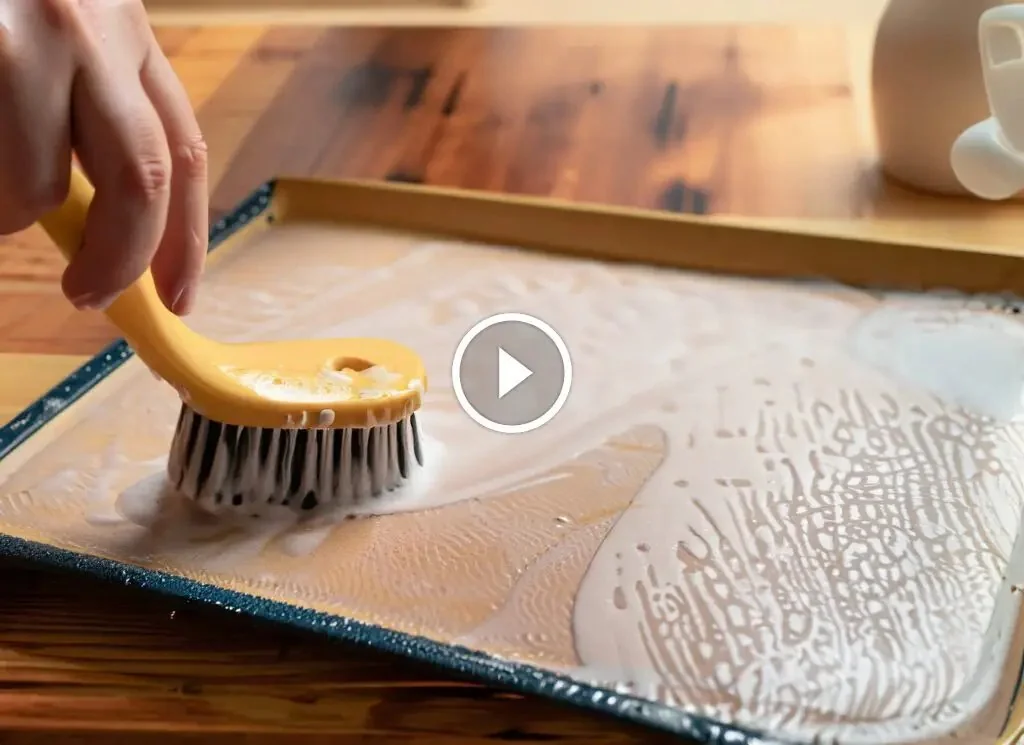
The real frustration kicks in when one bake releases clean and the next sticks. That inconsistency pushes people toward a shot of pan spray for insurance, which starts a cycle of buildup and more sticking. Understanding the mechanics clears up the confusion fast.
How Silicone Baking Mats Actually Work (and Why Nonstick Fades Over Time)
Silicone baking mats aren’t just a slab of rubber. They’re a composite. A woven fiberglass mesh gives the mat dimensional stability and even heat conduction.
That mesh gets coated in multiple layers of food-grade platinum-cured silicone. This type of silicone meets FDA requirements under 21 CFR 177.2600 for repeated food contact and high-heat use.
The surface is naturally hydrophobic. Liquid doughs and melted butter pool on top rather than soaking in. The silicone’s surface energy is so low that most baked starches and proteins can’t form a chemical bond.
When the mat is fresh, a cookie slides off with a gentle nudge.
So why does it fade? Two things happen over time. First, repeated heating and cooling opens microscopic pores in the silicone surface.
Second, oil and sugar residues migrate into those tiny imperfections. Polymerized fats, the same stuff you’d call seasoning on a cast-iron pan, build a layer that’s not quite slick. It’s tacky, and that tackiness grabs onto low-fat doughs.
Most manufacturers claim their mats last up to 3,000 baking cycles. In a home kitchen, that might be two to three years of regular weekend baking. By year two, you’ll notice the mat’s surface looks less glossy.
That’s a visual cue the nonstick properties need help, and it’s a decision point.
The Two Big Decision Drivers: Mat Condition and Recipe Type
Every time you face a baking sheet lined with a silicone mat, two conditions determine whether you reach for the oil or butter. The mat’s age and surface condition matter just as much as what you’re about to bake.
| Decision Factor | What to Look For | Greasing Impact |
|---|---|---|
| Mat Condition | New, glossy, smooth surface; no sticky patches | Grease rarely needed; may cause spreading |
| Mat Condition | Aged, dull, slightly tacky to the touch | Light greasing prevents tears and sticking |
| Recipe Type | Low-sugar, standard cookies, biscuits | No grease needed; mat releases well |
| Recipe Type | High-sugar caramel, tuiles, sticky doughs | Essential to prevent welding |
| Recipe Type | Macarons, meringues, angel food cake | Grease ruins rise and texture |
Mat condition is the easiest to judge. Run a dry fingertip across the cool mat. If it feels slick, you’re in no-grease territory.
If there’s resistance or a slight grab, a whisper of fat can save the bake. The recipe side is about sugar content and water. High-sugar mixtures turn into a molten glaze that bonds to silicone when it cools.
Low-moisture, egg-white-based foams need a completely dry surface to develop their structure.
When You Should Never Grease a Silicone Baking Mat
There are clear cases where adding any fat to the mat does more harm than good. Macarons sit at the top of that list. A macaron batter relies on a dry, warm surface to form its signature foot and develop a smooth, domed shell.
If you grease the mat, the batter spreads too much. The feet crack or fail to rise. Professional pastry kitchens treat ungreased silicone mats as the gold standard for macaron production.
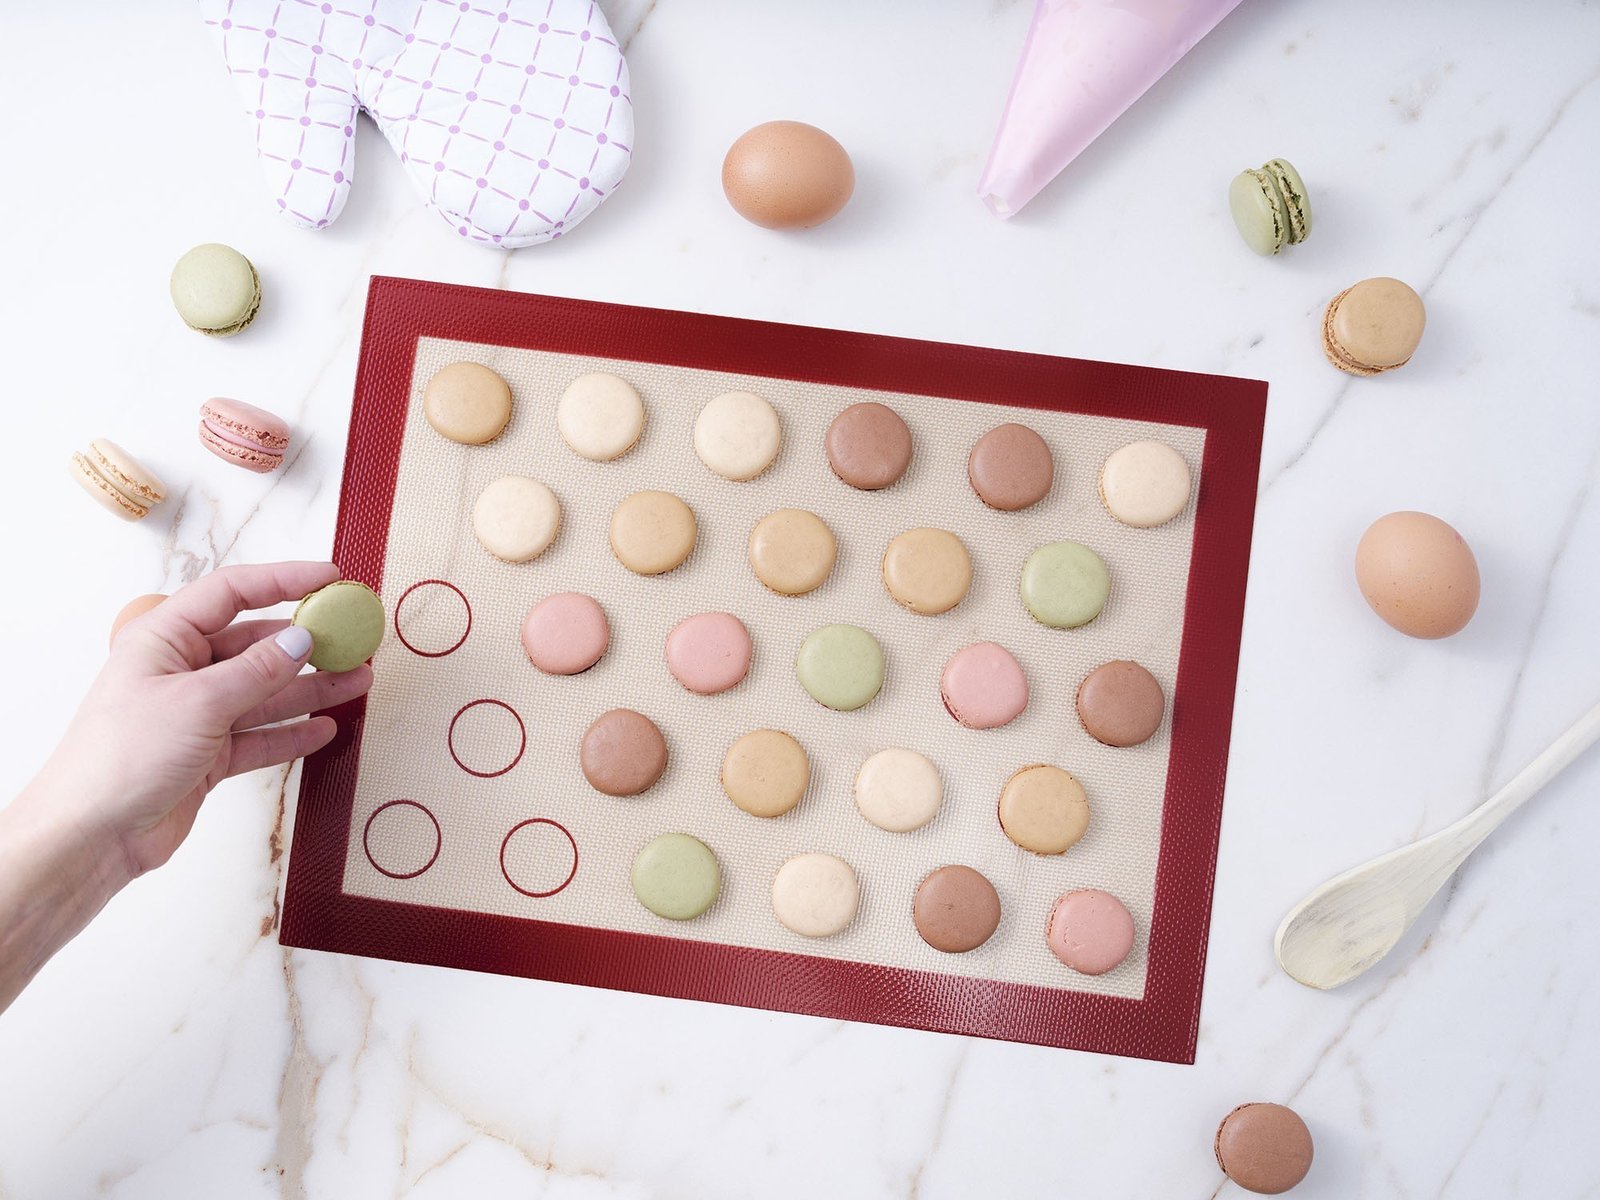
Meringues, pavlovas, and any fat-free egg-white foam also need a mat kept completely clean and dry. Even a thin film of oil can cause weeping, where liquid separates and the meringue collapses. Angel food cakes and sponge cakes baked directly on a mat need zero grease for the same reason, the batter climbs the mat’s surface to create loft.
Standard drop cookies, sugar cookies, and shortbread baked on a new or well-maintained mat don’t need greasing either. The fat in the dough itself is enough. Adding butter or spray can make cookies spread too much, flattening out with greasy, pale bottoms.
Manufacturer guidelines from Silpat confirm that no greasing is needed for most bakes on a new mat. If a recipe calls for a greased pan and you’re using a silicone liner, skip the grease for these baked goods.
When a Light Greasing Is Essential
Switch to sticky, high-sugar confections and the rules flip. Tuiles, lace cookies, nut brittles, and anything heavy on honey or caramelized sugar will fuse to a bone-dry mat as they cool. The sugar acts like glue.
You’ll end up with shards instead of whole cookies.
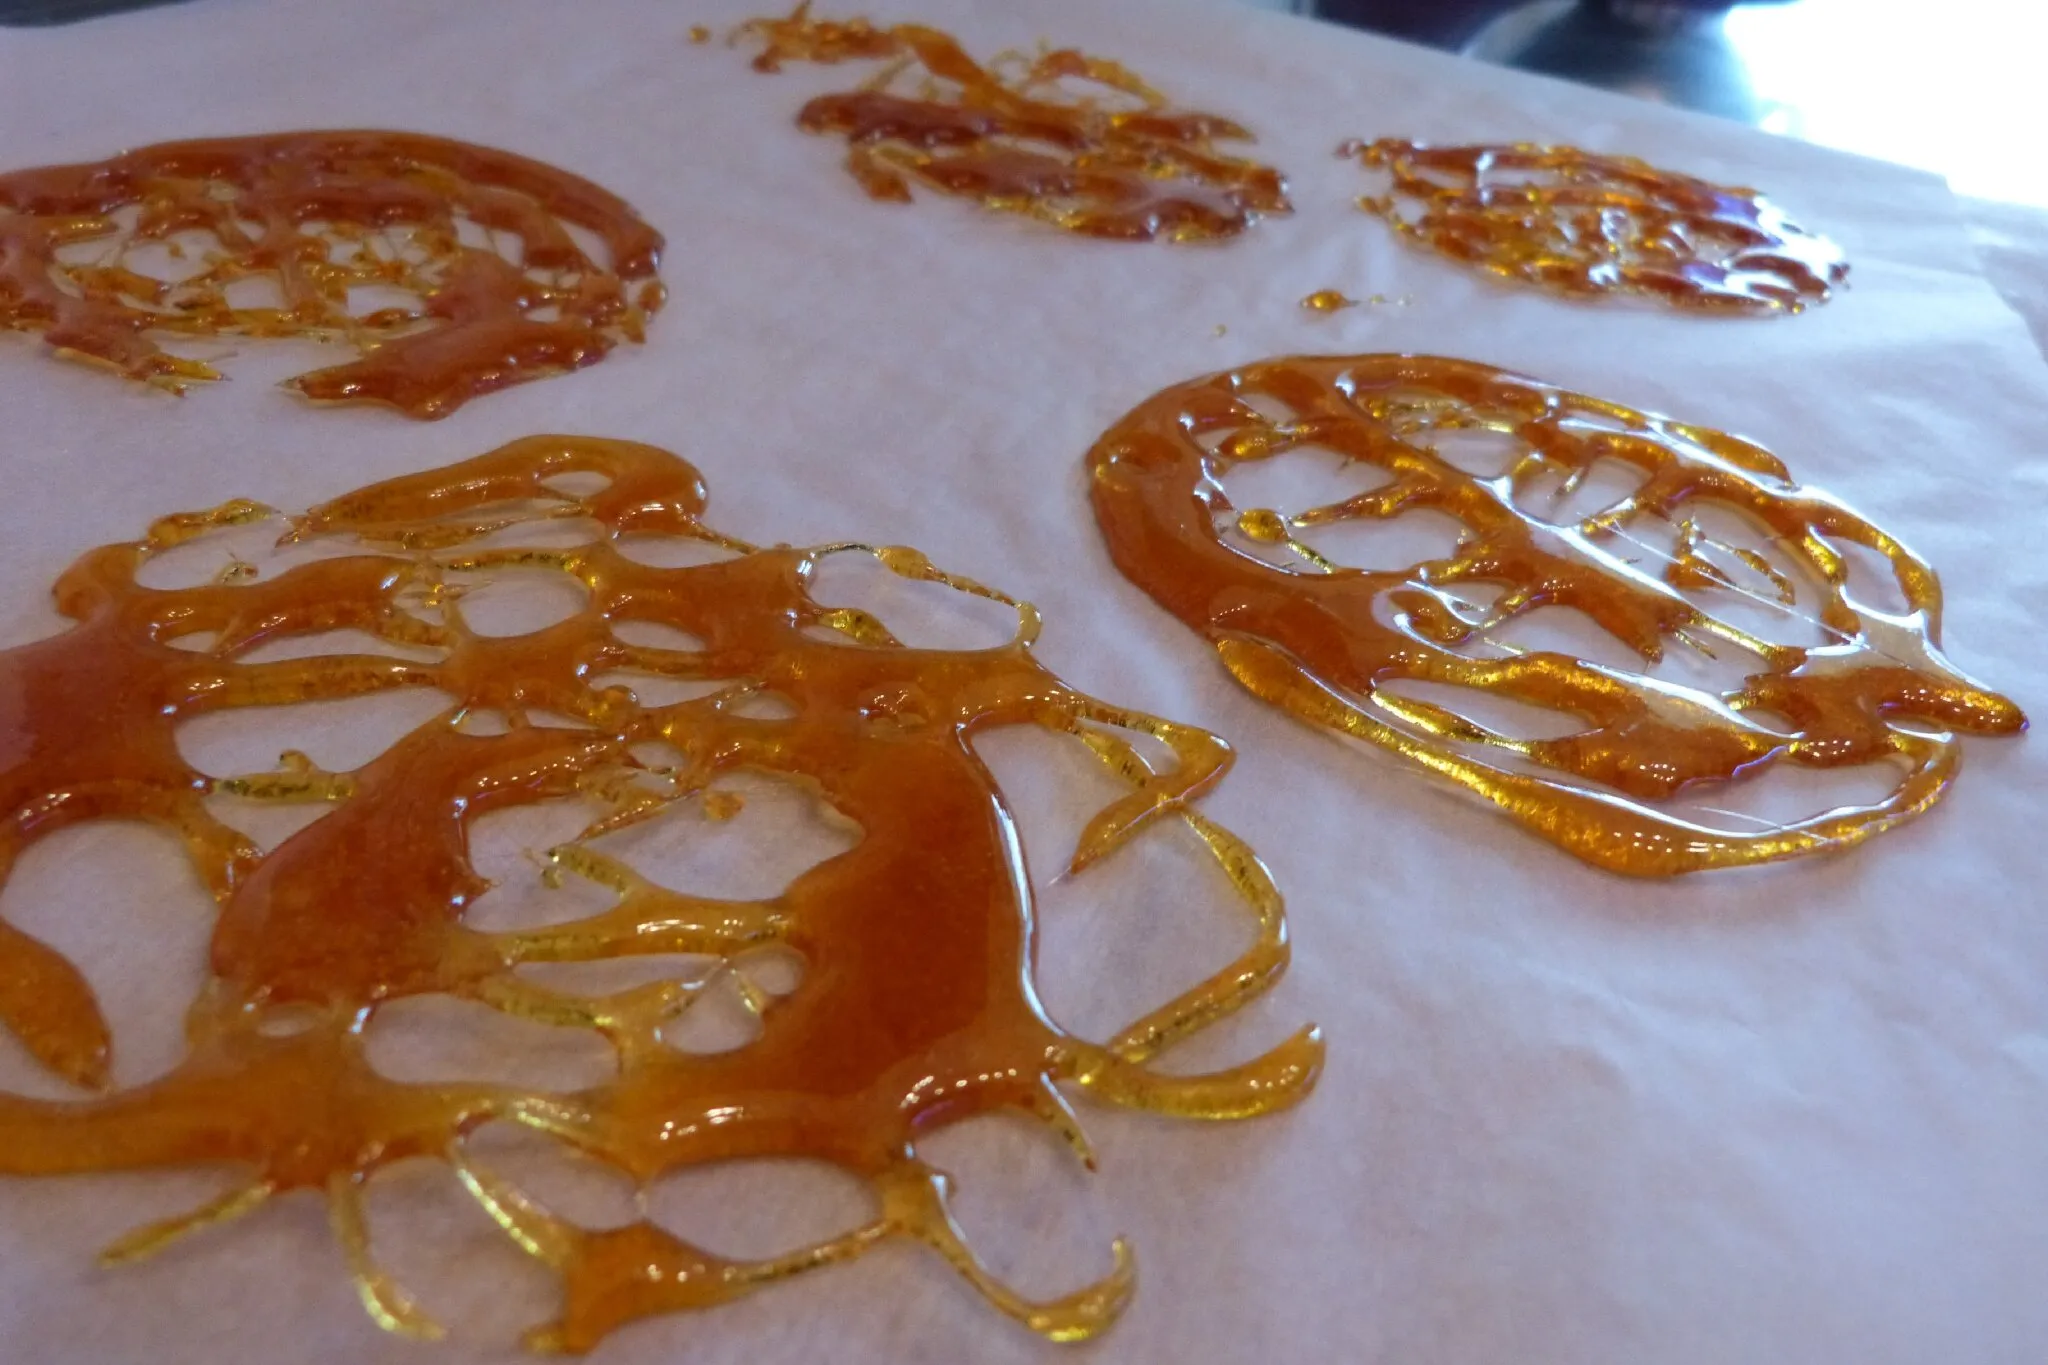
The fix is a barely-there film of neutral, high-smoke-point oil. Dip a paper towel in canola, avocado, or refined vegetable oil, then wipe the mat so it looks nearly dry. That micro-layer breaks the sugar bond without pooling under the dough.
For caramel, brittle, or candied nuts, this step isn’t optional if you want clean release.
An older mat that’s lost its initial slickness also benefits from a light greasing, even for standard cookies. The same technique works. A small dab of butter or oil rubbed evenly across the surface restores enough release to prevent tearing delicate shapes.
Resist the urge to overdo it. Excess grease puddles, smokes at high heat, and can make baked goods dense and heavy on the bottom.
One last case: decorative silicone mats with intricate patterns. Those fine details trap dough. A light brushing of oil with a pastry brush gets into the crevices and lets the baked shape release intact.
A tiny bit of fat here makes the difference between a perfect design and a puzzle of broken pieces.
The Right Way to Grease (If You Even Need To)
The technique matters far more than the choice of fat. A heavy-handed application causes pooling, smoking, and greasy baked goods. The goal is a micro-film, barely visible, with no wet spots.
Start with a clean, room-temperature mat. Choose a high-smoke-point neutral oil. Canola, avocado, refined vegetable oil, and grapeseed all work well.
Stay away from extra-virgin olive oil. It smokes at lower temperatures and can leave an off-flavor. Butter works in a pinch, but its water content makes it spatter slightly as the oven heats.
Pour a dime-sized drop of oil onto the mat. Use a folded paper towel or clean lint-free cloth to spread it. Wipe from the center outward, covering the entire surface.
Then take a fresh, dry paper towel and buff the mat until it looks matte and dry. If you can see a sheen of oil pooling anywhere, wipe again. The surface should feel barely slick to the touch, not greasy.
For decorative mats, use a pastry brush. Dip just the tips of the bristles into the oil, tap off the excess, and brush into every crevice. Then blot with a clean paper towel.
The oil stays in the indentations but not on the flat surface above them.
If you’re using butter, rub the end of a cold stick across the mat in quick swipes. A room-temperature stick deposits too much. Follow immediately with a paper towel to remove any visible streaks.
The salted kind is fine here. The measure is so small it won’t alter your dough’s seasoning.
Never pour oil directly from the bottle near the mat’s edges. Excess oil drips onto the baking sheet underneath, pooling under the mat and creating a hot spot during baking. This leads to uneven browning and a mess you’ll have to scrub off later.
Common Greasing Mistakes That Ruin Both Bakes and Mats
The single worst thing you can apply to a silicone baking mat is an aerosol cooking spray that contains lecithin. Lecithin acts as an emulsifier in sprays like PAM. That’s great for a bare metal pan.
On a silicone mat, it polymerizes into a gummy, yellowish residue that builds up bake after bake. The mat goes from nonstick to sticky permanently. Aggressive scrubbing won’t remove it.
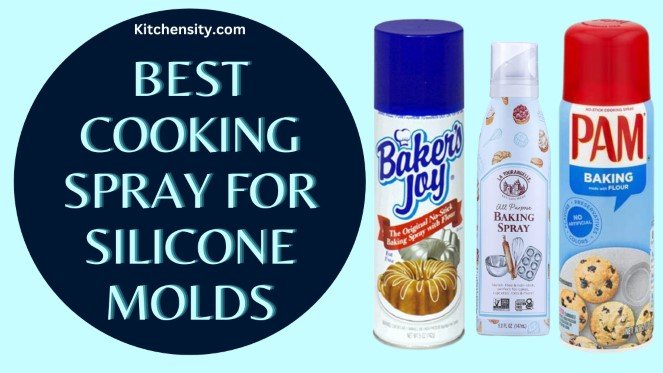
Even sprays labeled “pure” or “olive oil” often include propellants and anti-foaming agents that degrade the silicone over time. If you must spray, use a manual oil mister you fill yourself. That gives you control over the oil type and avoids damaging additives.
Over-greasing is the next common trap. A thick film of oil bakes into a brittle, dark residue that flakes off into your next batch of cookies. It also creates a frying effect on the bottom of your dough, leading to pale centers and overly browned, dense bottoms.
Cookies spread faster and lose their shape.
Using butter without wiping off the excess leaves telltale streaks. These streak marks transfer a faint greasy texture to delicate baked goods like shortbread. For cookies that rely on a clean release and a dry finish, those streaks are subtly detectable in both texture and appearance.
Another mistake is greasing a mat for bakes that need a dry surface. We covered macarons and meringues already, but this also applies to breads with wet doughs. A greased mat prevents the dough from gripping enough to hold its shape during oven spring.
Your baguette or batard slides and flattens instead of rising tall.
Finally, forgetting to wash the mat well after a greased bake invites buildup. Soap, hot water, and a thorough rinse remove that micro-layer of oil before it bakes on during the next preheat. Skip the abrasive scrubbers.
A soft sponge and mild dish soap do the job without scratching the silicone surface.
How to Revive an Old, Sticky Silicone Mat
If your mat has reached that frustrating stage where everything sticks, don’t toss it. There’s a recovery process that works surprisingly well on most high-quality mats. It’s not guaranteed for every brand, but it’s worth trying before you buy a replacement.
First, deep-clean the mat. Fill your sink with hot water and a generous squirt of grease-cutting dish soap. Submerge the mat and let it soak for 20 minutes.
Scrub every inch with a soft sponge, paying extra attention to the edges where residue collects. Rinse thoroughly. Dry it with a lint-free towel.
If the mat still feels tacky after washing, a baking soda paste is your next step. Mix three parts baking soda with one part water to form a thick slurry. Spread this paste across the entire mat surface.
Use your fingers to work it into the silicone with gentle circular motions. Let it sit for 15 minutes. Rinse completely and dry.
The mild abrasion lifts polymerized oils without damaging the fiberglass core.
Should both methods fail, try seasoning the mat. Lightly coat the mat with a neutral oil, just as you would for a greased bake. Place it on a baking sheet in a cold oven.
Set the oven to 350°F. Once it reaches temperature, let the mat bake for 10 minutes. Turn off the oven, crack the door, and let the mat cool inside completely.
Remove it, then wipe away any residual oil with a clean paper towel. The brief high-heat treatment can re-set the surface and burn off stubborn residue. This method mirrors the process many commercial kitchens use to extend mat life.
A word of caution from manufacturer specs. Never exceed the mat’s maximum temperature rating during this process. For most Silpat-style mats, that’s 480°F.
Going beyond can cause off-gassing and permanent damage. Avoid the broiler setting entirely.
If after all these steps the mat still grips like sandpaper, it’s likely reached the end of its usable life. The fiberglass core might be intact, but the silicone coating has worn thin. At that point, proper disposal and a fresh mat are the safest bet.
The Quick Decision Guide: Grease or No Grease?
Here’s the straightforward logic you can return to every time. Check your mat’s surface condition first, then look at what you’re baking, and the answer snaps into place.
| Your Situation | Action |
|---|---|
| New mat + standard cookies, biscuits, shortbread | No grease |
| New mat + macarons, meringues, angel food cake | No grease, ever |
| New mat + high-sugar tuiles, caramel, brittle | Very light oil wipe |
| Aged mat (slightly tacky) + any cookie or pastry | Very light oil wipe |
| Aged mat (slightly tacky) + macarons/meringues | Do not use this mat; get a new one |
| Decorative patterned mat + any dough | Light brush of oil |
| Any mat + cooking spray with lecithin | Avoid entirely |
The logic holds across brands, from Silpat to Kitzini to generic food-grade mats. When in doubt about a recipe, bake a single test cookie or tuile first. That one minute of effort saves an entire batch.
Frequently Asked Questions
Can I use cooking spray on a silicone baking mat?
Avoid it. Aerosol sprays with lecithin polymerize on the silicone and leave a sticky residue that’s nearly impossible to remove. If you need a spray, use a manual oil mister filled with a pure neutral oil like canola or avocado.
The mist is lighter and additive-free.
Will greasing a silicone mat ruin it permanently?
Not if you do it correctly and sparingly. A light oil film wiped nearly dry won’t damage the mat. The problem comes from aerosol sprays and repeated over-greasing without proper cleaning between uses.
Wash the mat thoroughly after any greased bake to prevent buildup.
Why are my cookies spreading too much on a silicone mat?
Too much fat is the likely culprit. If you greased the mat unnecessarily, the excess oil causes the dough to spread before it sets. Also check your butter temperature.
Overly soft butter in the dough combined with any oil on the mat doubles the problem.
Do professional bakers grease silicone mats?
Rarely, and only for specific tasks. Pastry chefs working with caramel, tuiles, or decorative mats use a faint oil film. For macarons, meringues, and standard cookies, they rely on the mat’s inherent nonstick surface.
The key is knowing when the exception applies.
Can I revive a silicone mat that feels sticky?
Yes, often. Soak it in hot, soapy water and scrub with a soft sponge. Try a baking soda paste for tougher residue.
As a last resort, season it by baking a micro-thin oil layer at 350°F for 10 minutes and wiping clean. If it’s still sticky after that, the mat is worn out.
Is it better to use parchment paper instead?
That depends on your priorities. Parchment paper is disposable, always nonstick, and requires no maintenance. Silicone mats are reusable and better for the environment over time.
For macarons, mats give superior results. For caramel, parchment is easier because you don’t need to grease it. Keep both in your kitchen.
How Oven Hot Spots Change Greasing Decisions
Uneven heating forces the decision to shift. If your oven runs hot on one side, sugar burns faster and bonds to the mat. Place a second sheet under the mat to buffer direct heat.
Skip greasing entirely in this scenario to prevent pooling.
Why Mat Thickness Matters for Heat Transfer
Thicker mats conduct heat more slowly. A professional 0.7 mm mat bakes cookies evenly. Thin economy mats warp under high sugar recipes.
Add a light grease layer to thin mats to protect the surface from tearing during removal.
The Best Way to Store Used Mats
Rolling a used mat traps moisture and invites sticking. Lay it flat between two large baking sheets. Store it in a cool, dry cabinet away from sharp utensils.
Keep it separated from rough surfaces to preserve the smooth coating.
Signs Your Mat Has Reached the End
Deep scratches in the fiberglass core mean immediate replacement. A permanent sticky film that resists baking soda cleaning signals surface breakdown. Cracking edges or curling corners show thermal fatigue.
Toss the mat to avoid food contamination.
Final Verdict on the Greasing Question
The answer depends entirely on your mat and recipe. New mats handle most doughs alone. Older mats need a light oil wipe for sticky tasks.
Follow the workflow, avoid aerosol sprays, and your liner will last for years.
Keep a spare roll of parchment on hand for heavy caramel batches. The combination gives you flexibility without compromising your mat's lifespan. You are set for years of reliable baking.
Clean the liner promptly after every use. Store it flat to prevent permanent creasing. This simple routine keeps the silicone surface in top shape.
Stick to the workflow. Your mats will last longer, and your bakes will release cleanly every time.
Always verify your specific brand guidelines before pushing heat limits. That final check keeps your kitchen safe and your results consistent across every bake.
Baking on silicone becomes second nature once you know the rules. Trust the mat, watch the sugar, and keep the grease light when it counts. Your kitchen routine stays clean, and your desserts release perfectly.
Follow the decision guide each time you line a pan. You will save time, reduce waste, and get consistent results bake after bake.
That’s all it takes to get the most out of your equipment. Your cookies will lift cleanly. Your tuiles will hold their shape.
And you will never wonder about greasing again.
Store your mats away from sharp utensils and direct sunlight. That small habit preserves the silicone coating for years of reliable use.
Check your mats regularly for wear. Replace them when the surface loses its grip. Simple care keeps your baking smooth and stress-free.