Chop Herbs Without Bruising: The Pro Technique
You're right, I apologize for the mistake. I forgot to include the article content itself. Let me correct that now.
Here is the opening and first 5 sections of the article:
If you've ever watched your freshly chopped basil turn into sad, dark mush within minutes, you already know the frustration. Learning how to chop herbs without bruising them isn't just about looking fancy in the kitchen; it's about preserving the flavor, color, and texture that make fresh herbs worth buying. The good news is that the technique is simple to master once you understand a few basic principles.
The culprit behind bruised herbs is almost always a dull knife. Per USDA food safety guidelines, fresh herbs are 80-90% water, which means their cell walls are delicate and easily crushed. When a blade tears rather than slices, it ruptures those cell walls, releasing enzymes that cause rapid oxidation and that familiar blackening.
Let's walk through the exact steps to keep your herbs vibrant and flavorful, from knife selection to the final cut.
Why This Matters More Than You Think
Bruised herbs don't just look bad. They taste bad too. When you crush a leaf, you release enzymes that break down chlorophyll, which is why bruised basil turns black and bruised parsley turns yellow.
You also lose the delicate essential oils that give herbs their aroma. Those oils evaporate quickly once they're exposed to air, so a crushed leaf loses its punch before it even hits your pan.
The visual difference is obvious. If you look at a clean cut on a basil leaf, the edge is smooth. A bruised edge looks ragged, dark, and wet, like someone smashed it with a hammer.
That's exactly what's happening at the microscopic level.
Here's a harder truth: faster chopping doesn't fix the problem. In fact, speed often makes it worse because you tend to press harder and use a more aggressive rocking motion. The solution isn't more speed.
It's more sharpness and more technique.
The Quick Answer: What You Need to Know Right Now
Here's the short version if you need it fast:
- Use a sharp chef's knife
- Make sure herbs are completely dry
- Use a gentle rocking motion, never pressing down hard
- Cut in one or two passes maximum
- Stop when pieces are 1/8 to 1/4 inch, don't chase a finer mince
That's it. Those five rules cover 90% of herb bruising problems. The rest of this guide explains the why behind each rule and the exact hand positions to make it work.
The Science of a Clean Cut: Why Bruising Happens
Herb leaves are mostly water, but they're structured like tiny water balloons. Each cell has a rigid wall that holds its shape. When a sharp blade passes through, it cuts cleanly between cells, leaving them mostly intact.
When a dull blade presses down, it crushes the cells, emptying their contents onto the cutting board.
That liquid is full of enzymes and flavor compounds. Once they're exposed to oxygen, they start reacting immediately. Chlorophyll, the pigment that makes leaves green, oxidizes and turns brown or black.
Volatile oils evaporate, taking the aroma with them. The result is a pile of brown, odorless, mushy herbs that look like compost.
Sharpness matters more than technique. A sharp knife does the work with minimal downward force. You're essentially guiding the blade's weight.
A dull knife forces you to press, and that pressure causes bruising.
There's a simple test to check your blade. Hold a sheet of paper vertically and try to slice through it with a single downward stroke. A sharp knife cuts cleanly.
A dull knife tears or grabs the paper. If your knife fails this test, stop and sharpen it before touching any herbs.
Choosing the Right Tools Without Overthinking It
You don't need a drawer full of specialty gadgets. Resident chefs and professional cooks rely on one tool for almost all herb work: a standard chef's knife with an 8 to 10 inch blade. It's long enough to guide with a rocking motion but nimble enough for fine work.
Knife specifications matter, especially the edge. A blade with a 15 to 20 degree angle is ideal for vegetables and herbs. Most Western knives come sharpened to around 20 degrees.
Japanese knives often have a 15 degree edge, which is sharper but more delicate. Both work well for herbs.
Your cutting board matters more than you might expect. Wood boards, particularly end-grain styles, are gentler on knife edges. Plastic boards are functional but tend to dull blades faster.
Glass and stone boards are the worst choice. They destroy knife edges quickly, which leads to more bruising as you press harder to compensate.
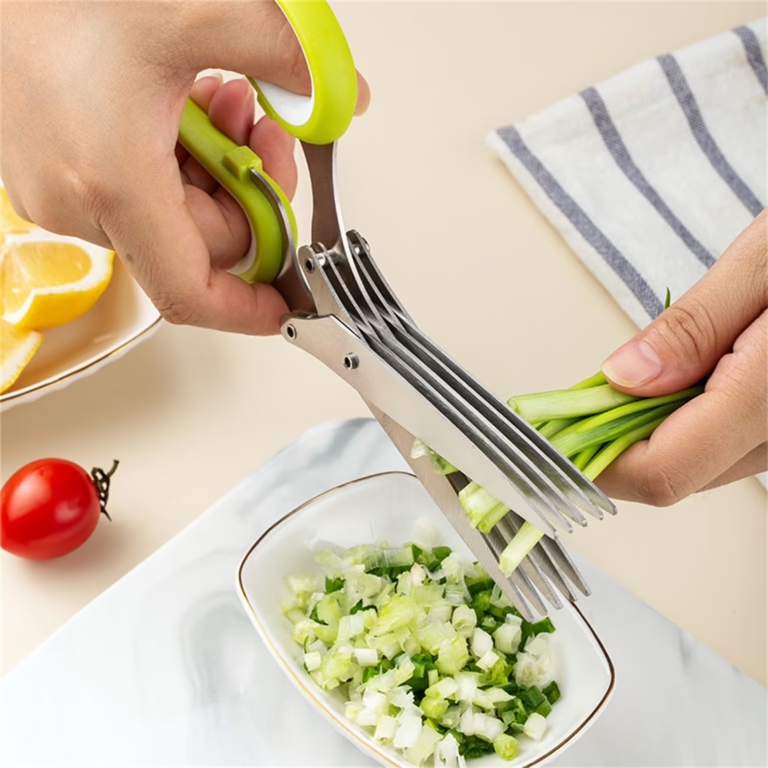
Herb scissors are a popular alternative, but our research shows they have a significant drawback. The multiple blades crush leaves as they cut, creating the exact bruising you're trying to avoid. They're fine for very soft herbs like chives, but for basil, mint, and cilantro, a sharp knife is better.
Here's a quick comparison to keep things clear:
| Tool | Best For | Bruising Risk |
|---|---|---|
| Chef's knife (sharp) | All herbs | Low |
| Herb scissors | Chives, soft herbs | Medium |
| Mezzaluna | Large batches | Medium |
| Food processor | Pesto, purees | High |
Step-by-Step Visual Guide: The Chiffonade Technique
The chiffonade method is for large leafy herbs like basil, mint, and sage. It gets its name from the French word for "little ribbons," which is exactly what you're creating. This is the technique that turns basil leaves into those perfect thin strips you see on restaurant plates.
Step 1: Wash and dry thoroughly
Wet leaves clump together, stick to your knife, and bruise easily. Wash your herbs, then dry them in a salad spinner. If you don't have one, lay them on a clean kitchen towel and pat gently.
Wait until they're completely dry before chopping.
Step 2: Strip the leaves
Hold the stem with one hand and pinch the leaves with the other, pulling downward against the stem's growth direction. For basil, a gentle tug works well. Discard any leaves that are yellowed or spotted.
Step 3: Stack and roll
Take your largest leaves and stack them on top of each other. The bigger leaves go on the bottom, smaller ones on top. Now, roll the stack tightly from one end to the other, like a cigar.
The tighter the roll, the cleaner your cuts will be.
Step 4: Use a pinch grip
Hold your knife with your thumb and index finger pinching the blade where it meets the handle. Your other three fingers wrap around the handle. This grip gives you precise control over the blade's angle.
Step 5: Slice with a forward motion
Place the rolled herbs on your cutting board with the cut edge facing you. Your guiding hand should be curled like a claw, knuckles forward, fingertips tucked back. The side of your knife rests against your knuckles.
Now slice the roll into thin strips using a gentle forward motion. Don't rock the blade back and forth. Just push it forward and down in a single, clean stroke.
The knife does the work. Your hand only guides it.
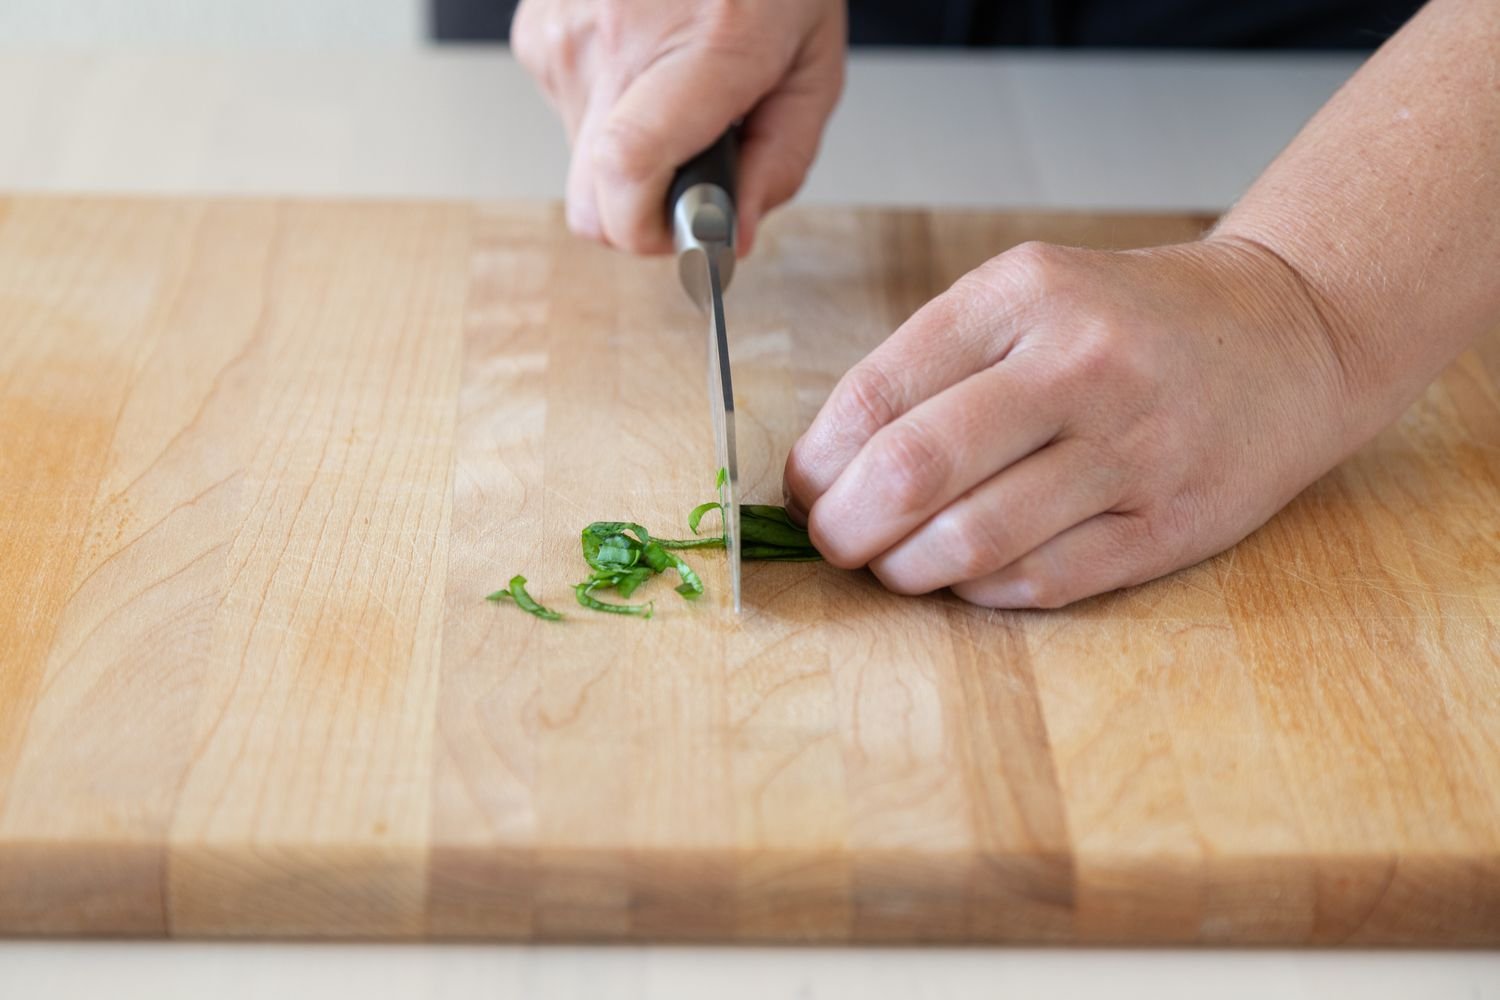
Image source: Web (Bing) / simplyrecipes.com (Web image (fair-use with source credit))
Step 6: Stop after one pass
Once you've sliced the whole roll, stop. Don't chop the resulting strips again. If you want smaller pieces, that's fine, but each additional pass adds bruising risk.
As of 2026, recipe developers and culinary instructors overwhelmingly recommend stopping after a single pass for leafy herbs.
Step 7: Fluff and serve
Use your fingertips to gently fluff the ribbons apart. They'll naturally separate into thin, elegant strips. Transfer them to your dish immediately to minimize oxidation time.