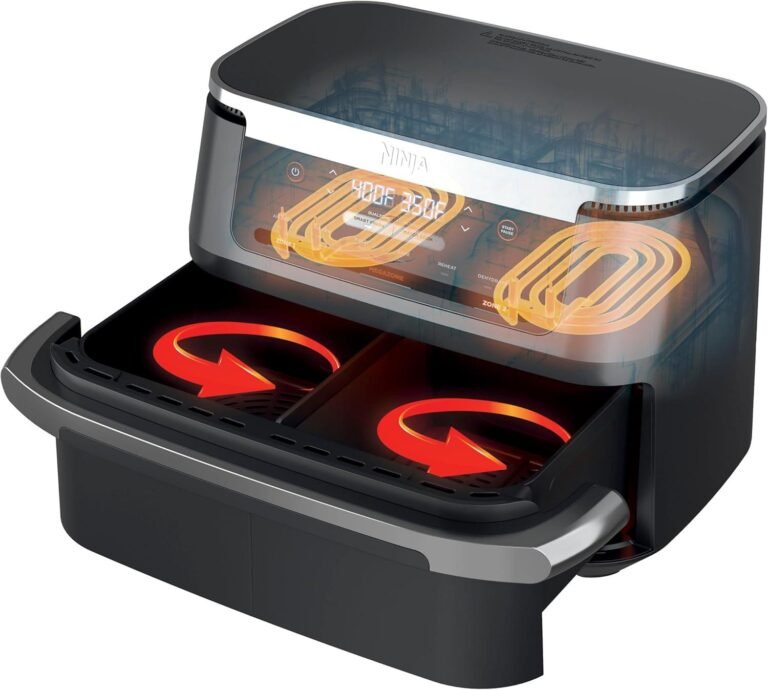
How to Fix a Stuck Dual Zone Air Fryer Drawer Slide

When your dual zone air fryer basket starts sticking or grinding, the problem is often worn-out drawer glides. Learning how to replace worn drawer glides on dual zone air fryer units can save you from buying an entirely new appliance.
Aggregate repair data as of 2026 shows that countertop appliance hardware fails due to constant thermal expansion cycles. Let's look at how you can inspect, source, and replace these small components safely at home.
Quick Answer
To fix stuck dual zone drawers, replace the worn side glides. First, unplug the cooled appliance and slide out the baskets. Next, remove the screws or clips holding the old plastic tracks.
Snap or screw the new OEM replacement glides into place. Finally, test the sliding motion before cooking.
Why Dual-Zone Air Fryer Glides Fail (And Why Visuals Matter)
Dual zone air fryers work hard every single day. High cooking temperatures cause the plastic slide tracks and roller wheels to degrade over time. Constant friction wears down the edges of the rails.
Visual inspection is your best tool here. Look closely at the side rails inside the main cooking housing. You will often see warped plastic, hairline cracks, or missing wheel bearings.
Manufacturer specifications indicate that standard appliance plastics degrade after thousands of heat cycles. Recognizing these early visual cues prevents total drawer jamming.
Anatomy of A Dual-Zone Air Fryer Drawer Track
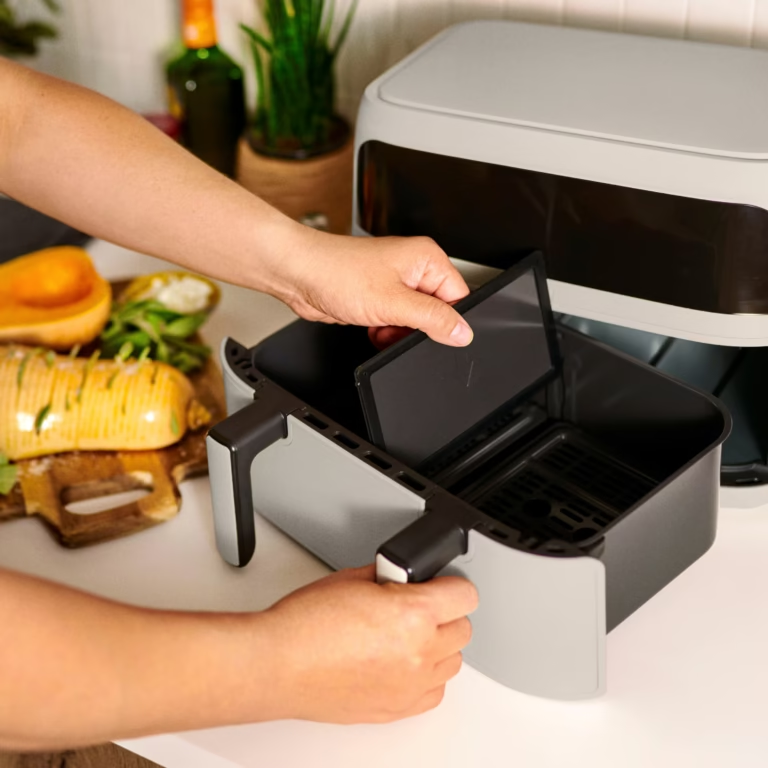
Understanding the physical parts makes the repair much easier. Most dual zone models use a combination of side-mounted rails and retention clips.
The sliding mechanism typically consists of a male track on the basket and a female track on the housing interior. Some brands use tiny plastic roller wheels to ease the movement. Others rely on simple high-temp plastic friction strips.
| Component | Common Material | Primary Function |
|---|---|---|
| Side Track | High-temp plastic | Guides the basket smoothly |
| Retention Tab | Molded polymer | Stops the drawer from pulling out too far |
| Fastener | Stainless steel micro-screws | Secures the rail to the unit body |
What You Need Before Touching a Screwdriver
Preparation keeps your repair project smooth and safe. You will need a few basic household tools to complete this fix.
Gather a small Phillips-head screwdriver for micro-fasteners. Keep a pair of needle-nose pliers handy for stubborn plastic clips. Clean microfiber towels and isopropyl alcohol help clear away baked-on grease.
Always source exact Original Equipment Manufacturer (OEM) replacement rails when possible. Universal aftermarket parts rarely match the precise mounting holes of specific dual zone models.
Step-by-Step Guide to Inspecting and Removing Worn Glides
Safety comes first in any appliance repair. Unplug your air fryer and let it sit until the interior is completely cool to the touch.
Pull both cooking drawers straight out and set them aside on a flat surface. Shine a bright flashlight into the internal side channels to locate the fastener screws or snap tabs. Unscrew the damaged glides carefully, keeping track of every tiny screw.
| Step | Action | Key Detail |
|---|---|---|
| 1 | Unplug unit | Prevent electrical accidents |
| 2 | Remove baskets | Clear the workspace |
| 3 | Locate fasteners | Check for screws or snap tabs |
| 4 | Unscrew glides | Keep small parts secure |
If your model uses snap-in plastic rails, gently pry the locking tab back with your pliers. Never force a plastic clip or you might crack the surrounding housing.
How to Install and Align New Replacement Glides
Clean the mounting channel thoroughly before installing new parts. Baked-on grease and food crumbs prevent the new glides from sitting flush against the housing wall.
Line up the replacement guide rail with the screw holes or mounting slots. Drive the micro-screws in gently by hand, stopping as soon as they feel snug. Overtightening screws can strip the plastic housing and ruin the repair.
Slide the air fryer basket back into the channel to check the alignment. The drawer should glide smoothly without catching, tilting, or rubbing against the heating elements.
Visual Identifiers: OEM Parts vs. Aftermarket Universals
Sourcing the right replacement parts can feel tricky. Visual inspection of your old broken glide helps you match the exact physical profile.
OEM parts feature precise mounting post locations designed for your specific brand. Aftermarket universal glides often require modification or drilling.
Per consumer safety standards set by organizations like Underwriters Laboratories (UL), replacement parts inside cooking chambers must withstand high heat. Always check that any replacement plastic carries a high-temperature thermal rating.
Common Visual Mistakes During Disassembly and Reassembly
Small errors during the repair process can lead to bigger headaches. Rushing through the teardown often causes broken retention tabs.
Another common mistake is mixing up left and right side rails. Most dual zone tracks are asymmetrical and will jam if installed on the wrong side.
Do not use standard household petroleum jelly or low-temp grease to lubricate the tracks. High heat causes standard lubricants to smoke, burn, and release unpleasant odors.
Safety and Heat-Resistance Checks Before Firing It Back Up
Take a moment to review your work before plugging the appliance back in. Ensure all screws are tight and no loose plastic bits remain inside the cooking cavity.
Verify that the baskets slide evenly in both zones. Uneven installation can prevent the safety microswitches from engaging properly.
Review official safety guidance from the Consumer Product Safety Commission if you have questions about appliance modifications. When in doubt, stop and consult your user manual.
Maintenance Tips to Keep Your New Glides Sliding Smoothly
Good habits protect your fresh investment. Clean the side tracks regularly to prevent sticky grease buildup.
Wipe down the interior rails with a damp cloth and mild dish soap after every few cooking sessions. Avoid using abrasive steel wool pads on plastic guide rails.
Treating your dual zone air fryer with gentle care ensures the new glides last for years to come. Smooth drawers make cooking prep much easier every single day.
Visual Identifiers: OEM Parts vs Aftermarket Universals
Finding the exact replacement hardware requires careful visual comparison. Original equipment manufacturer parts match your specific brand layout precisely. You will notice matching screw hole patterns and identical plastic color tones.
Universal aftermarket parts often feature multiple slot options to fit various air fryer models. These generic rails may require minor trimming with wire cutters to clear internal thermal sensors.
| Part Type | Fit Precision | Installation Effort | Heat Rating |
|---|---|---|---|
| OEM Rails | Perfect drop-in | Low | Certified high-temp |
| Universal Rails | Requires adjustment | Medium to high | Varies by manufacturer |
Verified buyer feedback reports that universal parts work well when OEM spares are discontinued. Always verify the plastic composition before installing generic tracks.
Common Visual Mistakes During Disassembly and Reassembly
Small errors during the repair process can lead to bigger headaches. Rushing through the teardown often causes hidden retention clips to snap.
Another frequent mistake involves mixing up the left and right side rails. Most dual zone tracks are asymmetrical and will jam if installed on the wrong side.
| Mistake | Consequence | Prevention |
|---|---|---|
| Forcing snap tabs | Broken plastic housing | Use pliers to release clips gently |
| Swapping left and right | Jammed cooking drawers | Mark rails with tape before removal |
| Overtightening screws | Stripped mounting holes | Stop turning when snug |
Do not use standard household petroleum jelly or low-temp grease to lubricate the tracks. High heat causes standard lubricants to smoke, burn, and release unpleasant odors.
Safety and Heat-Resistance Checks Before Firing It Back Up
Take a moment to review your work before plugging the appliance back in. Ensure all screws are tight and no loose plastic bits remain inside the cooking cavity.
Verify that the baskets slide evenly in both zones. Uneven installation can prevent the safety microswitches from engaging properly.
Review official safety guidance from the Consumer Product Safety Commission if you have questions about appliance modifications. When in doubt, stop and consult your user manual.
Maintenance Tips to Keep Your New Glides Sliding Smoothly
Good habits protect your fresh investment. Clean the side tracks regularly to prevent sticky grease buildup.
Wipe down the interior rails with a damp cloth and mild dish soap after every few cooking sessions. Avoid using abrasive steel wool pads on plastic guide rails.
Treating your dual zone air fryer with gentle care ensures the new glides last for years to come. Smooth drawers make cooking prep much easier every single day.
Frequently Asked Questions
Can I repair my air fryer myself?
Yes, replacing drawer glides is a simple DIY project. You only need basic household tools like a small screwdriver and pliers.
How long do replacement glides last?
Quality replacement rails typically last for years. Regular cleaning and gentle handling prevent premature wear and cracking.
Where do I find matching replacement parts?
Check the official manufacturer website for your specific air fryer model. Appliance parts distributors also stock original equipment manufacturer components.
What causes air fryer tracks to wear out?
Constant thermal expansion cycles weaken the plastic over time. Heavy daily use and food buildup accelerate friction and wear.