Why Your Silicone Baking Mat Slips on the Tray
If your silicone baking mat slips on the baking tray, it's not just annoying; it's a safety hazard. Hot food, melted cheese, or a full batch of cookies can end up on the oven floor in seconds. The good news is that this problem is almost always fixable with a quick adjustment to your prep routine.
The root cause of most slipping is a physical mismatch between the mat's soft silicone base and the tray's surface tension. Manufacturer specifications indicate that food-grade silicone has a high coefficient of friction, but only when it's perfectly clean, dry, and at the right temperature. As of 2026, most mats on the market between 0.5mm and 1.0mm thick will shift if they trap air or hit a warm tray.
Let's break down why this happens and exactly how to stop it, starting with the immediate fixes.
Quick Answer
Moisten the tray's surface lightly before placing the mat down. The water creates suction between the silicone and the metal, locking the mat in place. Ensure both surfaces are completely clean and at the same temperature.
If the mat still slips, it likely has a permanent curl or is too large for the tray.
The Slipping Problem: Why It Happens and Why It's So Frustrating
Let's look at what's actually going on underneath your dough. When a silicone baking mat slides around, three distinct physical failures are usually at play.
The first is the "walking" effect. You slide the tray into the oven, and the momentum causes the mat to shift forward. When you pull it out, it has moved an inch in the opposite direction.
This happens because silicone is grippy against your counter, but surprisingly slippery against smooth, polished metal.
The second issue is the curling edge. Most mats are manufactured flat, but they are stored rolled in a tube. Over time, that coil shape becomes permanent.
Those curled edges catch the rim of your baking tray, creating a lever that lifts the mat away from the surface. Once that seal is broken, the mat has no grip left.
The third problem is "ballooning." This happens when cold air gets trapped between the mat and the tray. As the oven heats up, that air expands. You end up with a big bubble in the center of your tray, pushing your food upward and destabilizing the whole sheet.
This is also a visual problem. You often can't feel these issues until the mat is loaded with food and in a hot oven. That's why checking the flatness and the seal before you load the tray is so critical.
The Quick Fix: What Works Immediately
Here is the professional secret that home bakers often miss: water. Not oil, not flour, just water.
Lightly mist the back of the mat with a spray bottle, or add a few drops of water to the surface of the tray. Then place the mat down and press it flat. The water creates a temporary suction seal between the silicone and the metal.
This seal holds the mat perfectly in place during the entire bake.

Image source: Web (Bing) / amazon.com (Web image (fair-use with source credit))
Here is how you do it correctly:
- Use cold water, not hot.
- A fine mist is better than puddles. You want a thin film, not a wet mess.
- Press from the center outward to push out any air bubbles.
- Check that the mat is moist but not dripping onto your counter.
This trick works immediately. It solves the ballooning problem instantly because the water prevents air from being trapped in the first place. It also gives you a few minutes of working time before the water evaporates, which is usually enough time to load your cookies or vegetables.
If you don't have a spray bottle, a second method involves parchment paper. Place a single sheet of parchment underneath the silicone mat. The texture of the paper grips the silicone better than smooth metal, adding just enough friction to stop the walking.
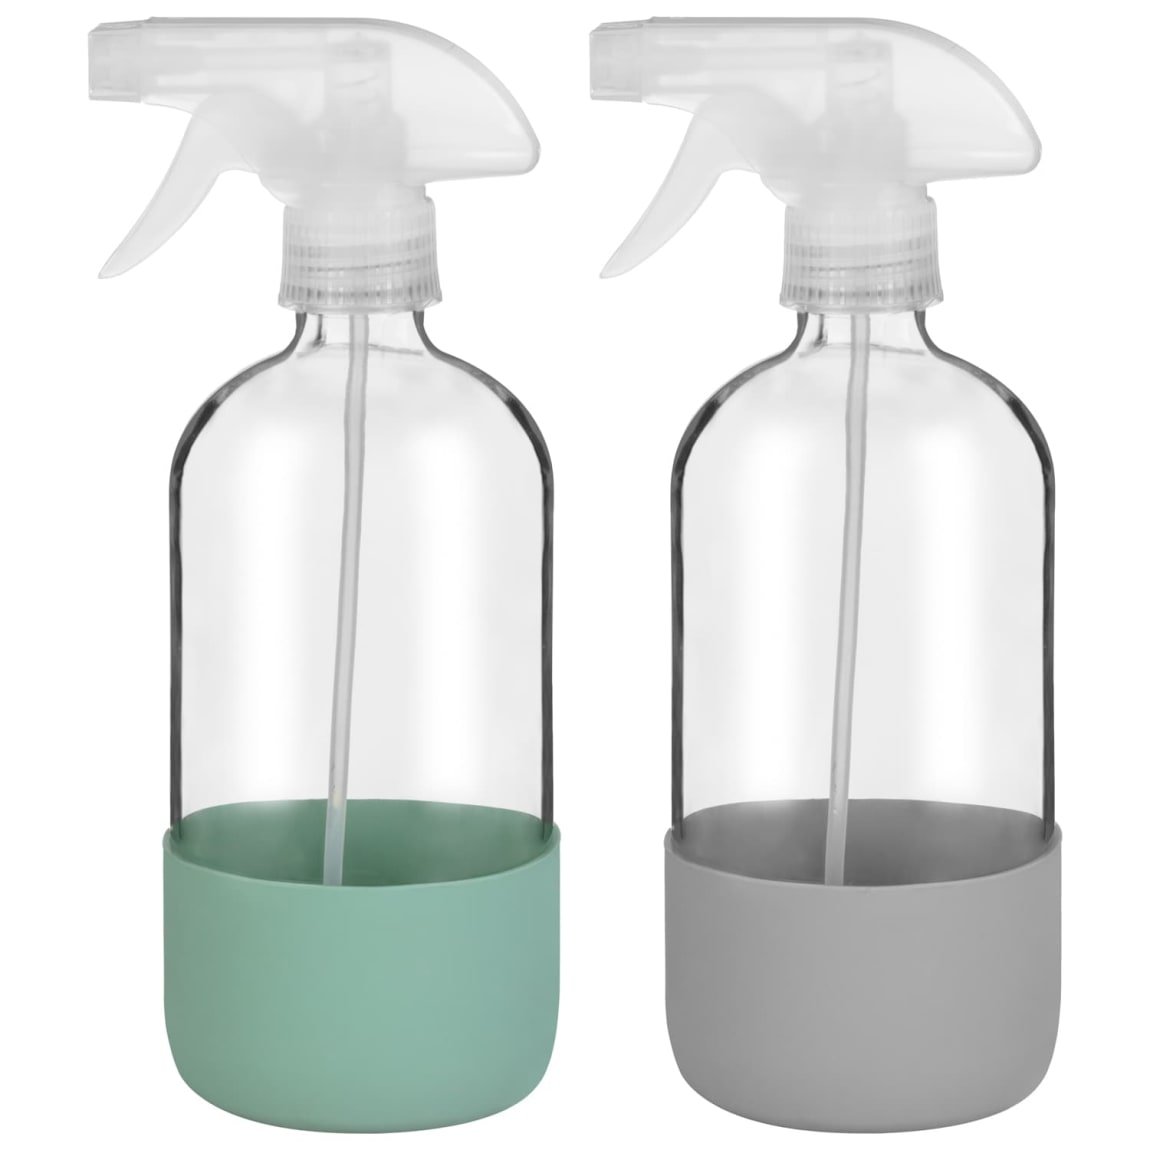
Image source: Web (Bing) / bmstores.co.uk (Web image (fair-use with source credit))
The parchment method is great for very old, non-stick trays that are too polished for silicone to grab. It doesn't last as long as the water trick under high heat, but it works.
Surface Chemistry 101: How Silicone Actually Grips (or Fails to Grip)
To get permanent control over this problem, you need to understand why silicone is so finicky in the first place.
Silicone is technically a rubber. Its grip depends on "surface contact area." When a mat is perfectly flat and smooth, it creates millions of micro-suction cups against a perfectly flat tray. This is what makes it stick to your kitchen counter so well.
However, most baking trays are not perfectly flat. Aluminum sheet pans have beads, ridges, or rolled rims. Non-stick trays feature a polished coating that is extremely slick.
When you place a flexible piece of silicone on top of these imperfect surfaces, it only makes contact in certain spots. The rest of the mat hovers just above the metal, holding a thin layer of air.
Here is the breakdown of how tray surfaces affect grip:
| Tray Surface Type | Grip Level | Why |
|---|---|---|
| Bare Aluminum (uncoated) | High | Slightly porous, allows micro-suction to form. |
| Carbon Steel | Medium | Smoother than bare aluminum, but still has texture. |
| Non-Stick Coating | Low | Polished surface reduces friction significantly. |
| Glass / Ceramic | Low | Non-porous and highly smooth, similar to non-stick. |
Non-stick trays are the biggest culprits. They are designed to let food slide off easily. That same property applies to everything else on the tray, including your mat.
Also, consider the rim style. A flat rim (typical US sheet pan) lets the mat lie flat to the edge. A rolled rim (common in the UK) creates a gap under the mat.
When you push the tray in, the mat catches on that gap and slips backward.
Visual Diagnosis: How to Spot the Problem in 10 Seconds
Before you blame the tray or the mat, do a quick visual inspection. This takes less time than preheating the oven.
First, look at the underside. Are there crumbs or dust particles stuck to the silicone? Any debris breaks the suction seal.
If you see tiny flecks, wash it with warm soapy water, dry it completely, and try again.
Second, place the mat on the dry tray. Look at the edges. Do they curl upward toward the ceiling?
If so, you have "curl memory." This is permanent damage caused by storing the mat rolled up too tightly for too long.
Do the "snap-back" test. Bend the corner of the mat backward against the tray. When you release it, does it snap flat, or does it stay lifted?
A mat that doesn't snap flat will never grip properly.
Image source: Web (Bing) / bmstores.co.uk (Web image (fair-use with source credit))
Third, run your fingers across the underside. Feel for the texture. Some mats have a smooth back, while others have a waffle or honeycomb pattern.
For gripping purposes, the texture matters less than you think. The pattern just gives the air somewhere to go.
Finally, check the fit. The mat should sit completely inside the tray's inner dimensions. If the mat hangs over the edge by even a quarter-inch, it will act like a sail and flap around when you move the tray.
Step-by-Step: The Professional Method for a Slip-Free Bake
You can avoid all these issues by following a consistent preparation process. Here is the routine that works across all tray types, all mat brands, and all oven temperatures.
Step 1: Measure the mat.
Check that your mat fits within the flat cooking surface of your tray. If it overhangs, you are better off using a smaller mat or switching to parchment paper.
Step 2: Wash and dry both surfaces.
Wash the mat with dish soap and hot water. Rinse it thoroughly. Silicone holds onto soap residue, which leaves a slick film.
Dry it with a clean towel. Wipe the tray with a dry cloth to remove dust.
Step 3: Use the water mist.
Fill a spray bottle with cold water. Mist the underside of the mat lightly, or wipe the tray surface with a damp paper towel. The goal is a uniform, thin wet film.
Step 4: Place and press.
Put the mat on the tray. Using a flat hand or a rolling pin, press from the center outward. You'll see the moisture push air to the edges.
This eliminates the ballooning problem before it starts.
Step 5: Test the grip.
Hold the edge of the tray and tilt it to a 45-degree angle. A properly seated mat will not slide. Slap the bottom of the tray.
If the mat stays put, you are ready to load your food.
Step 6: Load and bake.
Add your food. Slide the tray into the oven as smoothly as possible. The water under the mat will evaporate within the first few minutes, but by then the silicone has heated up.
Warm silicone naturally gets slightly softer and tackier, which increases its grip.